Creating Customer Groups
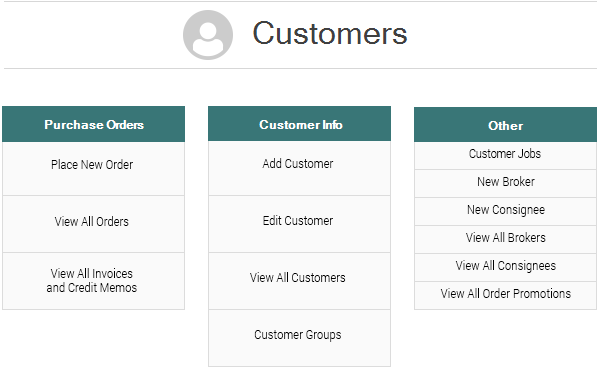
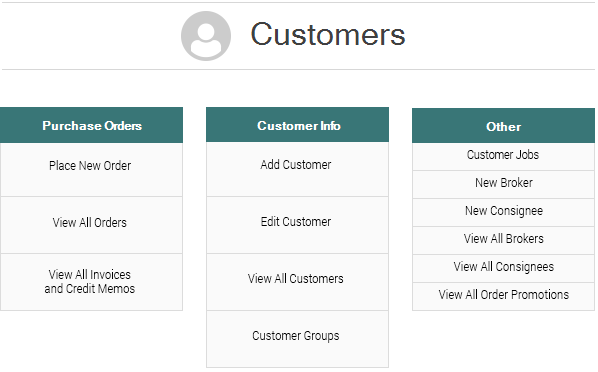
- Click on Customers > Customer Groups
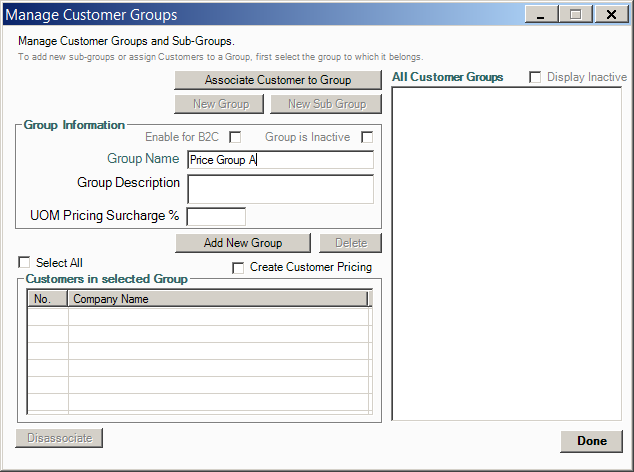
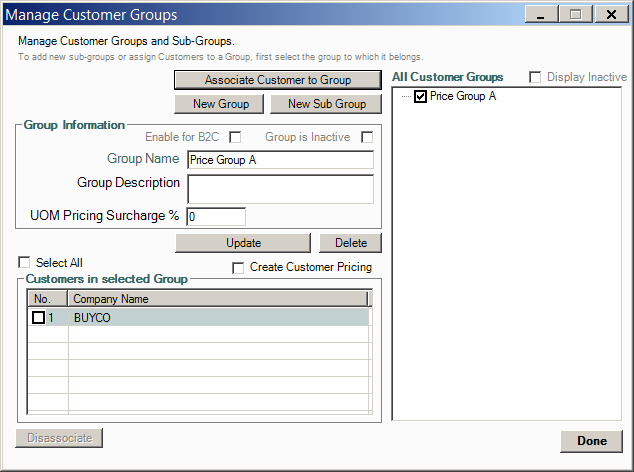
- Type in the name you would like to assign to the customer group and click “Add New Group”
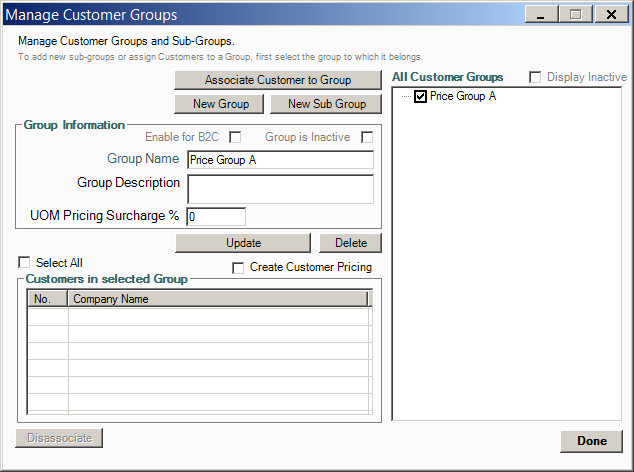
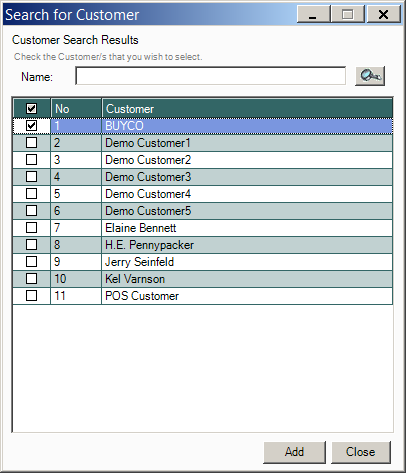
- Select the group from the right hand side of the screen and click “Associate Customer to Group”
- Select one customer to include within the group and click “Add”
- Click “Done”
Create Customer Pricing for the Selected Customer
Tip - Now would be a good time to create a backup of your database, before proceeding with a mass data update.
The next step is to create pricing for the selected customer. The easiest way to do this is using Excel to import pricing.

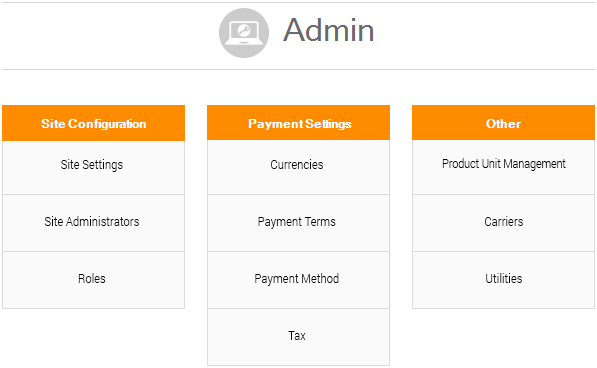
- Click Admin>Utilities
- Click “Excel Import/Export” and click the magnifying glass to search for your customer pricing file. Then click “Import Customer Pricing”.
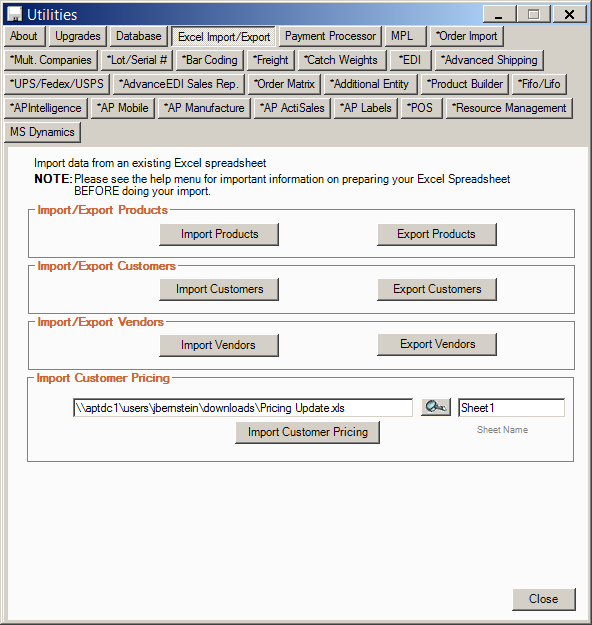
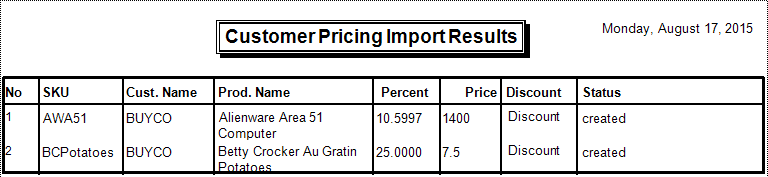
- AdvancePro will produce a report confirming that your pricing has been updated
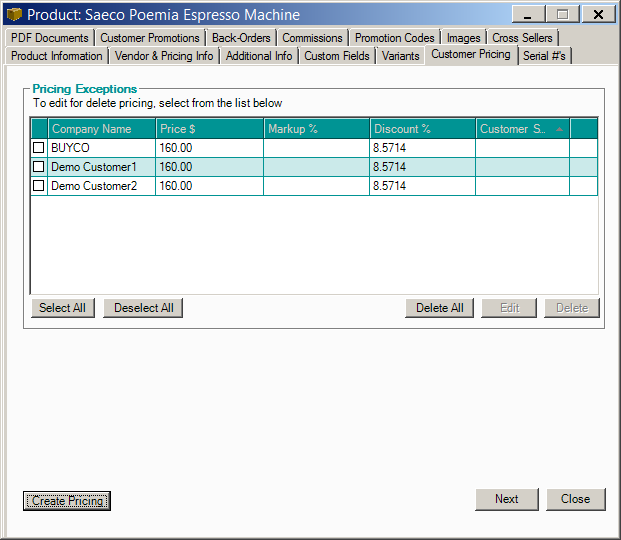
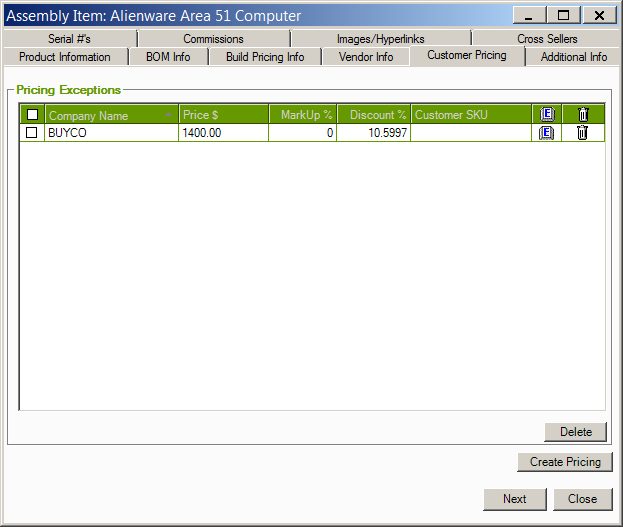
- You can confirm that the pricing has been imported by clicking on Products > View All Products > Edit > Customer Pricing. Here you will see the pricing you have just imported
Add Customers to the Group and Apply Pricing
- Click on Customers > Customer Groups
- Select the group and make sure to check “Create Customer Pricing”. Then, click on “Associate Customer to Group”
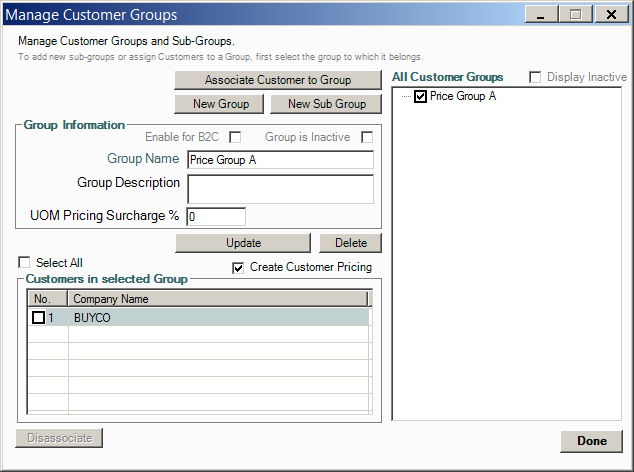
- Select the customers to add that pricing for and click “Add”
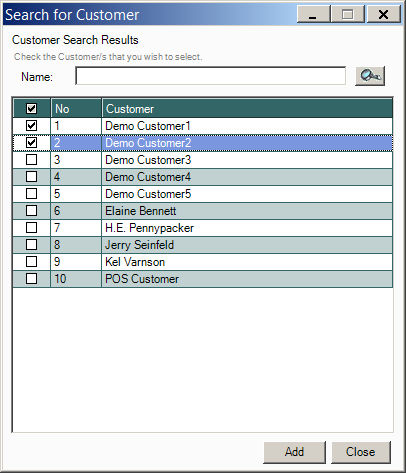
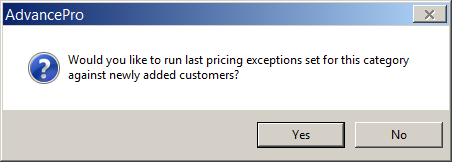
- Click “Yes” to apply the pricing from your first customer to the other customers within the group
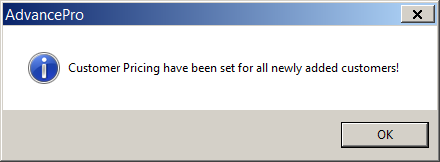
- AdvancePro will apply the pricing to the new customers in the group and provide confirmation.
Adding Pricing for New Products
- When creating a new product, click Customer Pricing > Create Pricing
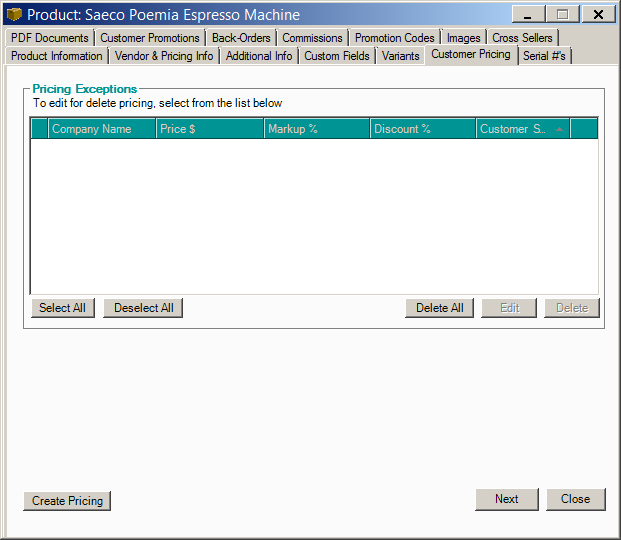
- Select the group of customers from the drop down menu. This will select all customers within that price group. Enter your selling price for the group and click on “Add Pricing”
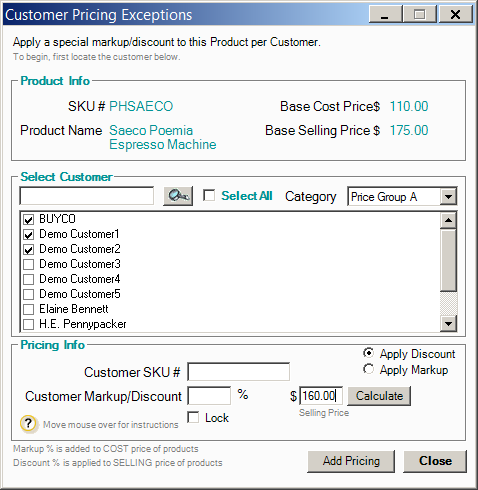
- Your pricing for the group has now been created