- Knowledge Base
- HOW TO GUIDES
- VENDORS
ETA for Inbound Products
How to view and set the Expected Time of Arrival for Vendor Orders
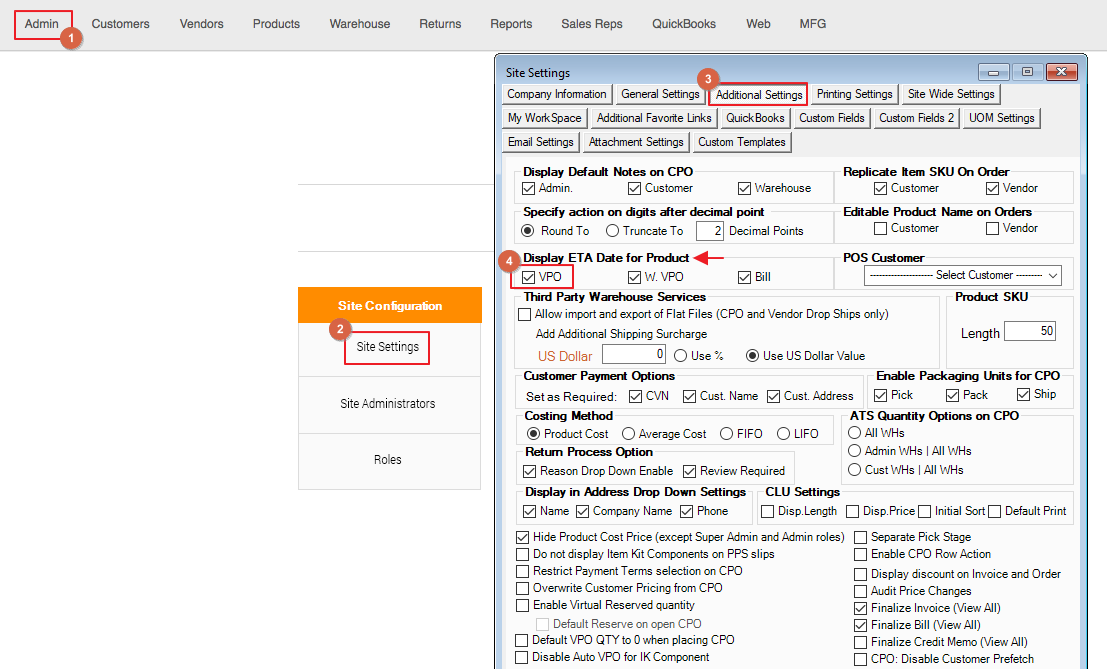
I. Activate Expected Time of Arrival for Vendor Orders
Go to Admin > Site Settings > Additional Settings.
Then check the VPO option under Display ETA Date for Product.
II. Set and view the ETA
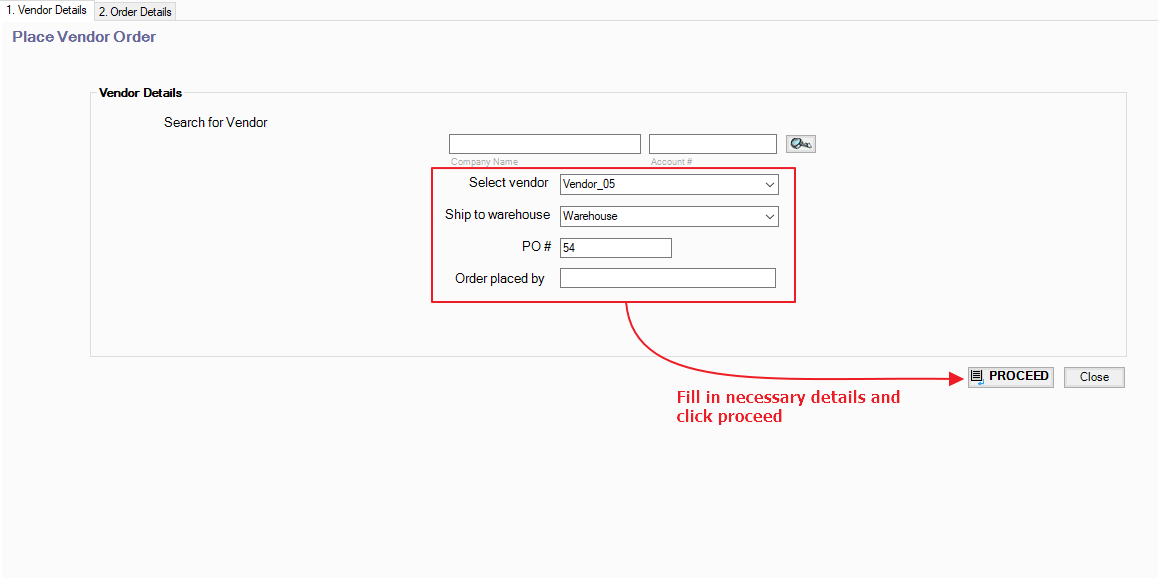
1. Go to Vendors and Create a Vendor Order
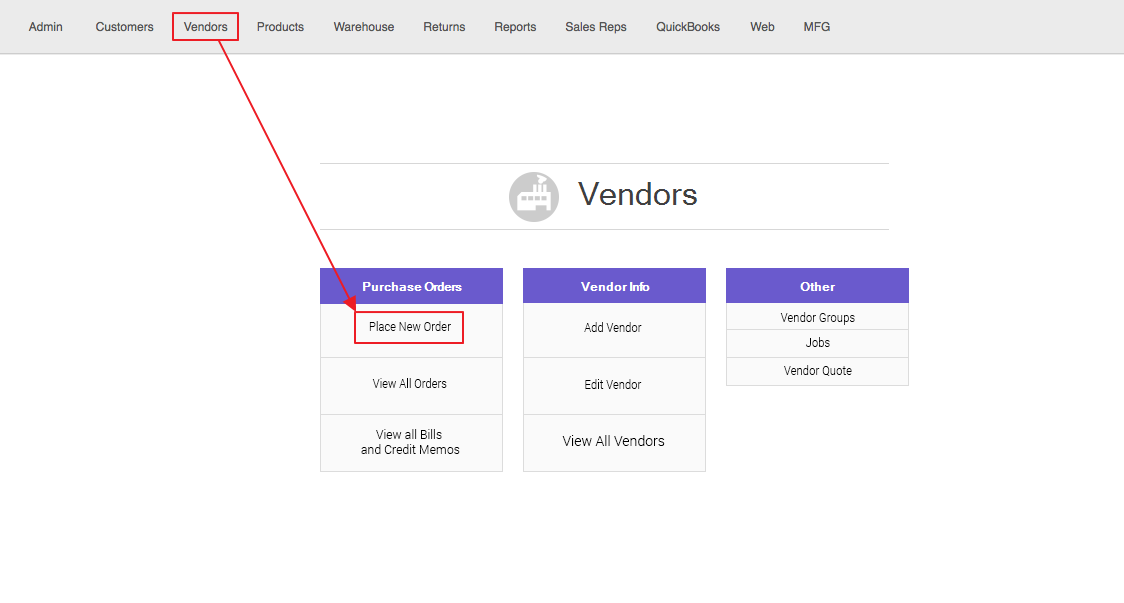
Enter Vendor Details
2. Add Products on Order Details
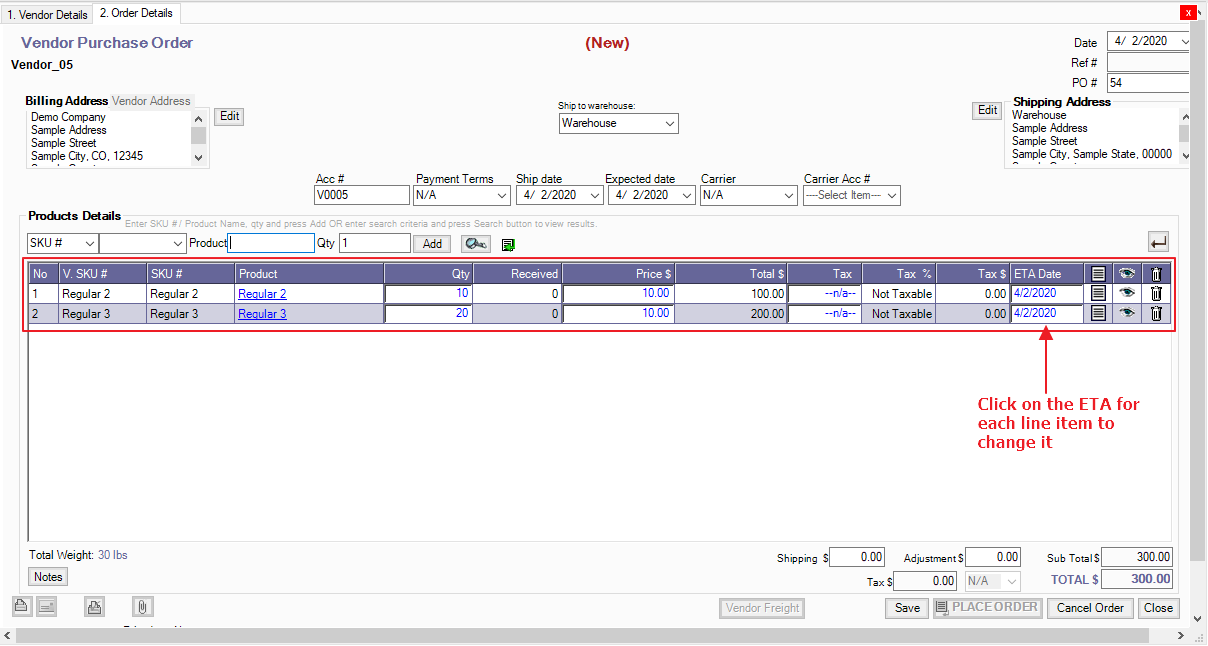
Set the ETA for each line item on the order by selecting the date on the drop-down calendar
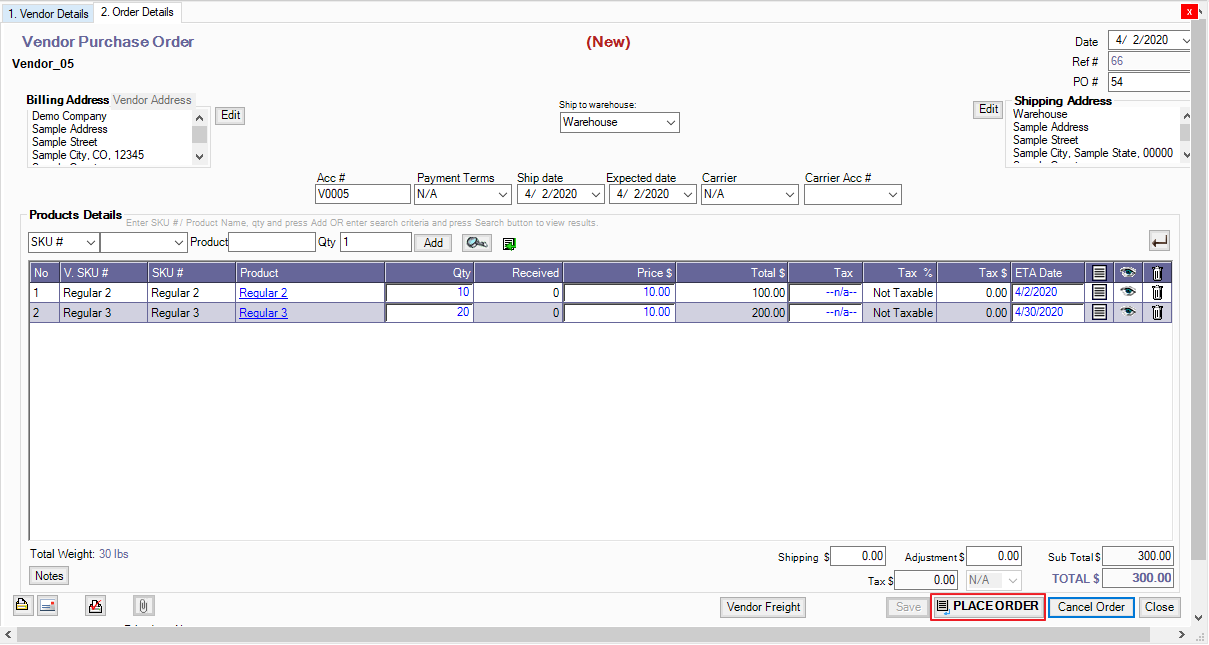
3. Click Save and Place Order to Process it to the Warehouse for Receiving

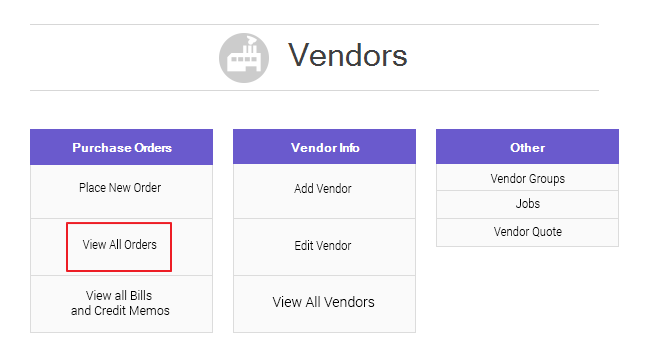
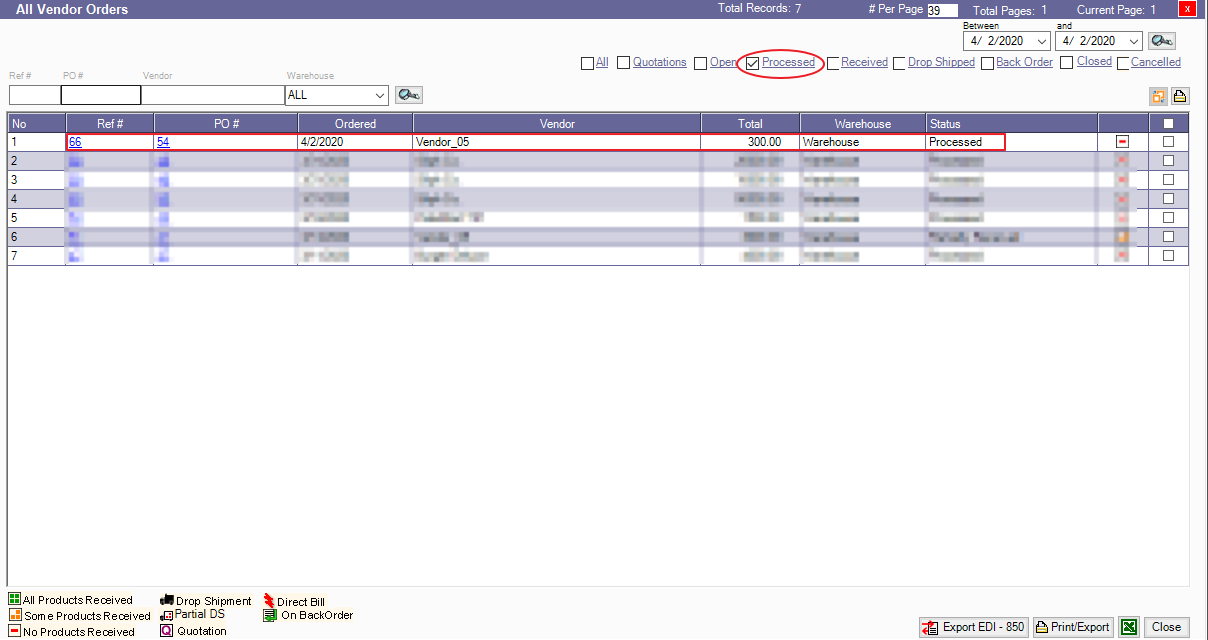
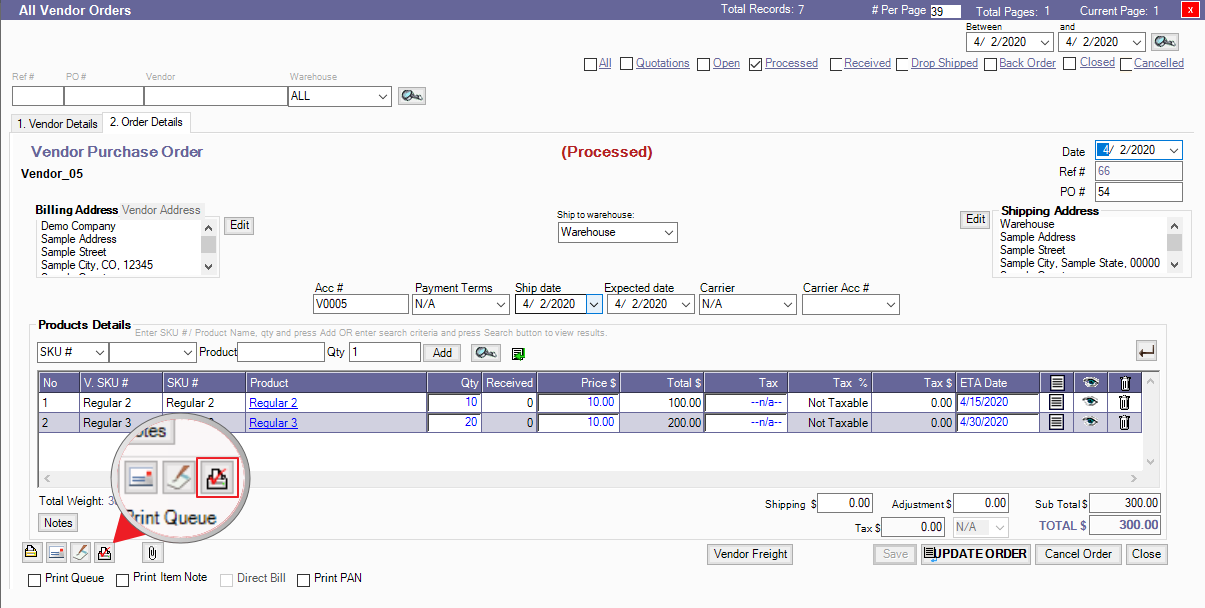
3.1. Additionally, after Placing the Vendor Order, you may still update the ETA by going back to the Processed Orders in View All Vendor Orders.
- Click Save and UPDATE ORDER after making changes
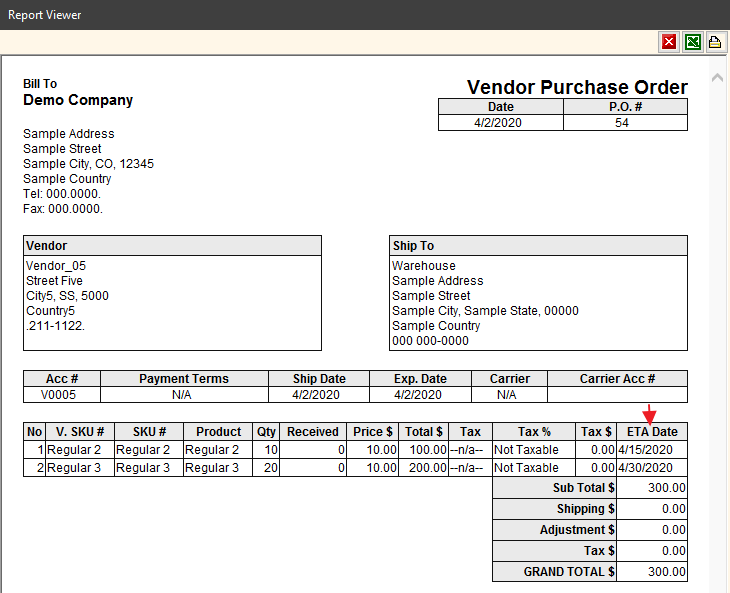
3.2. Then, you may click the SmartPrintPro icon to Print the Preview of the Vendor Order
- The Print Preview will also show the ETA Date

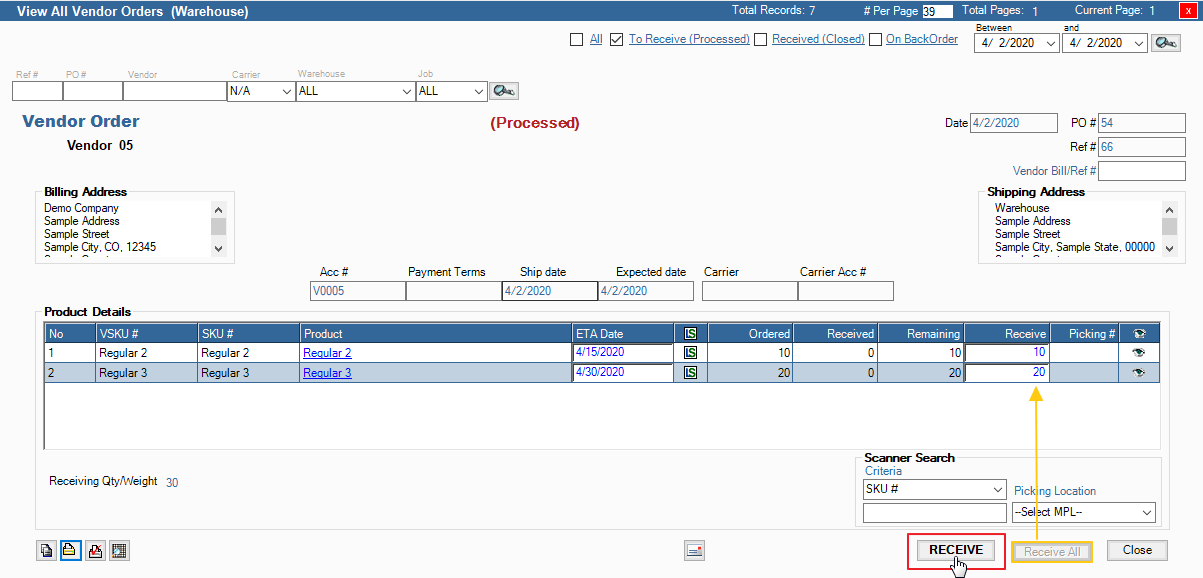
4. Go to the Warehouse > Orders to Receive
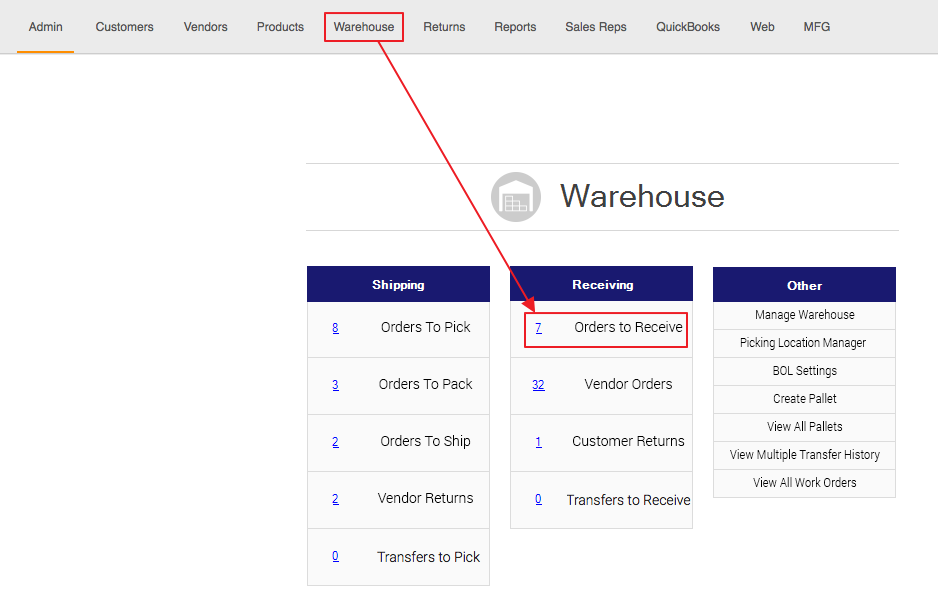
Select the Order by clicking the Ref# or PO#

5. Receive the Products
Click the
button to automatically set the Receive amount to the amount Ordered, then click RECEIVE.