AdvancePro now has the ability to integrate with ShipEngine.
To set up ship engine as carrier for AdvancePro you’ll first need to go through the following process:
Registration
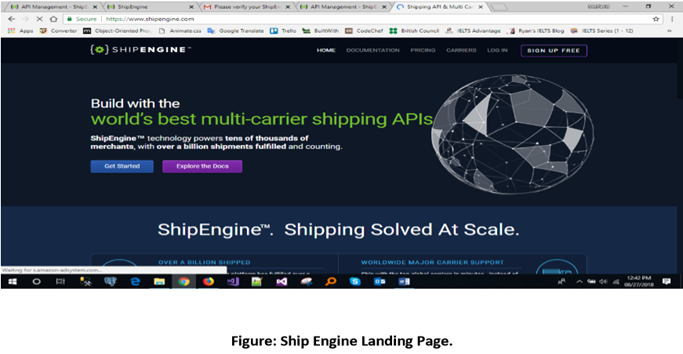
1. Go to: https://www.shipengine.com/. To create ship engine account. See the following figure:
2. Once you visit above mentioned URL you will get a sign-up button. Click on that button and you will get the following figure:

After clicking on the sign up button you will get the following figure:
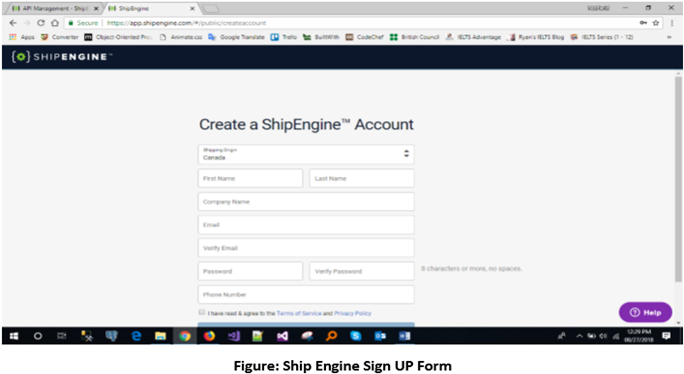
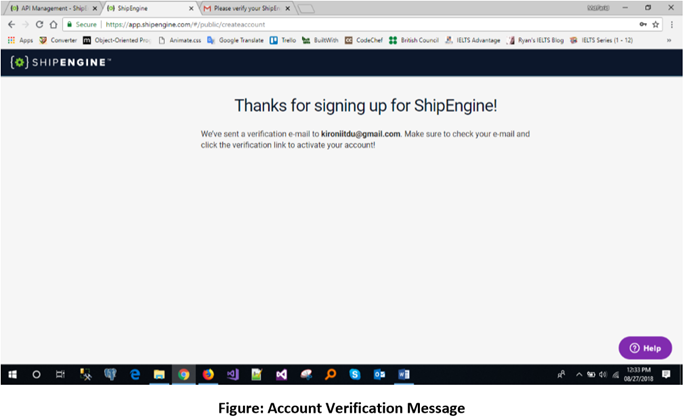
Enter your account information and sign up. An email should be sent to your account and you should get the following:
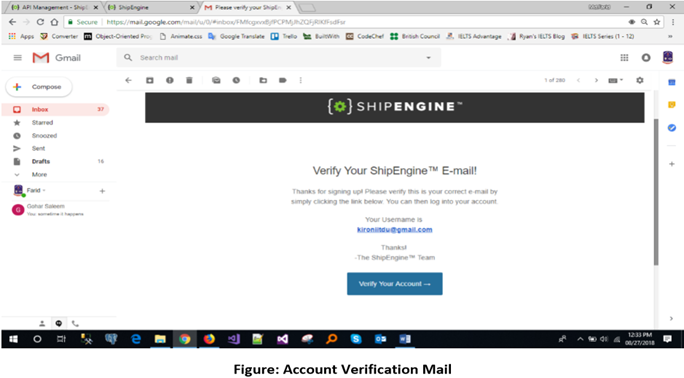
3. Login to your email & verify ship engine registered account as shown in the figure below.
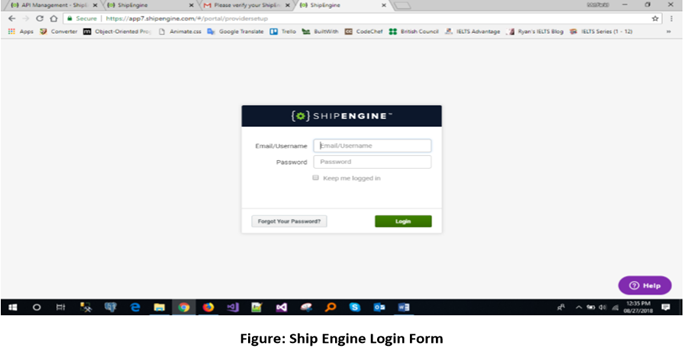
Once your account is verified, you should be taken to the ShipEngine login page.
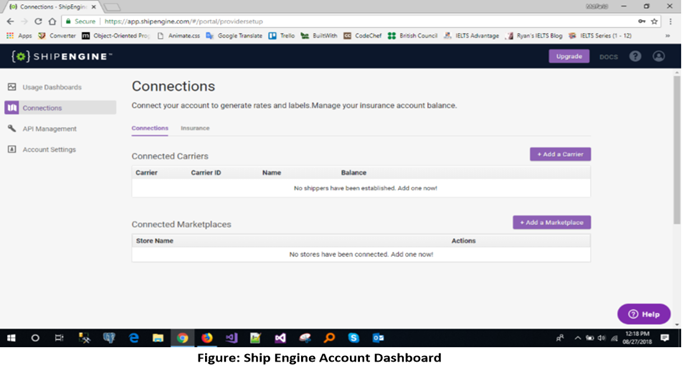
After a successful login, you will see following dashboard:
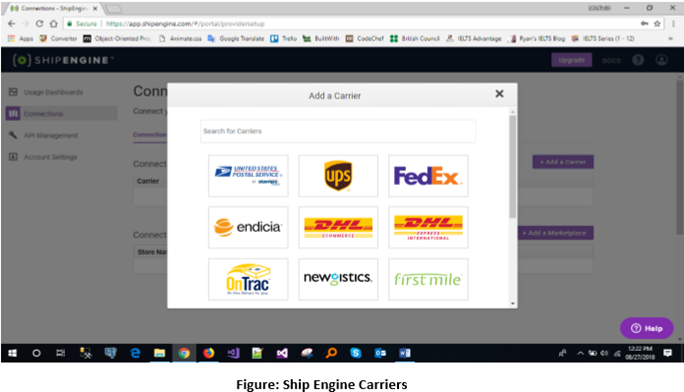
Click the Add a Carrier button and window will appear with a list of carriers as shown below
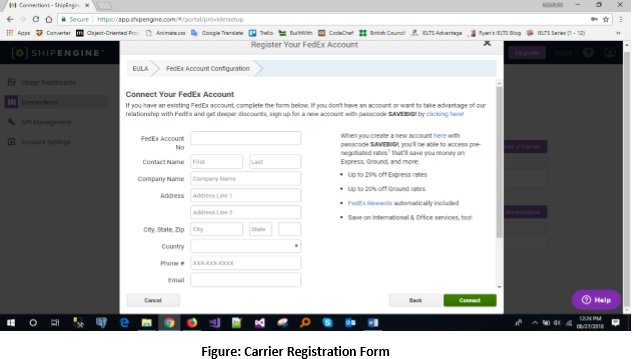
Select the appropriate carrier and you will be prompted with a terms & condition page and upon agreeing you will be taken to a registration form as shown below
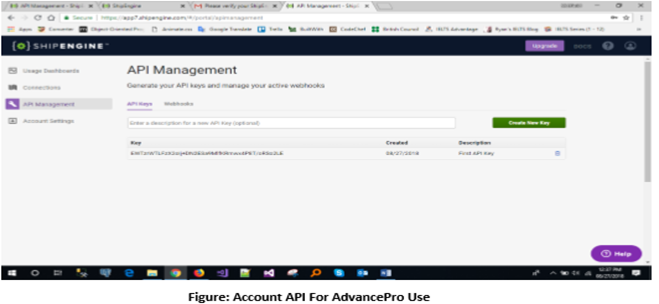
After setting your carrier in your ShipEngine account, move to the API management menu. Click on that you will see an API key. Copy the API key for ShipEngine setting menu. See below.
ShipEngine Settings in AdvancePro
After completing the previous steps, you should now be ready to configure the integration in AdvancePro
1. In AdvancePro, go to Admin > Utilities > ShipEngine
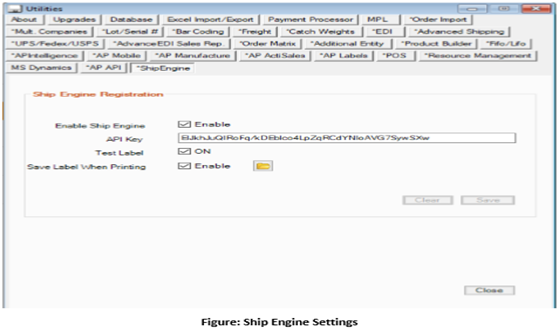
Settings Details
Enable Ship Engine: This checkbox allows you to activate or deactivate Ship Engine on AdvancePro.
API key: You will be given an API key when you register for Ship Engine. Enter your API key here as this API key will be used for any transactions through ShipEngine.
Test Label: This refers to a test basis implementation of ShipEngine. Once you check the ON box, ShipEngine will activate it for testing purposes.
Save label when printing: This feature enables you to save/create your label in a selected file directory
Folder Icon: This icon allows to select the location for which to save your label
Validating Customer address info in AdvancePro
ShipEngine requires that address info in AdvancePro be valid, so you will need to ensure that when placing orders in AdvancePro - The address info is valid/accurate otherwise ShipEngine will prompt you to provide a valid one. See steps below for where in AdvancePro you will be able to verify and edit customer address info.
Customer Address Validation
To navigate to the customer edit screen, go to Customers > Edit Customer > Click the edit icon for a customer > Click the Address Info tab
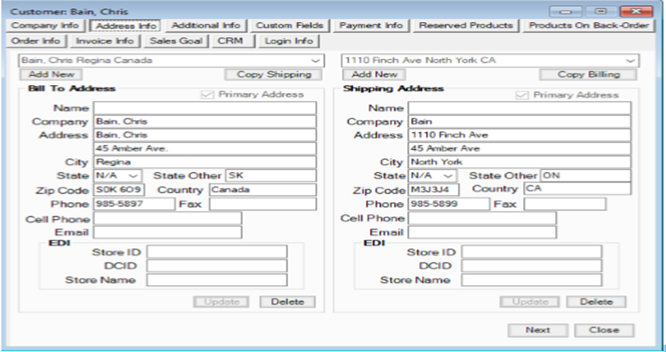
Note: The Company name, Address, City, Zip Code, State, Country are mandatory fields.
Customer Address Validation on Customer Orders
You may also verify and modify address information on the customer orders themselves
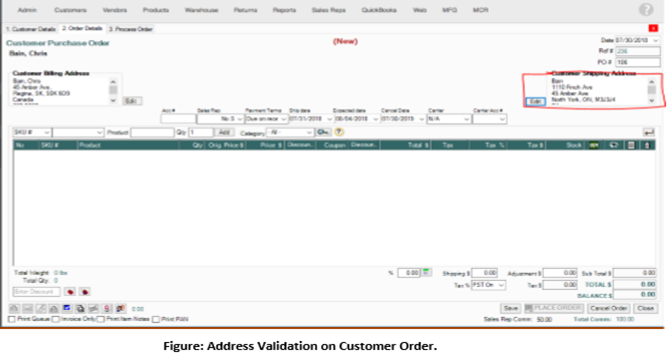
Note: Once you navigate to above mentioned screen and entered the required information on address Info tab, when you click on update or add (for new entry) Ship engine API will validate the address. If the address is not valid then the API would prompt you.
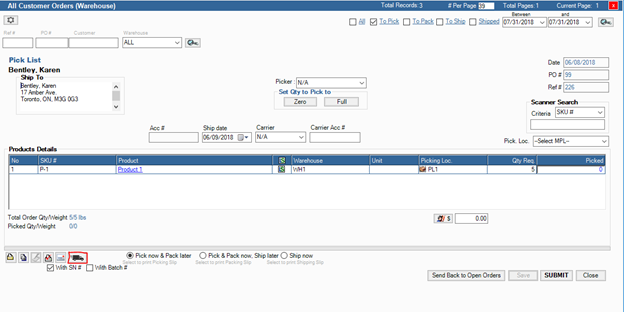
Shipping your order
After processing a customer order to the warehouse you may proceed to ship orders by clicking Warehouse > Orders to Pick > Select and open your order > Click the Shipping button shown in the example below.
Printing a Label
In addition to shipping orders, you may also print a label for orders after clicking the Shipping button mentioned in the previous section. In the Shipping screen there is a button to print the label. See below.

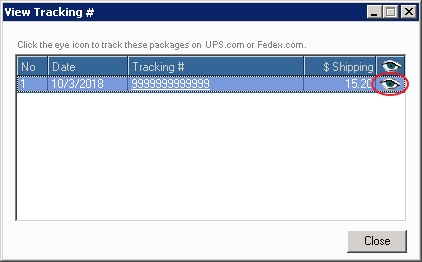
Viewing Ship Engine Tracking Information
After shipping an order you may review tracking info by going to Warehouse > Orders to Pick/Pack/Ship > Filter on Shipped orders > Select and open your order > Click the View Tracking #'s button on the center of the order screen.
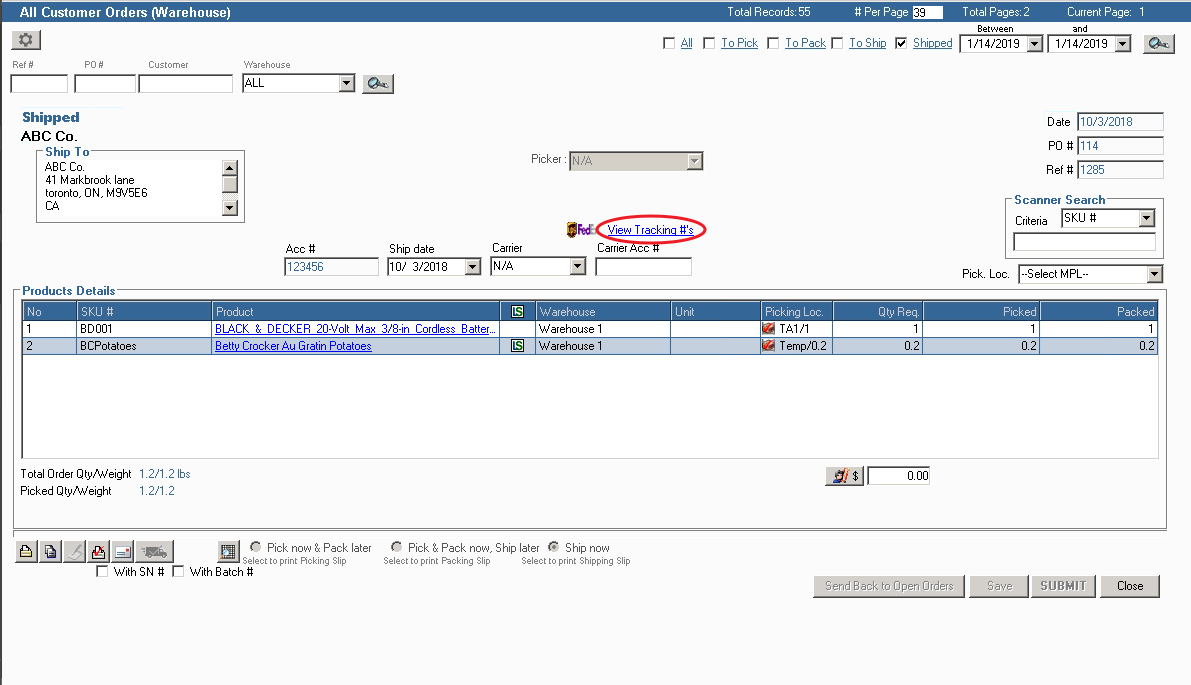
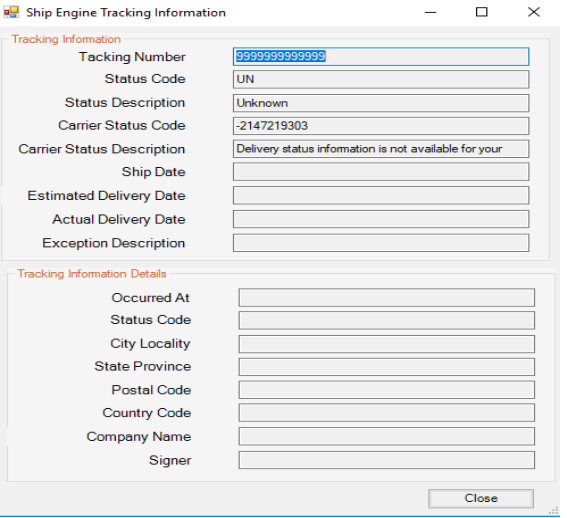
This will open the window shown below where you can click the eye symbol to view the ShipEngine tracking information