The heart of inventory management is the Product Module. This enables you to specify your purchased and sold products and create and manage products with a variety of options.
To access Products screen, you can click on Products menu and here are the sub-menus:

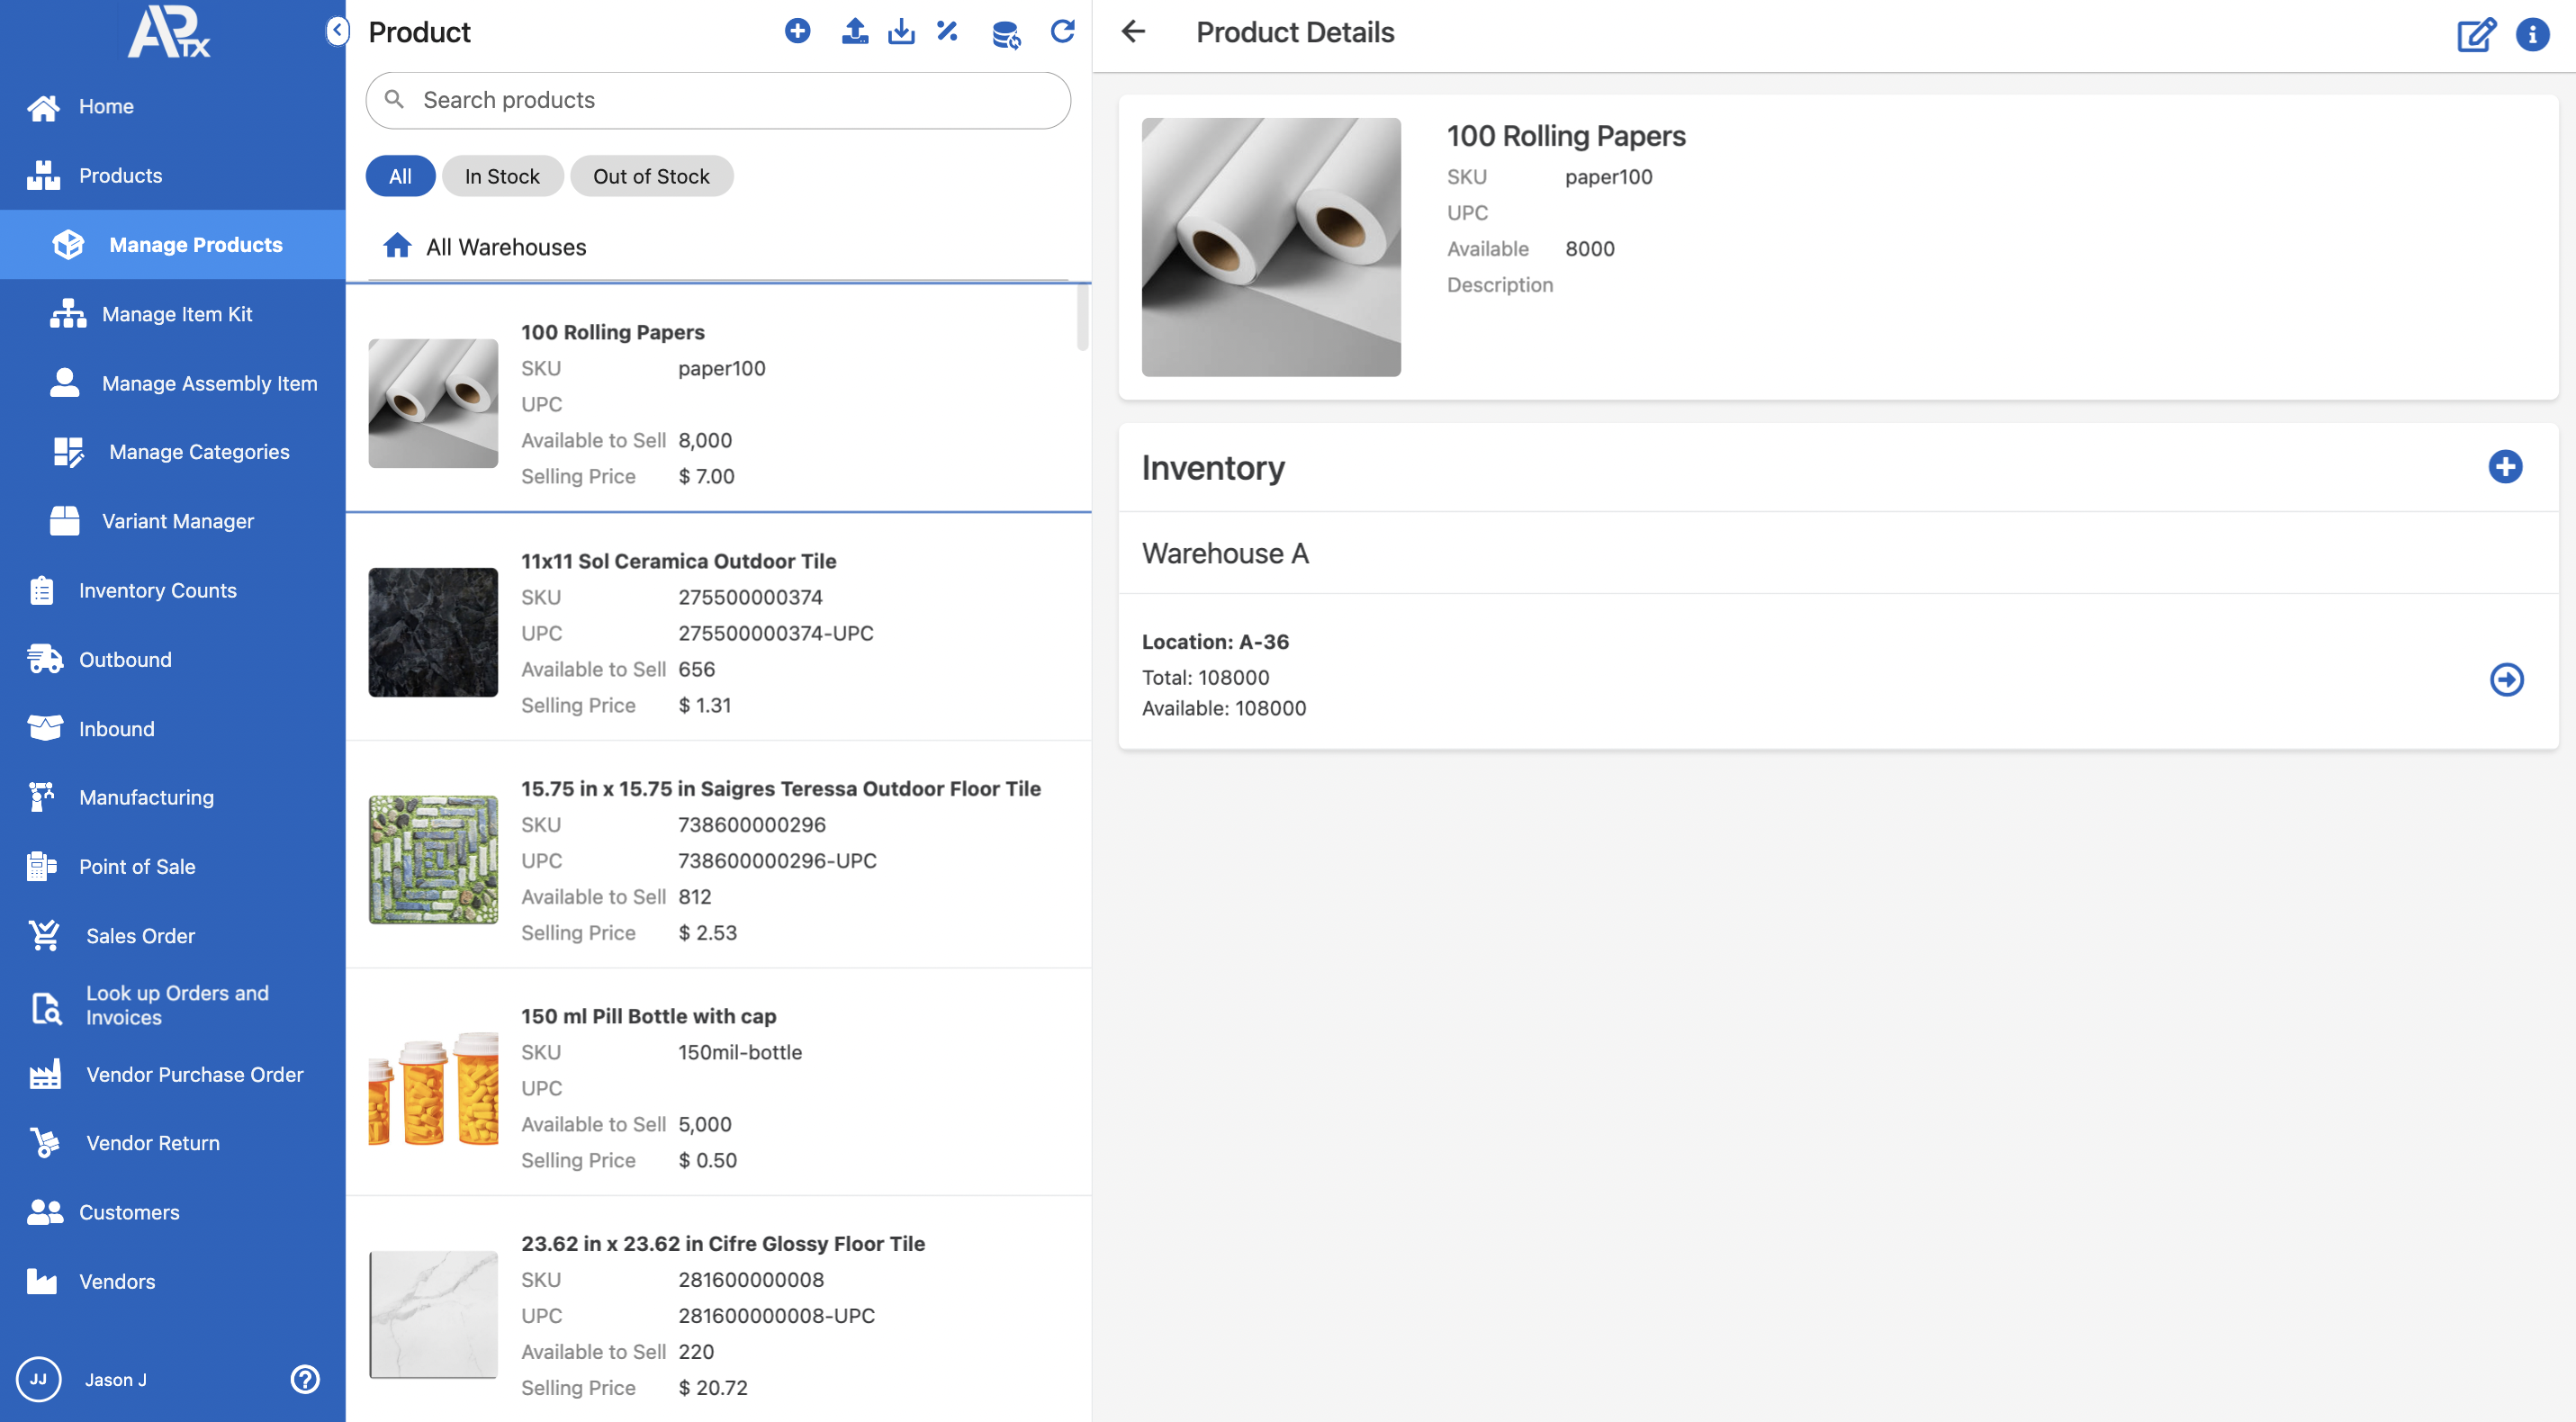
Manage Products
Manage Products sub-menu will show you your current product's statuses in relation to their stock levels. When you click on a product, you can see more information about it, including where its inventory is kept.
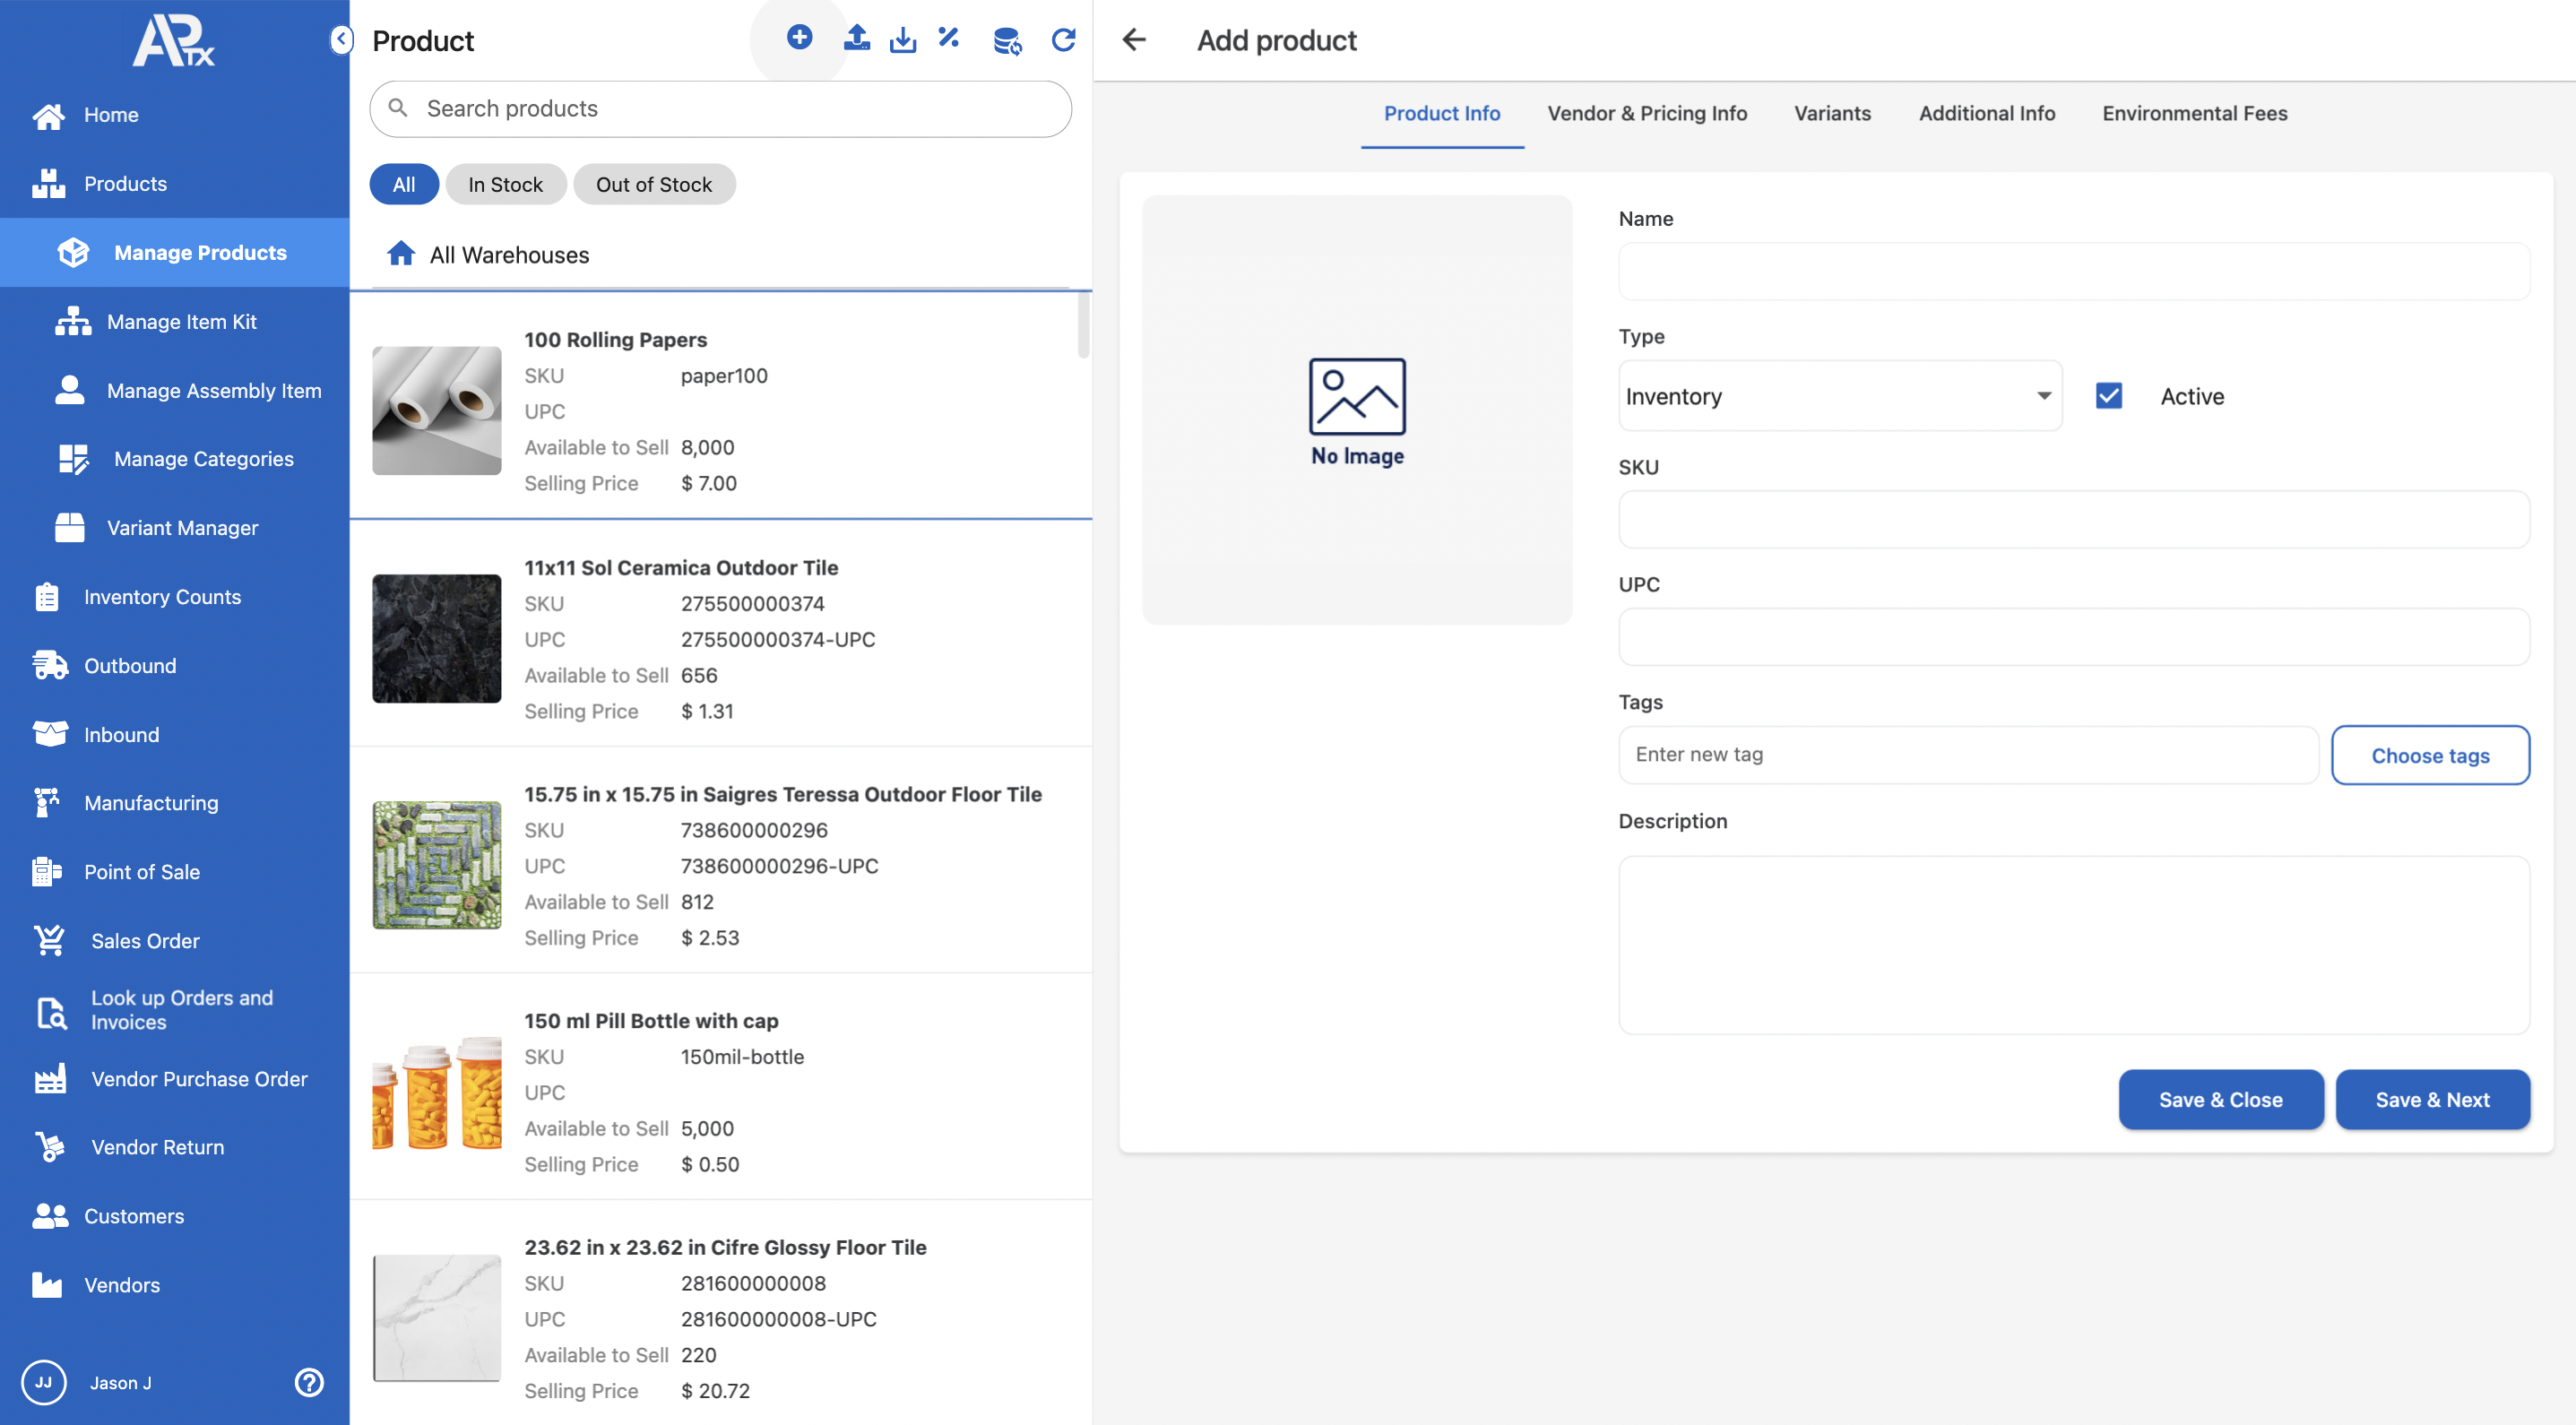
Add Product
APTX gives you the option to specify a wide range of product-related parameters when you add new products. These parameters range from the product's basic information to the vendors you can assign to it, the costs and prices you can charge, the profit margins you can set, the variations you can add, the dimensions you can add, and the unit of measurement you can add. Click on ![]() to add Product information.
to add Product information.
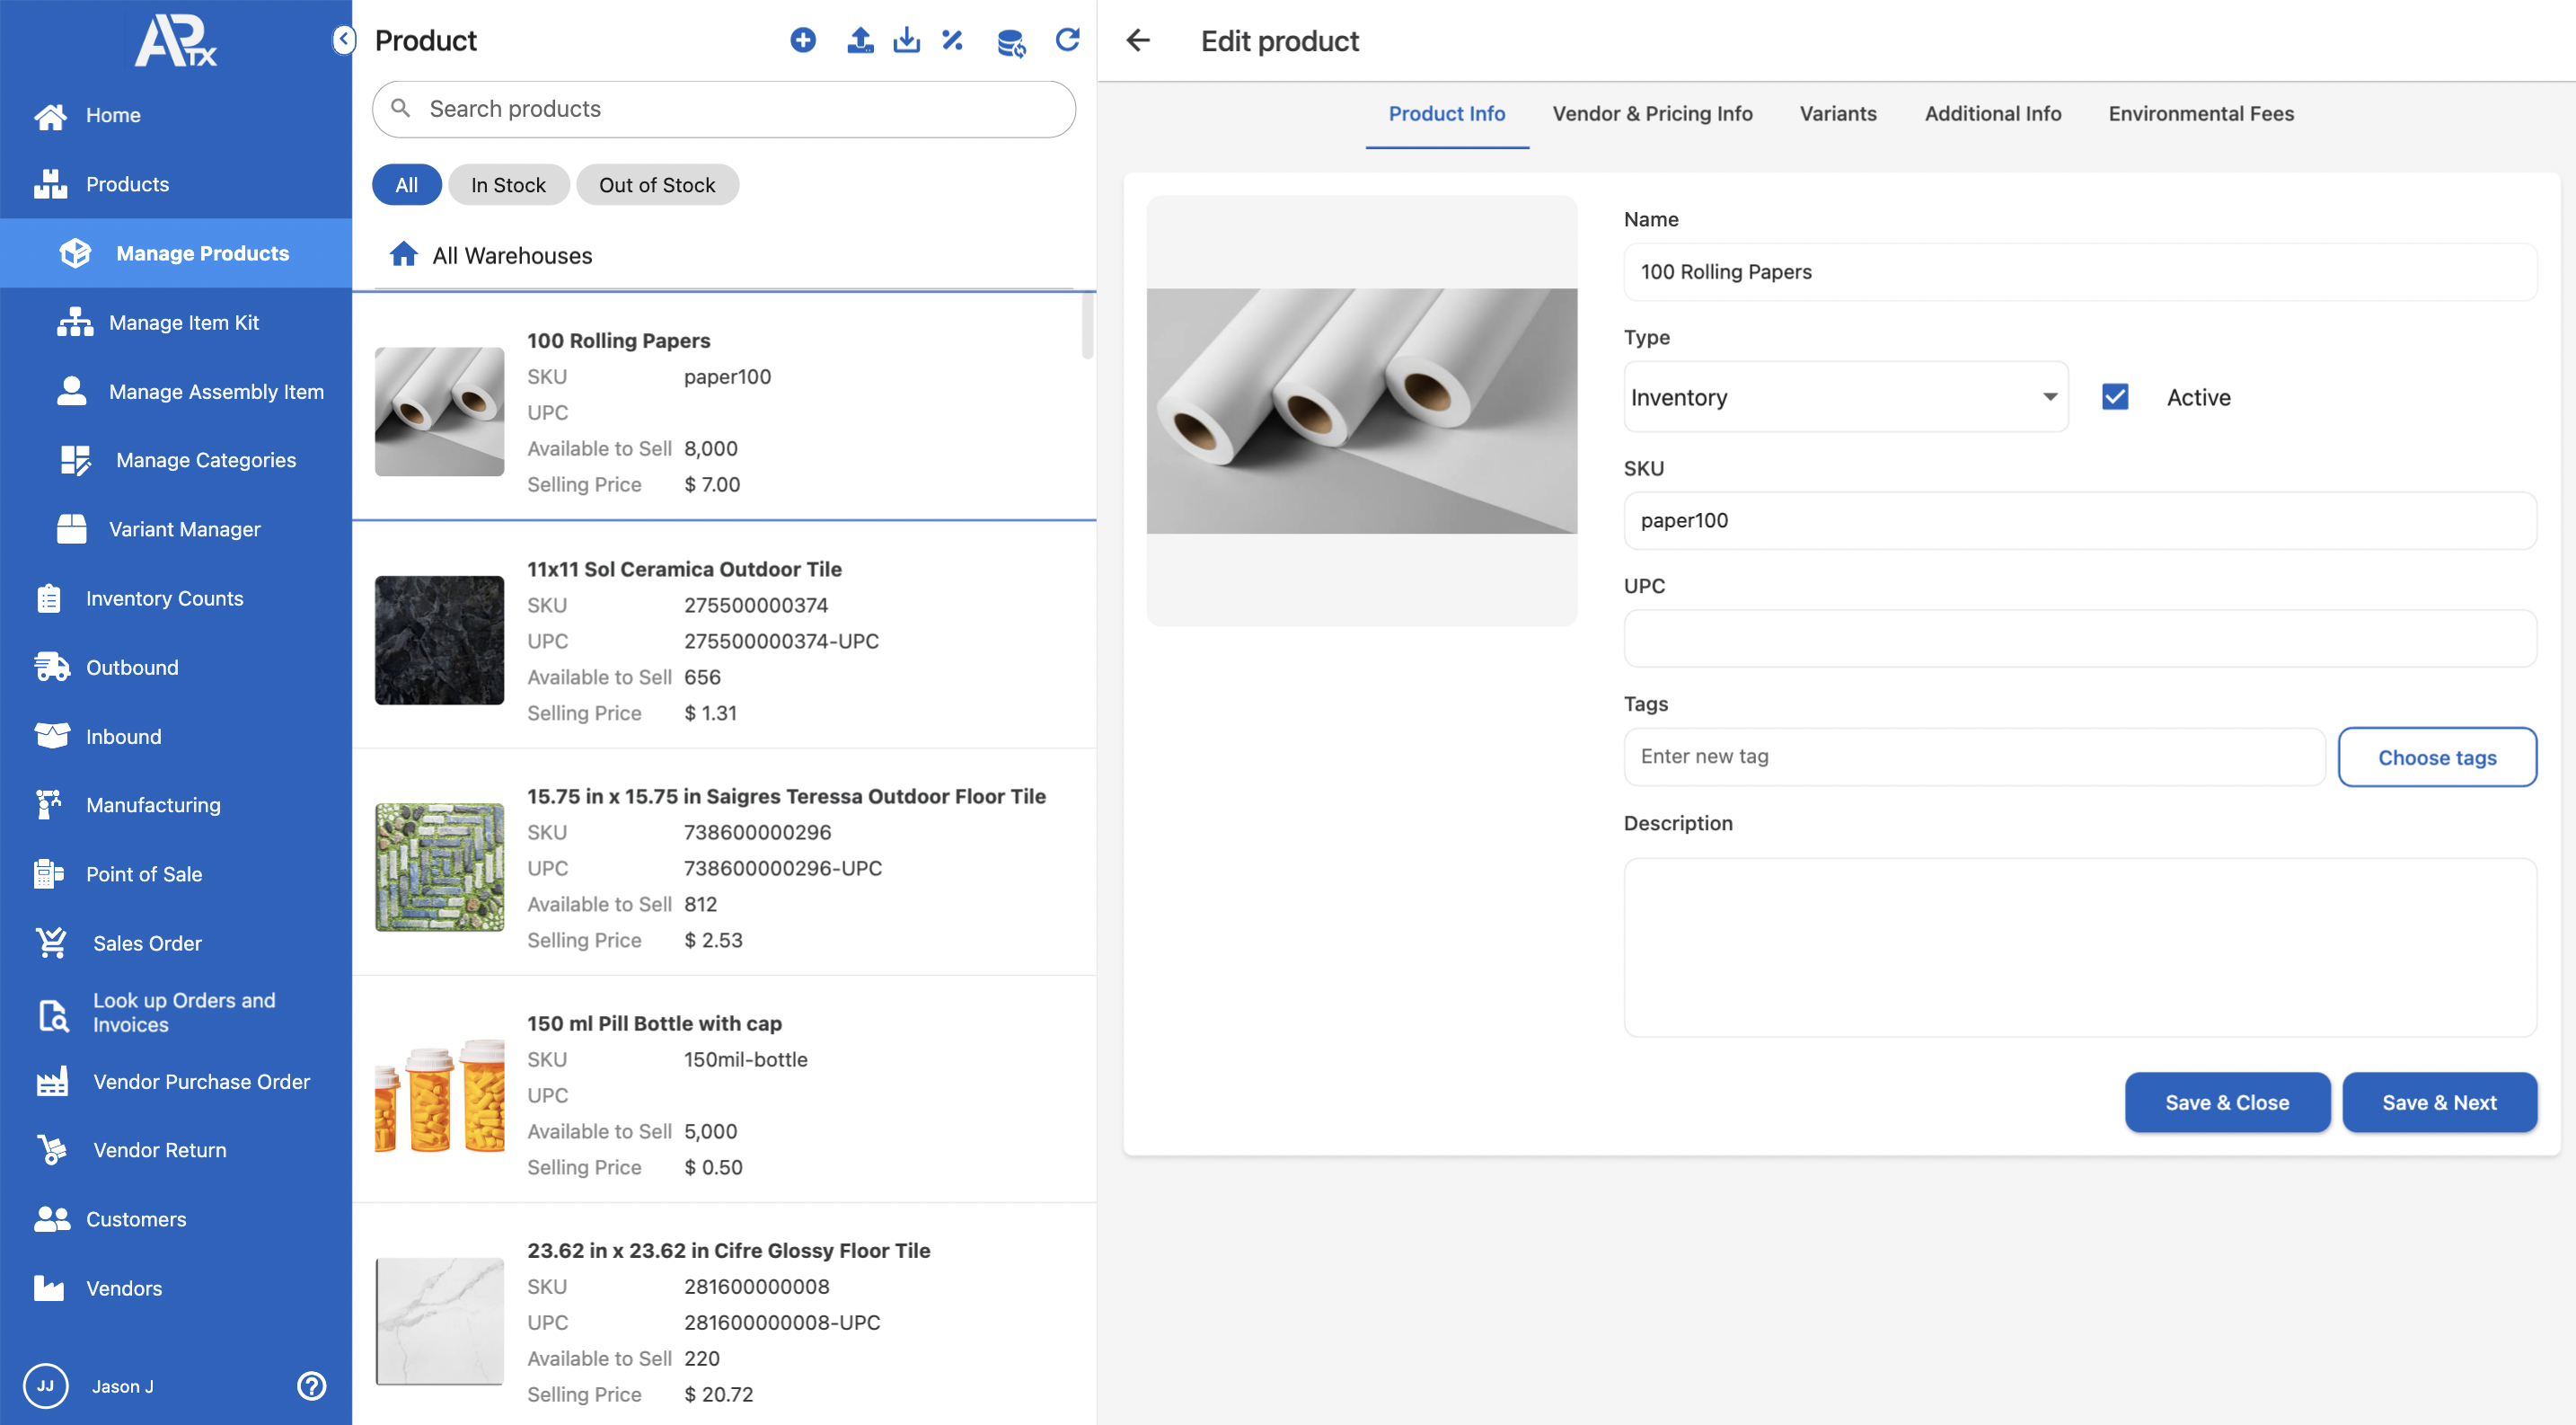
Edit Product
Click on ![]() alter a product's attributes in this view, including its price, pictures, SKUs, variations, assignment to other vendors, etc. You can also make use of our tags feature which is directly connected to eCommerce platforms.
alter a product's attributes in this view, including its price, pictures, SKUs, variations, assignment to other vendors, etc. You can also make use of our tags feature which is directly connected to eCommerce platforms.
Bulk Import Product
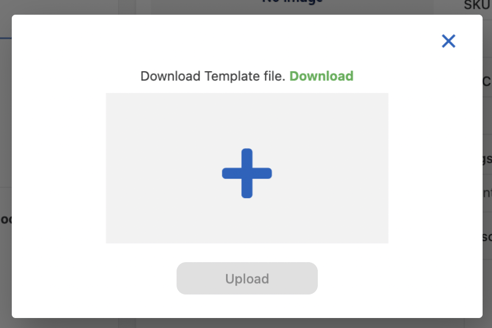
If you already have a file containing the products, this section's sophisticated tool lets you add new products, label them as taxable, and import them in bulk. To access this feature, click on ![]() click on + to upload the file.
click on + to upload the file.
Download Inventory Report
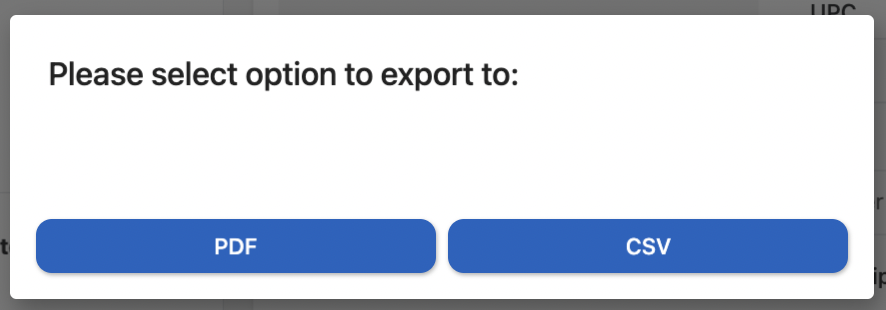
You can download Inventory Report when clicking on this ![]() button. Two options of download are available, export via PDF or CSV
button. Two options of download are available, export via PDF or CSV
You can also download customized Inventory Report based on stock levels. First select from the following filters, for instance, in-stock. This will filter all in-stock SKUs and then hit ![]() button to download the report. Another option is to use the search field to filter the products you want to put in the inventory report.
button to download the report. Another option is to use the search field to filter the products you want to put in the inventory report.
Taxable button
Clicking this ![]() button will mark all products as taxable.
button will mark all products as taxable.
Add New Warehouse/Picking Location
To add a new warehouse, click on ![]() in the Inventory section of the page. This will display the Assign location form. Next, is click on
in the Inventory section of the page. This will display the Assign location form. Next, is click on ![]() to add a new warehouse or Location.
to add a new warehouse or Location.
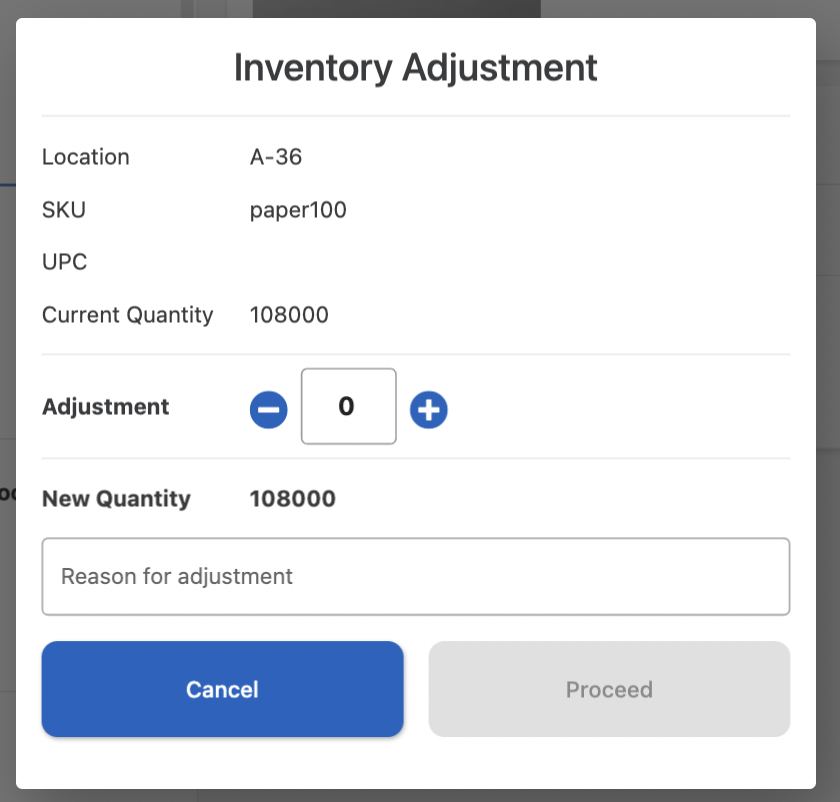
Inventory Adjustments
Inventory Adjustments can be created by clicking on the product and then clicking on the Inventory section, this will show the Inventory Adjustment window.
Transfer Stock
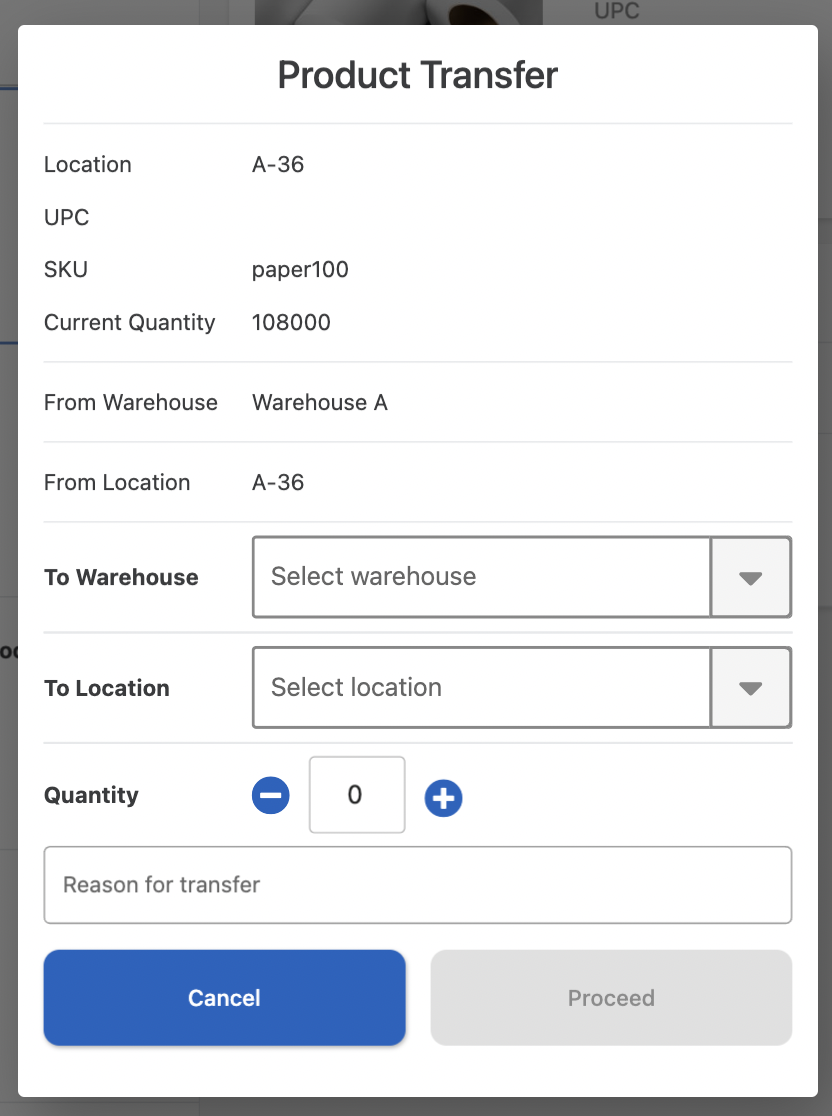
In the Manage Products screen, you can also transfer stocks from one warehouse to another and from one location to a different location. Click on ![]() to open the Product Transfer form.
to open the Product Transfer form.
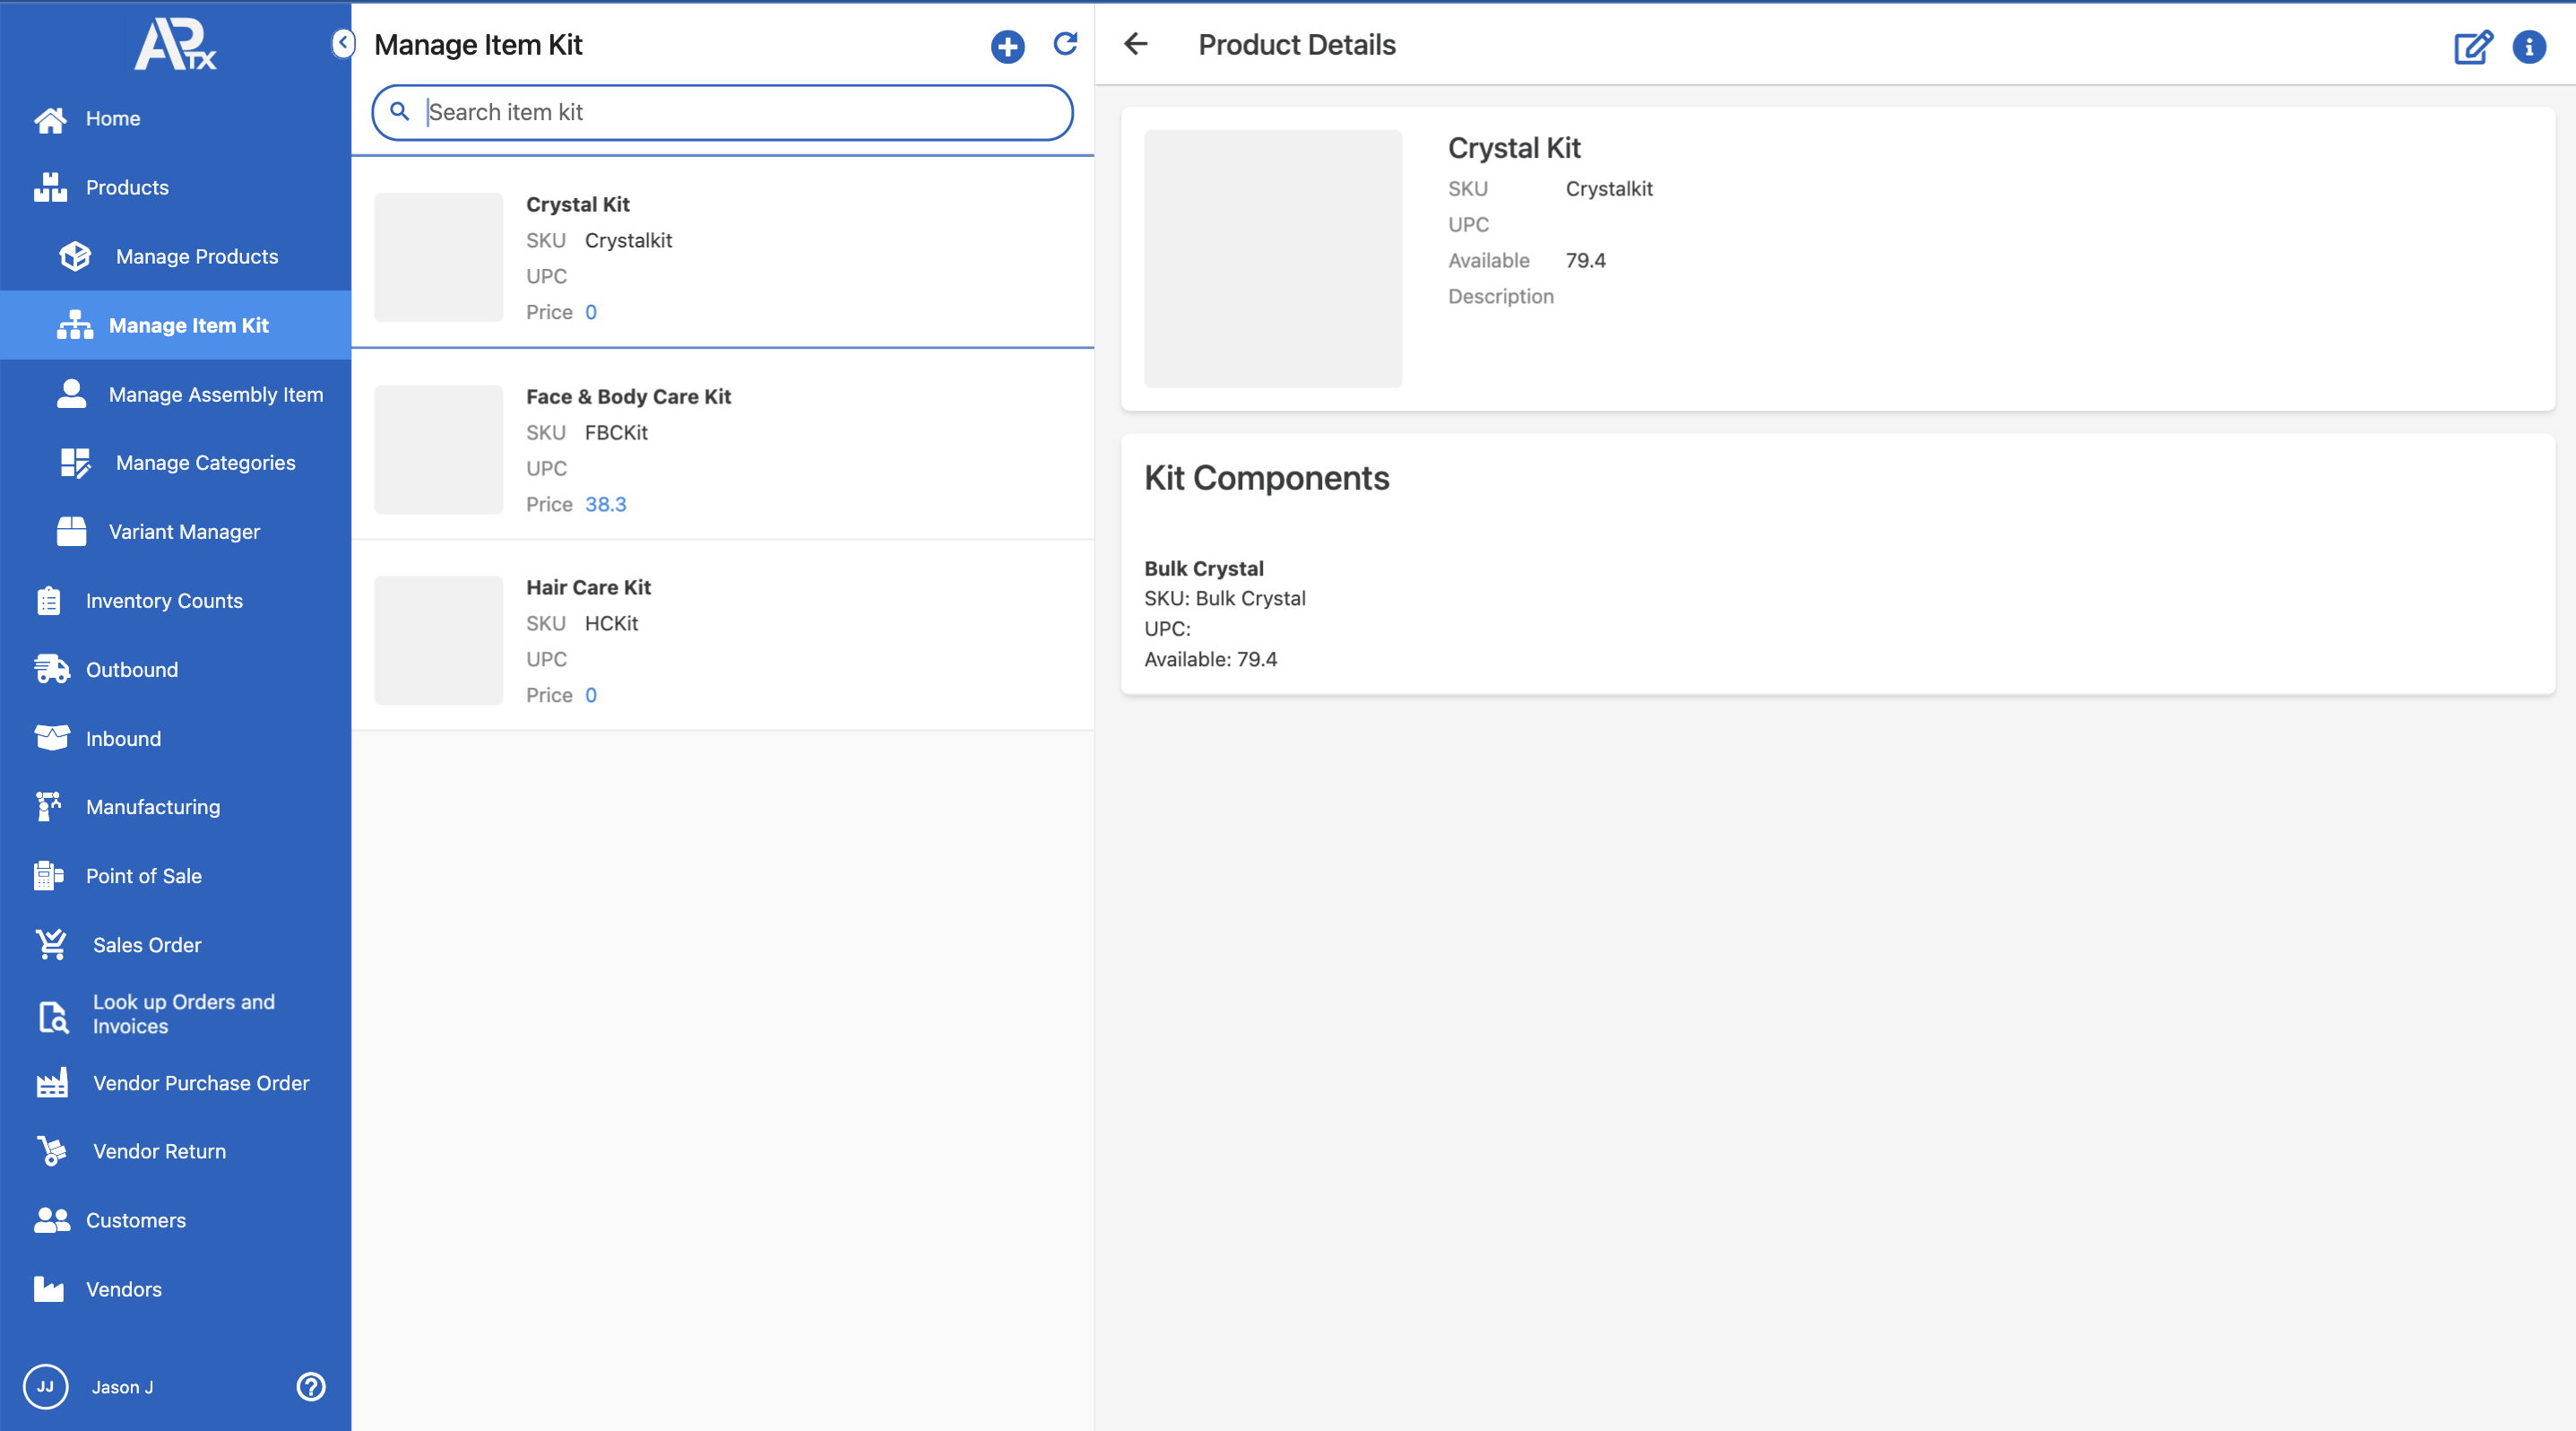
Manage Item Kit
This section lets you create item kits by naming them and configuring them with their components. You can also specify item kit parameters such as SKU and pricing. During the sales process, an item kit is sold as a single product that contains a group of products.
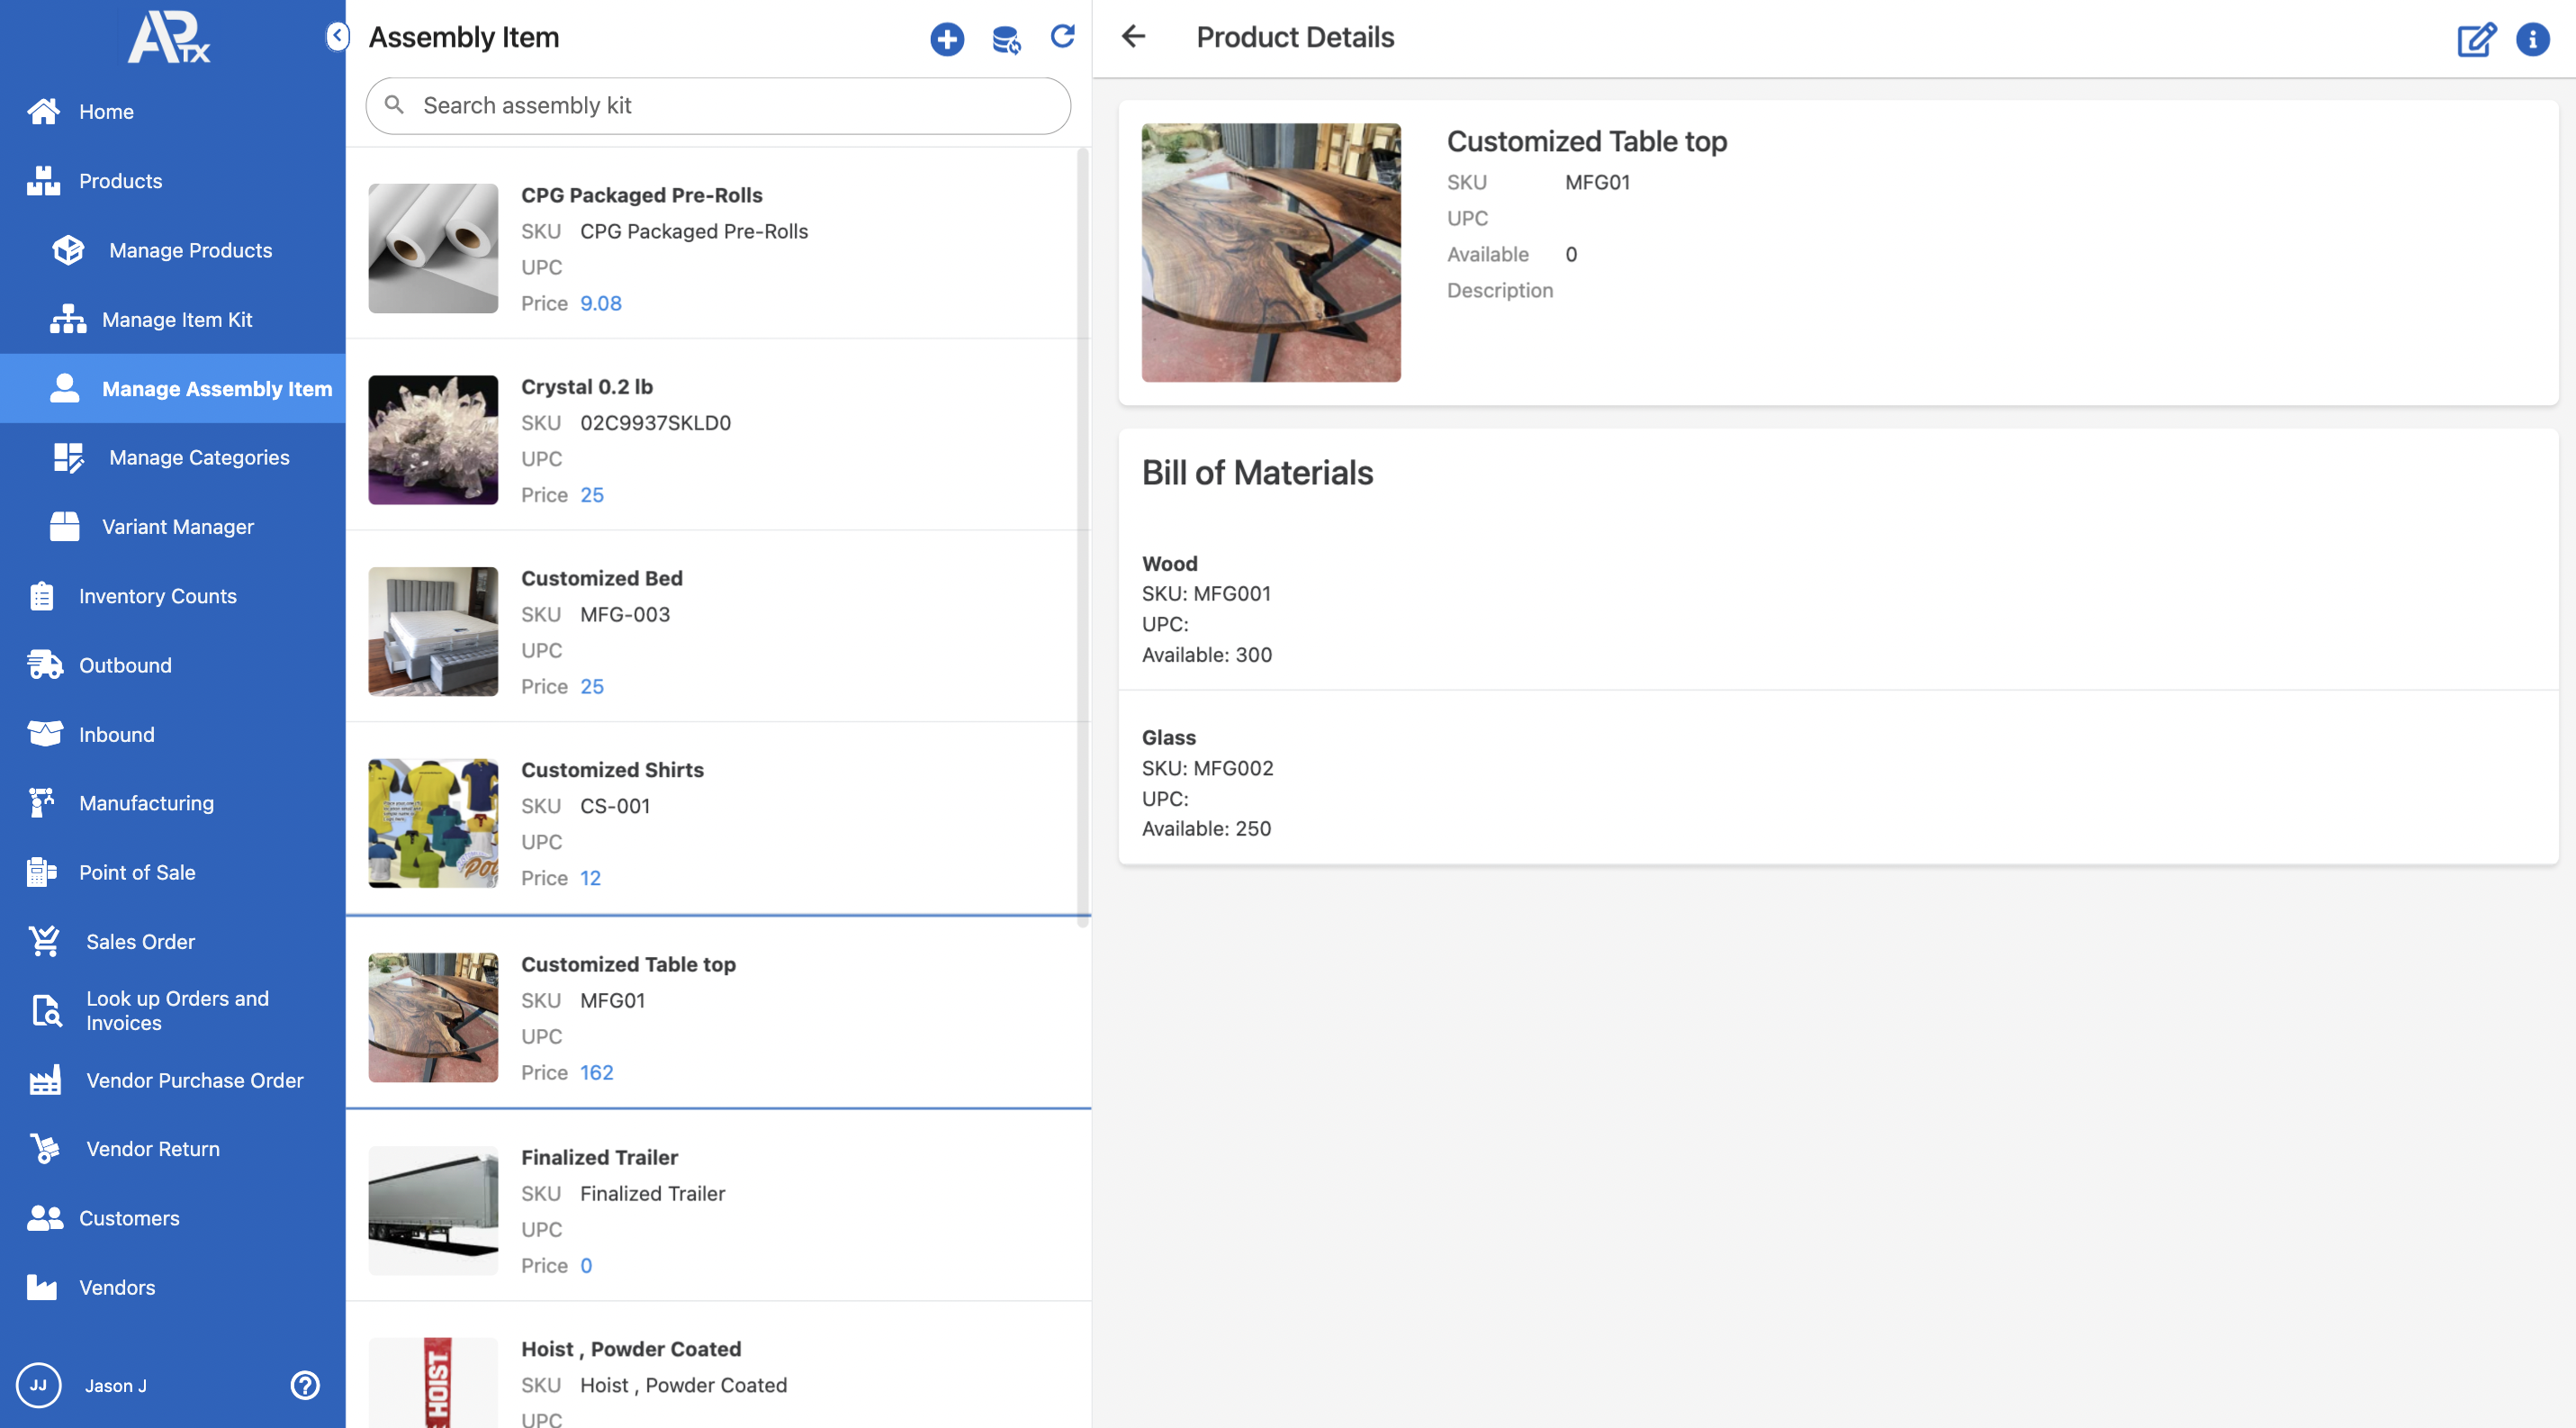
Manage Assembly Item
This can be used later in APTX's manufacturing feature, where we provide a full manufacturing management system with productivity metrics. Using a Bill of Materials, you can define a new product that is assembled using other products as parts in this section.
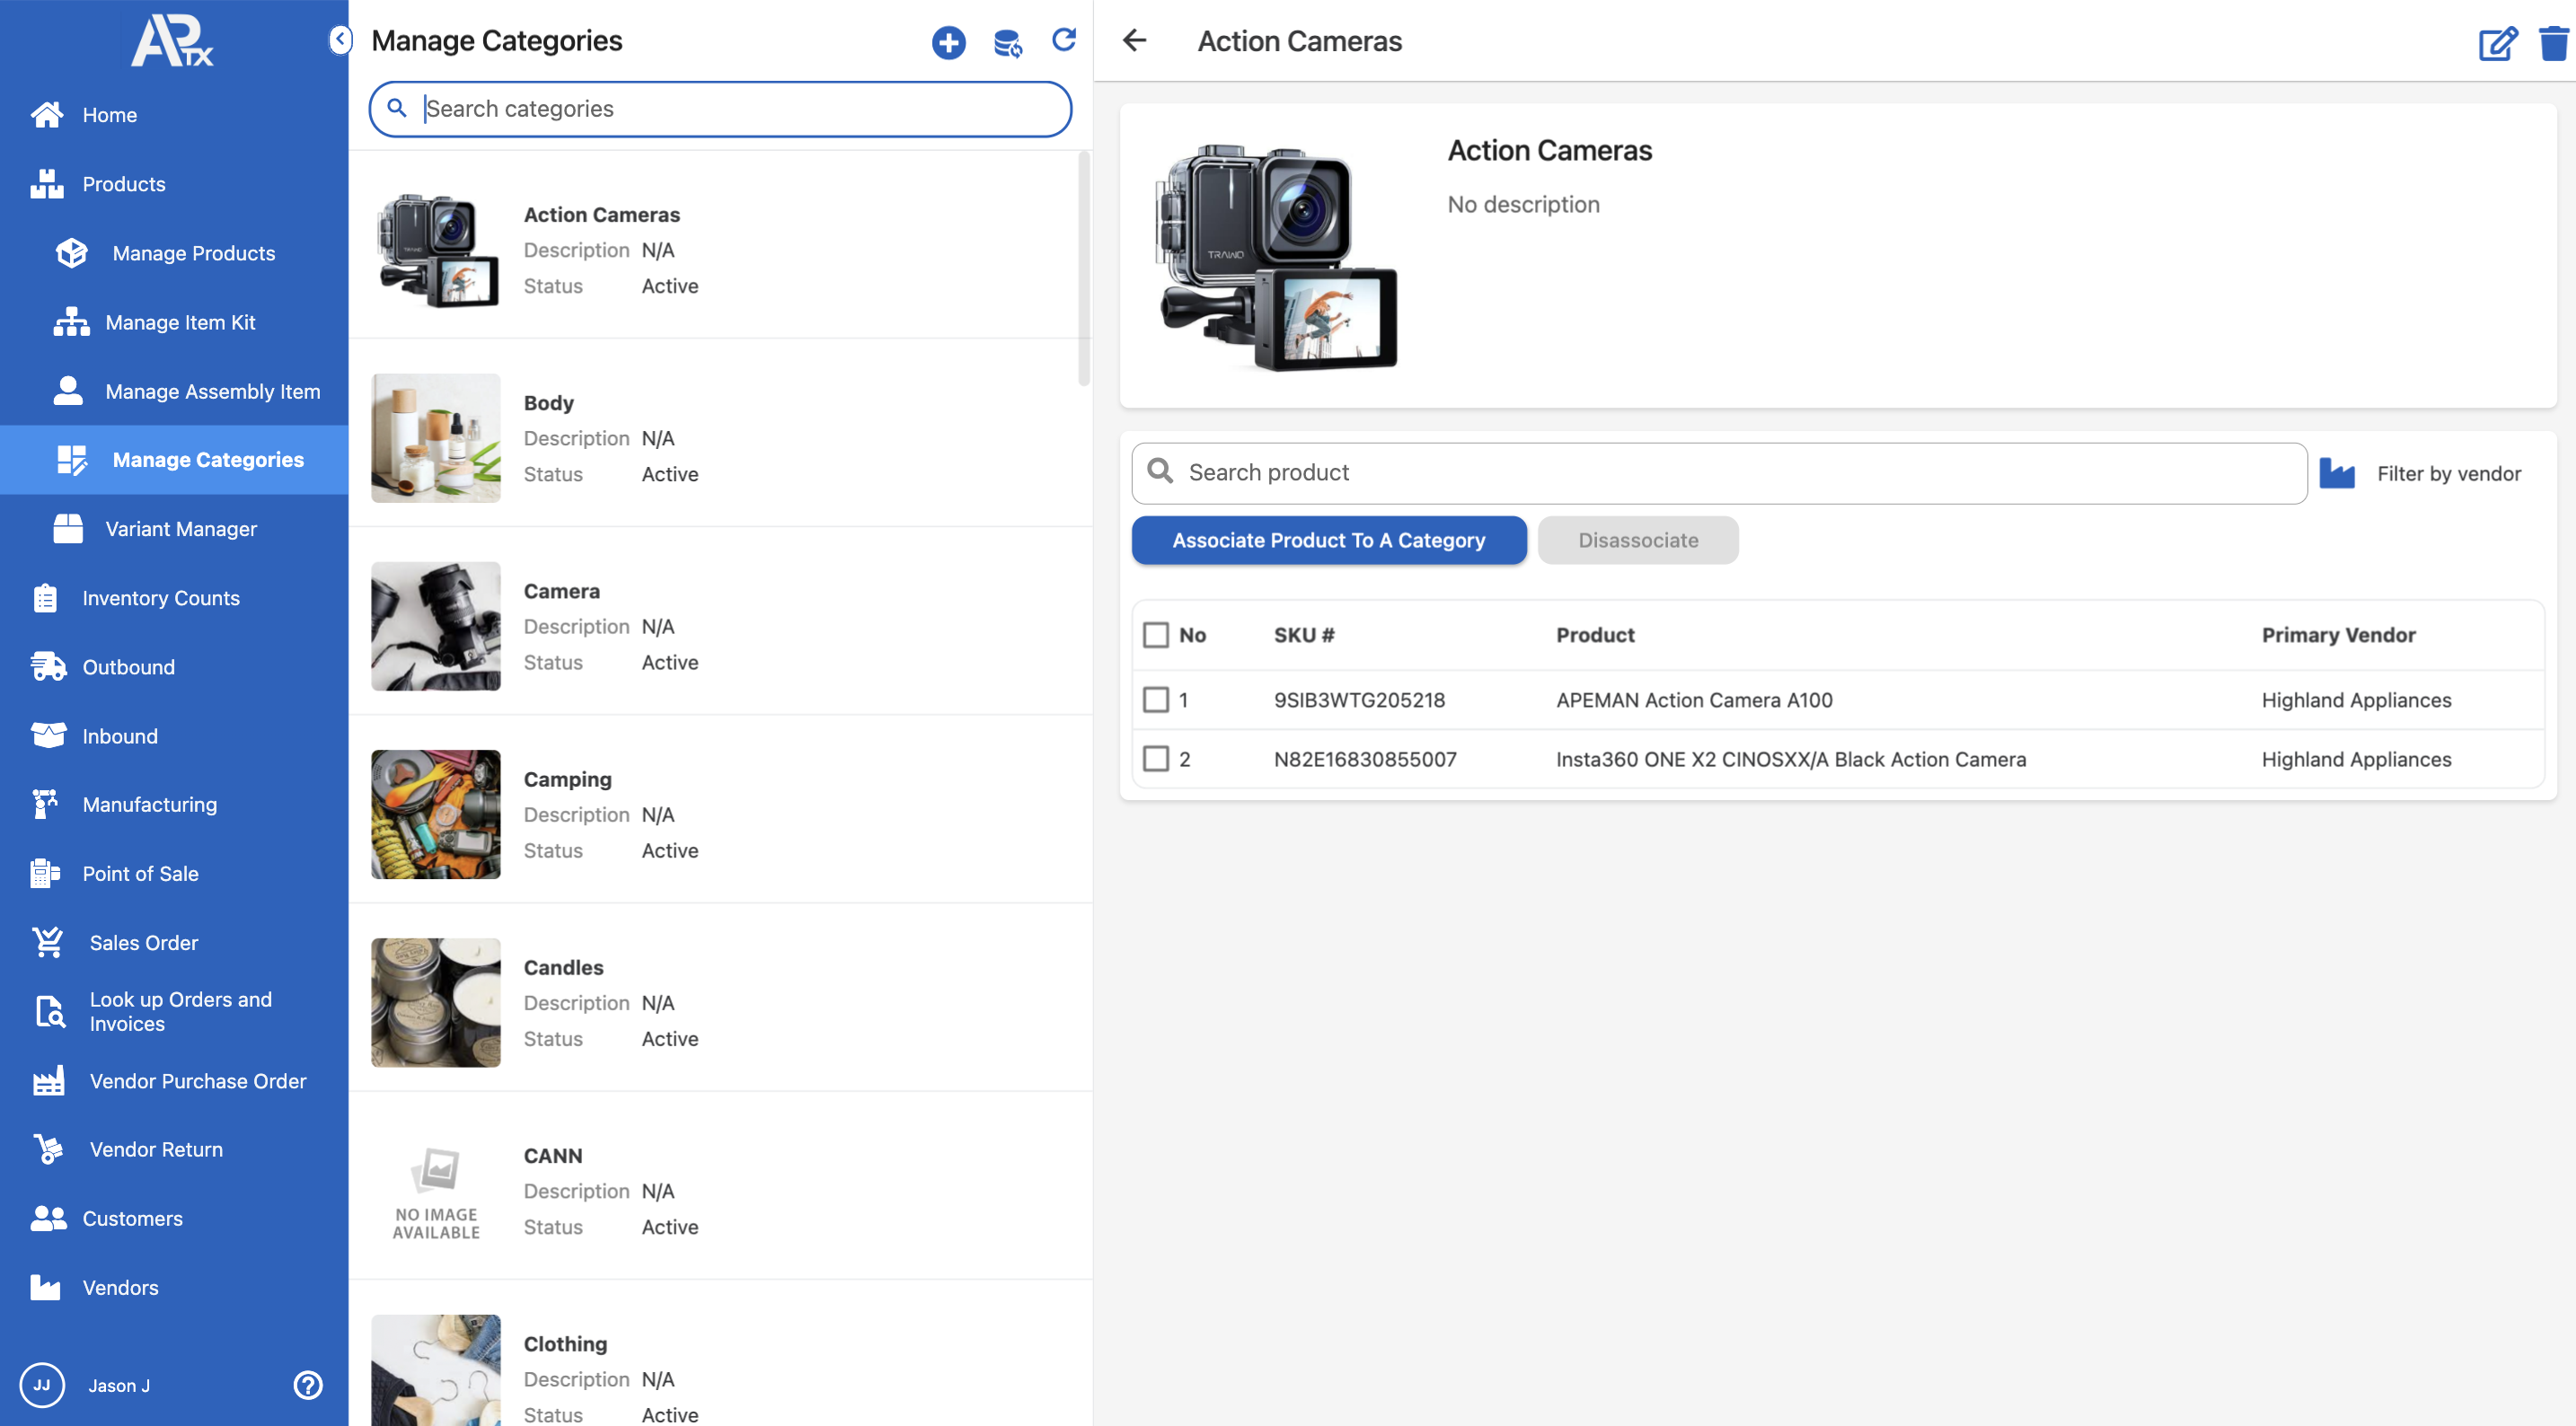
Manage Categories
APTX also provides a category management system, which allows products to be assigned to categories, making it easier to sort through during sales processes.
Edit Category
Click on this ![]() to Edit a category. Images and Icons that are later used in Order creation can be changed here.
to Edit a category. Images and Icons that are later used in Order creation can be changed here.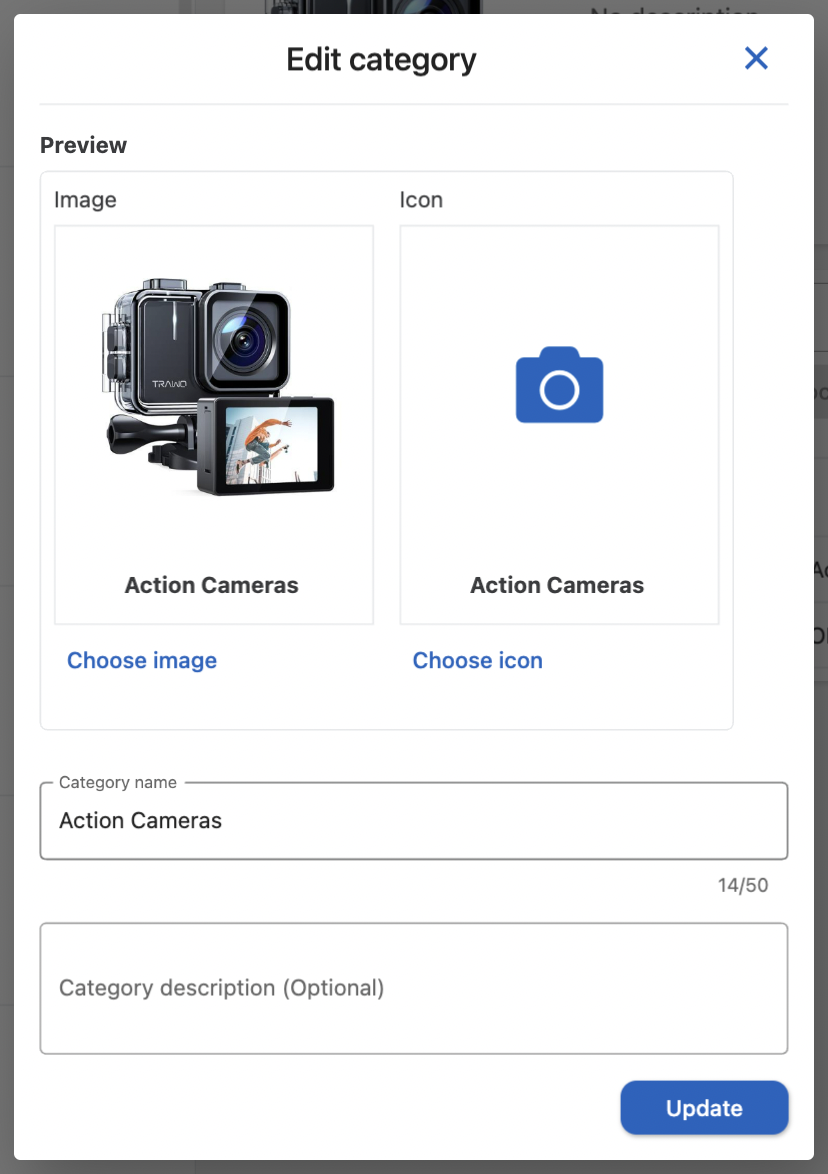
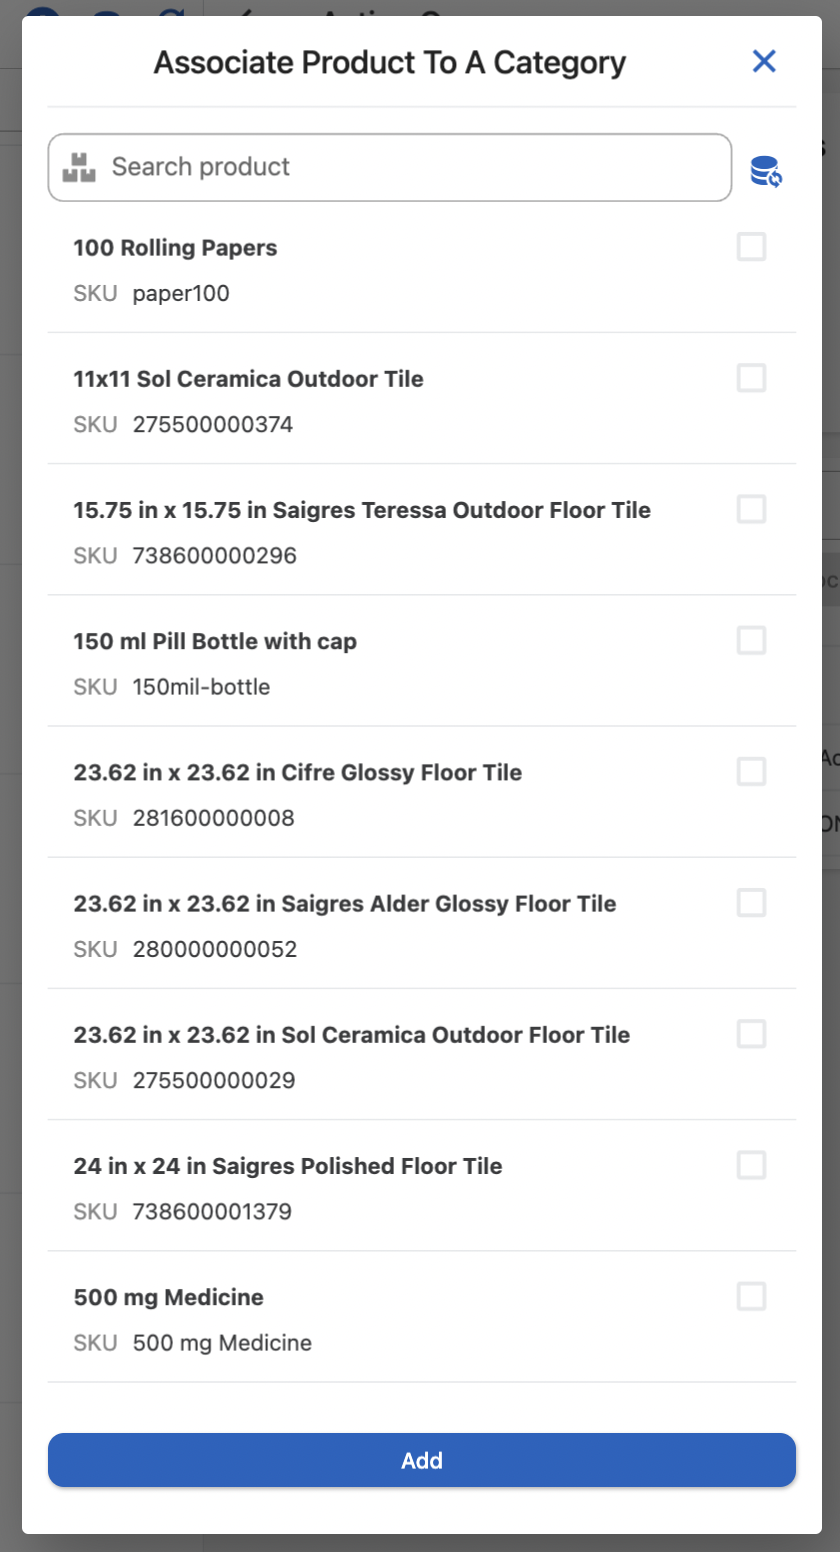
Associate Product to a category
You can associate a product to a category by clicking on Associate Product to a category button. This will open all of the available products to be assigned. Just select the product and click on Add
Variant Manager
In this sub menu, users can manage all of the variant and its variations. You can also create additional variants.
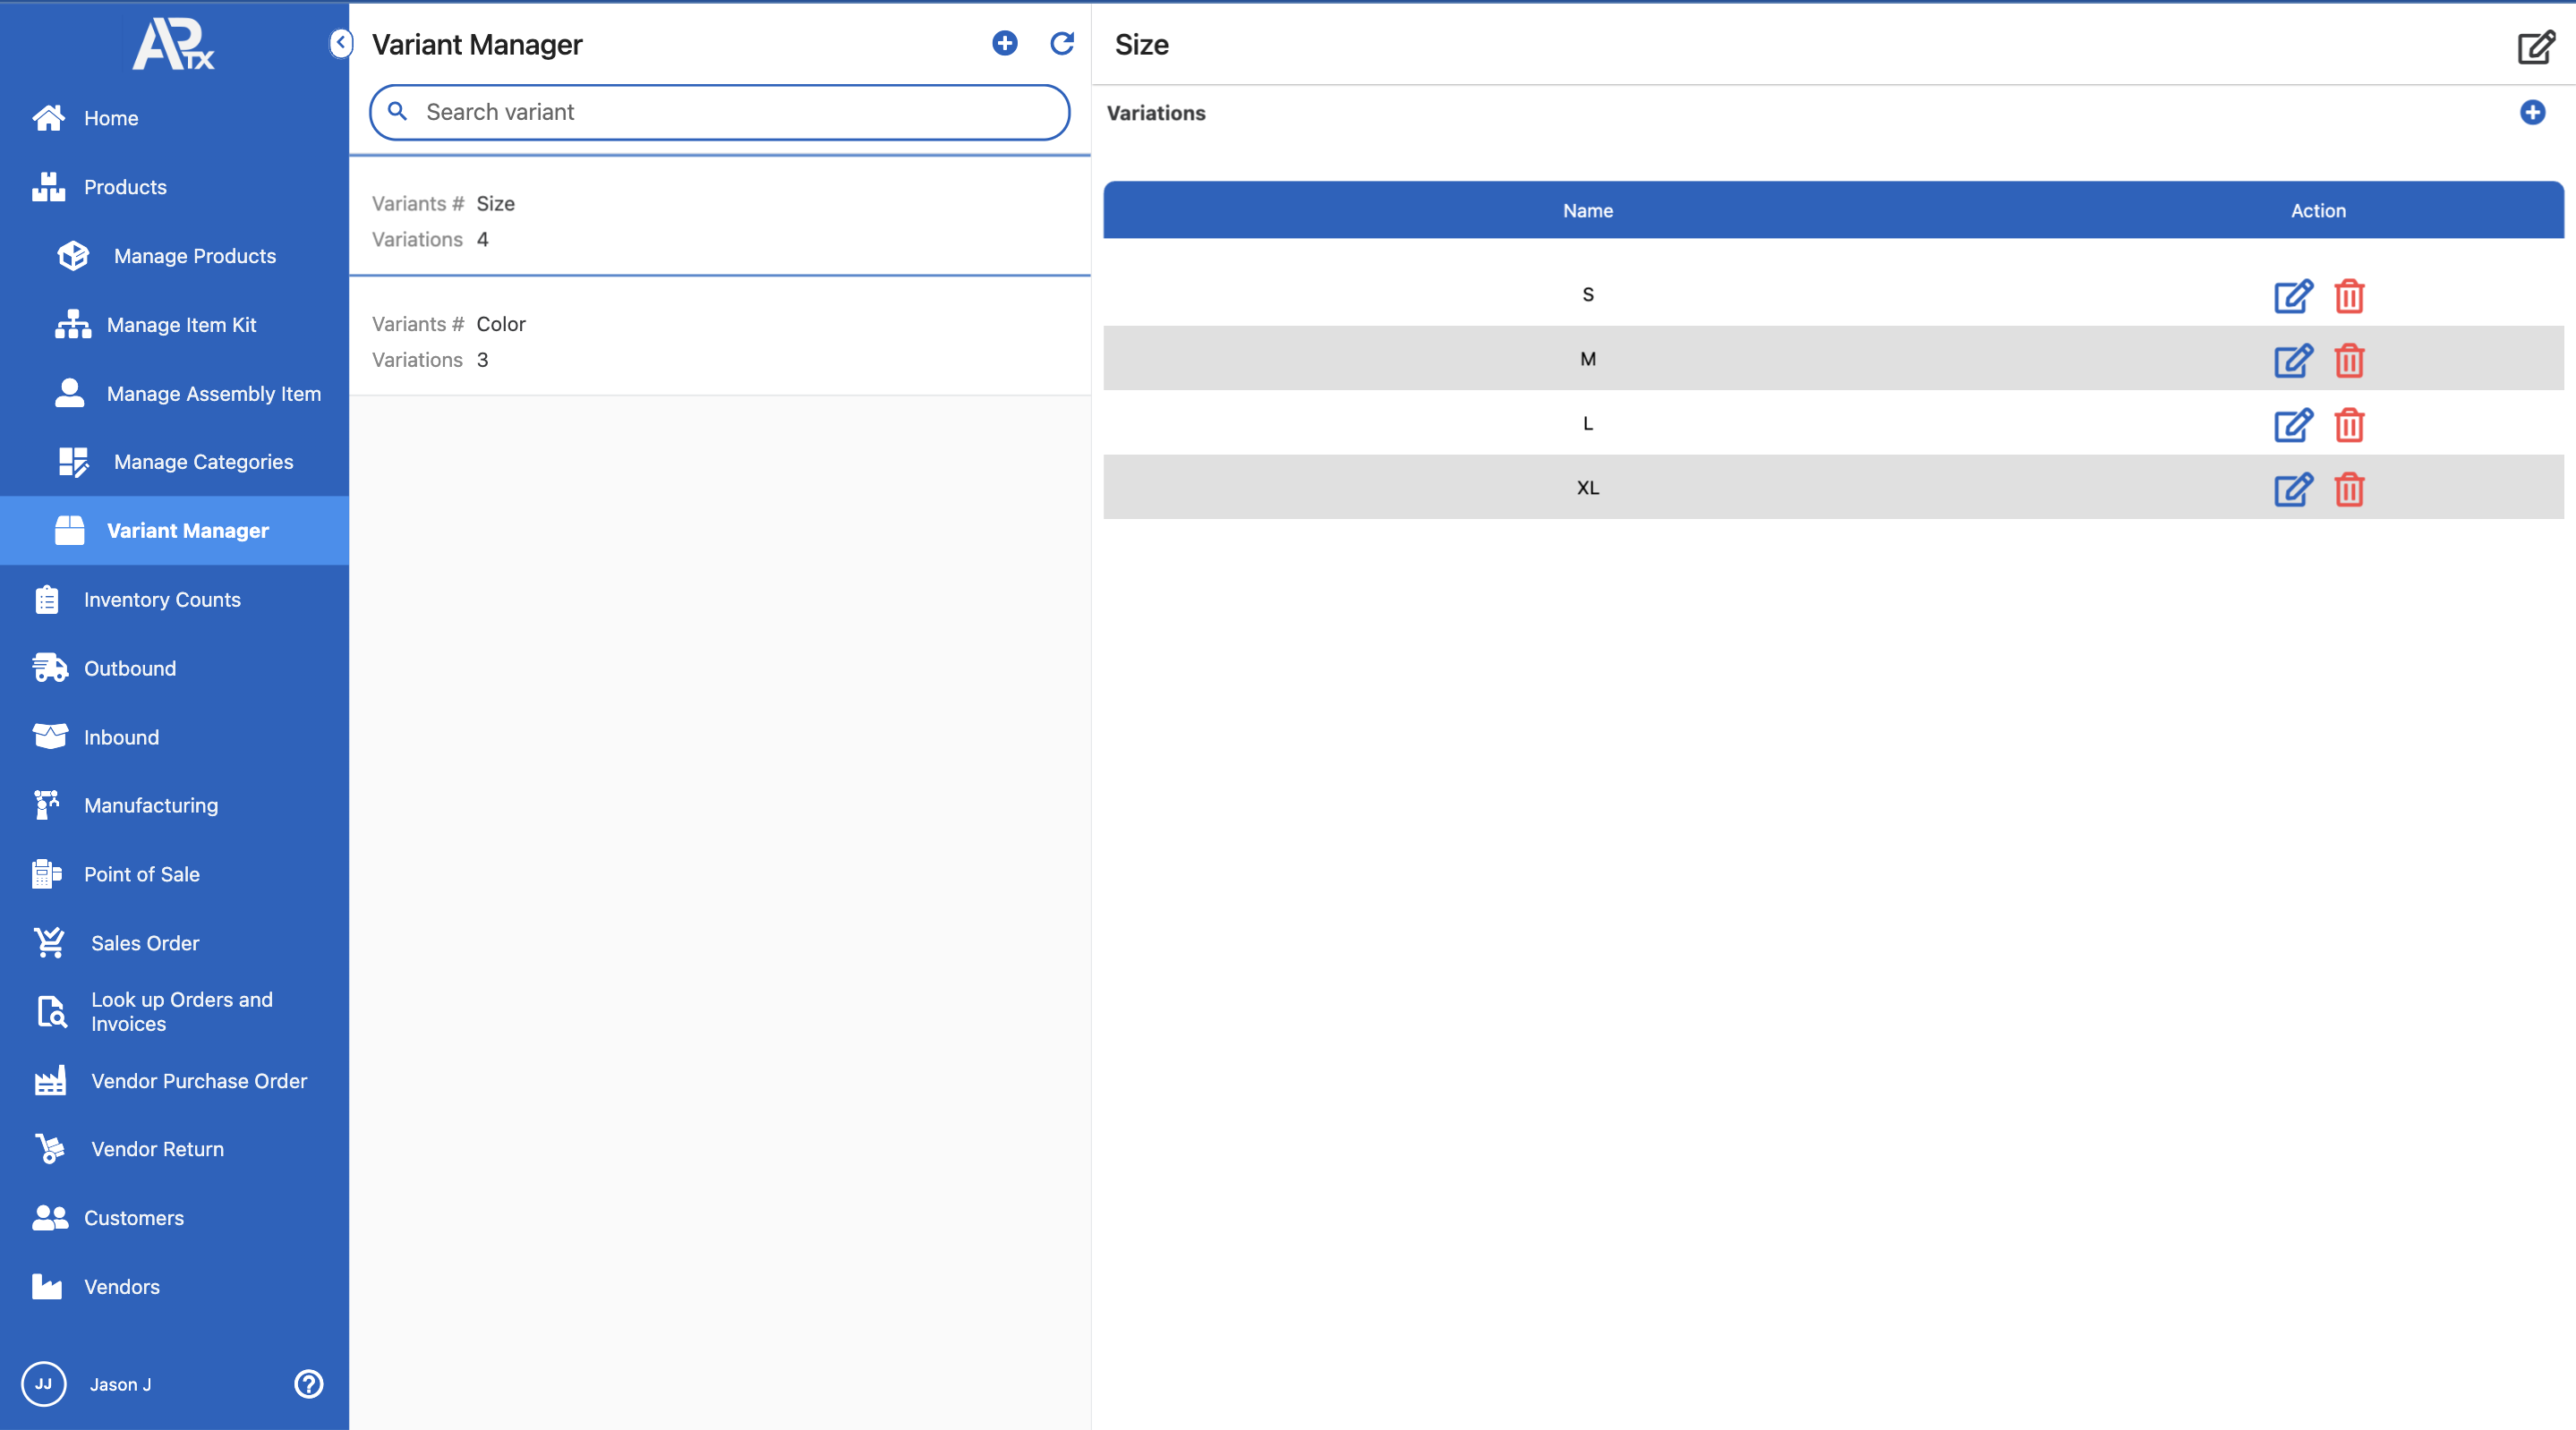
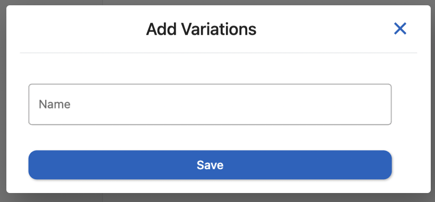
Add Button
To add new variant, click on ![]() . This form will be displayed.
. This form will be displayed.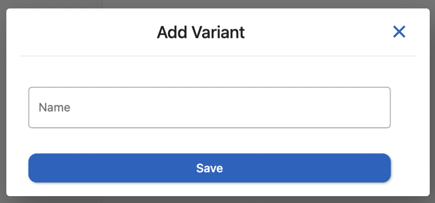
To add variations, click on +