
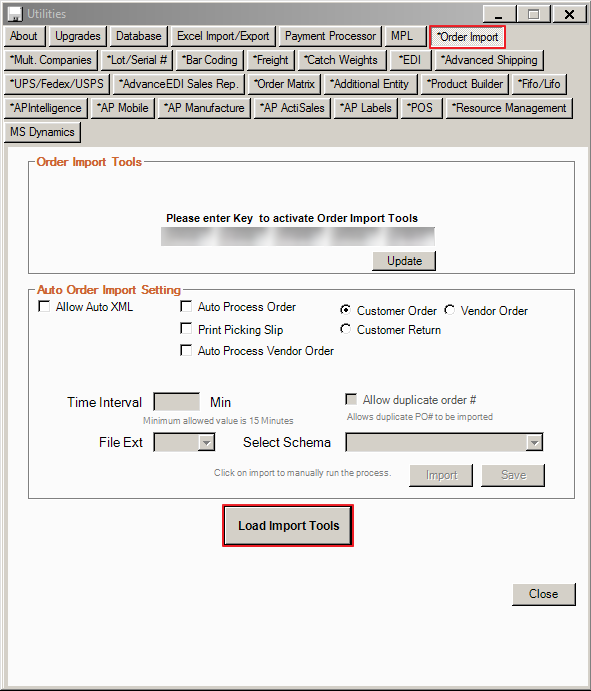
- Go to Admin > Utilities > Click the Order Import tab and then click Load Import Tools
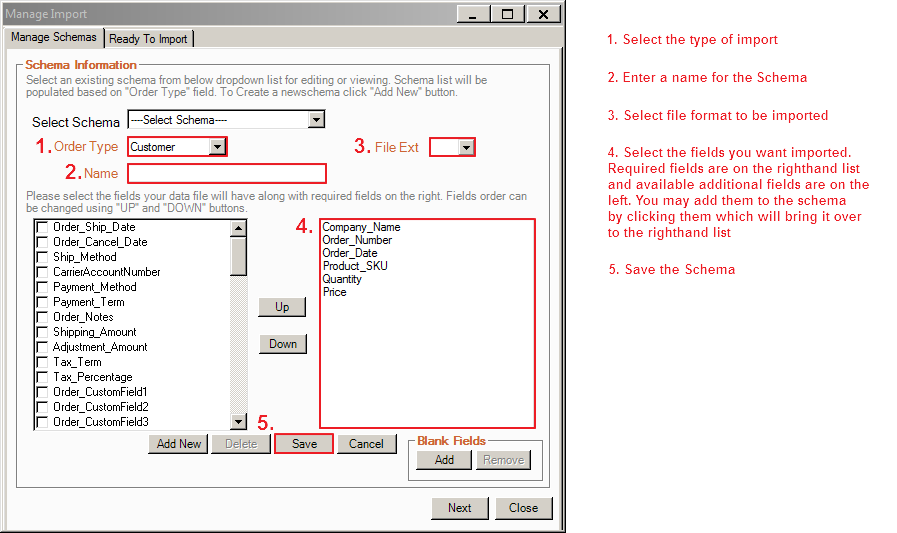
2. Create a Schema for your order import and hit Save to finalize
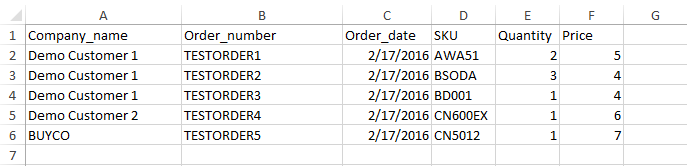
3. You may now proceed to create your data import file. In this example, we will use an excel spreadsheet with only the required fields. Fields should match the schema you have or will create. Make sure to save in *.xls format when creating the file.
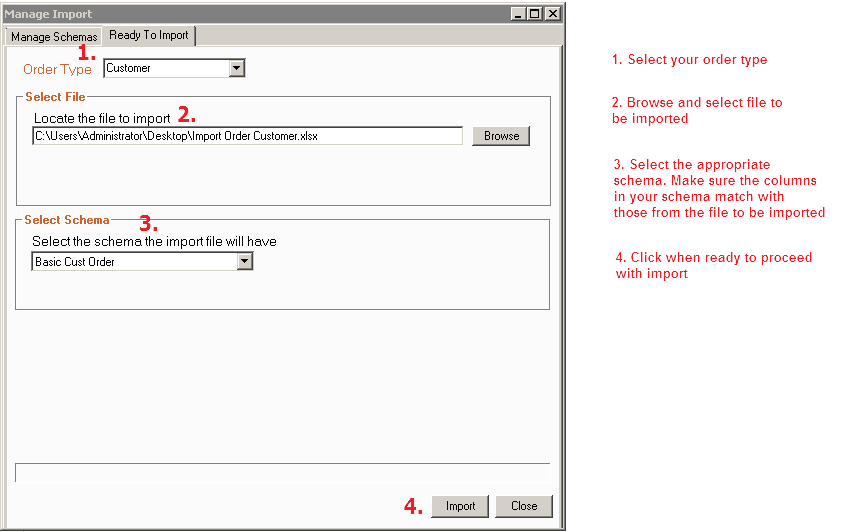
4. Go back to Admin > Utilities > Order Import > Load Import Tools > Click the Ready To Import tab and you should see the following:
5. You should now see a new window appear where you can have a preview of the import before processing. You may click Continue to finish the import.
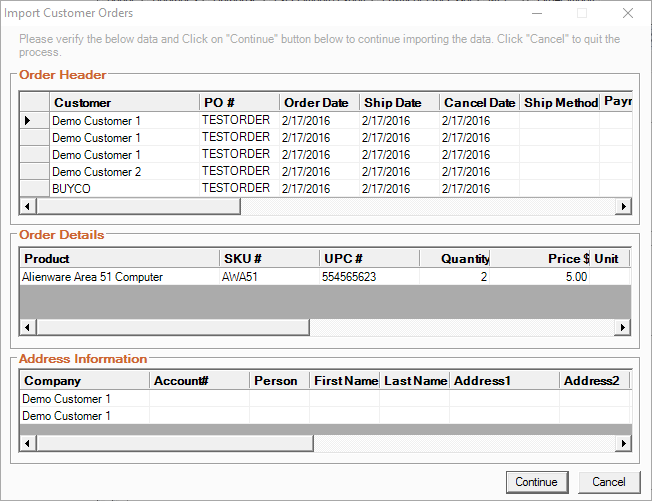
If successful you will see the following:
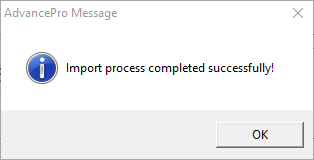
NOTE: Failed imports will otherwise produce a report outlining where the import failed on.
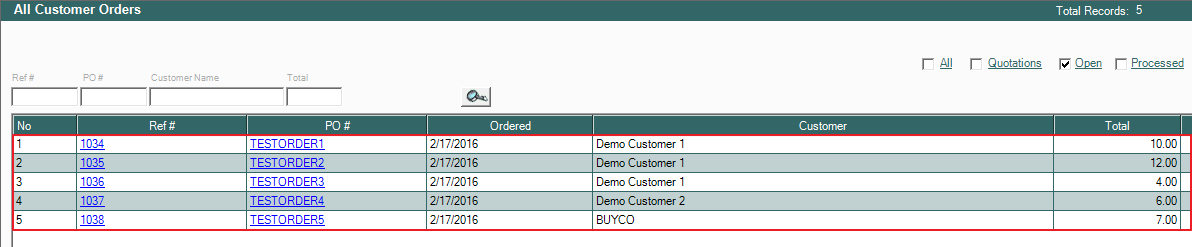
6. You may now verify that the orders have imported. Go to Customers > View All Customer Orders to see if the orders Imported properly.
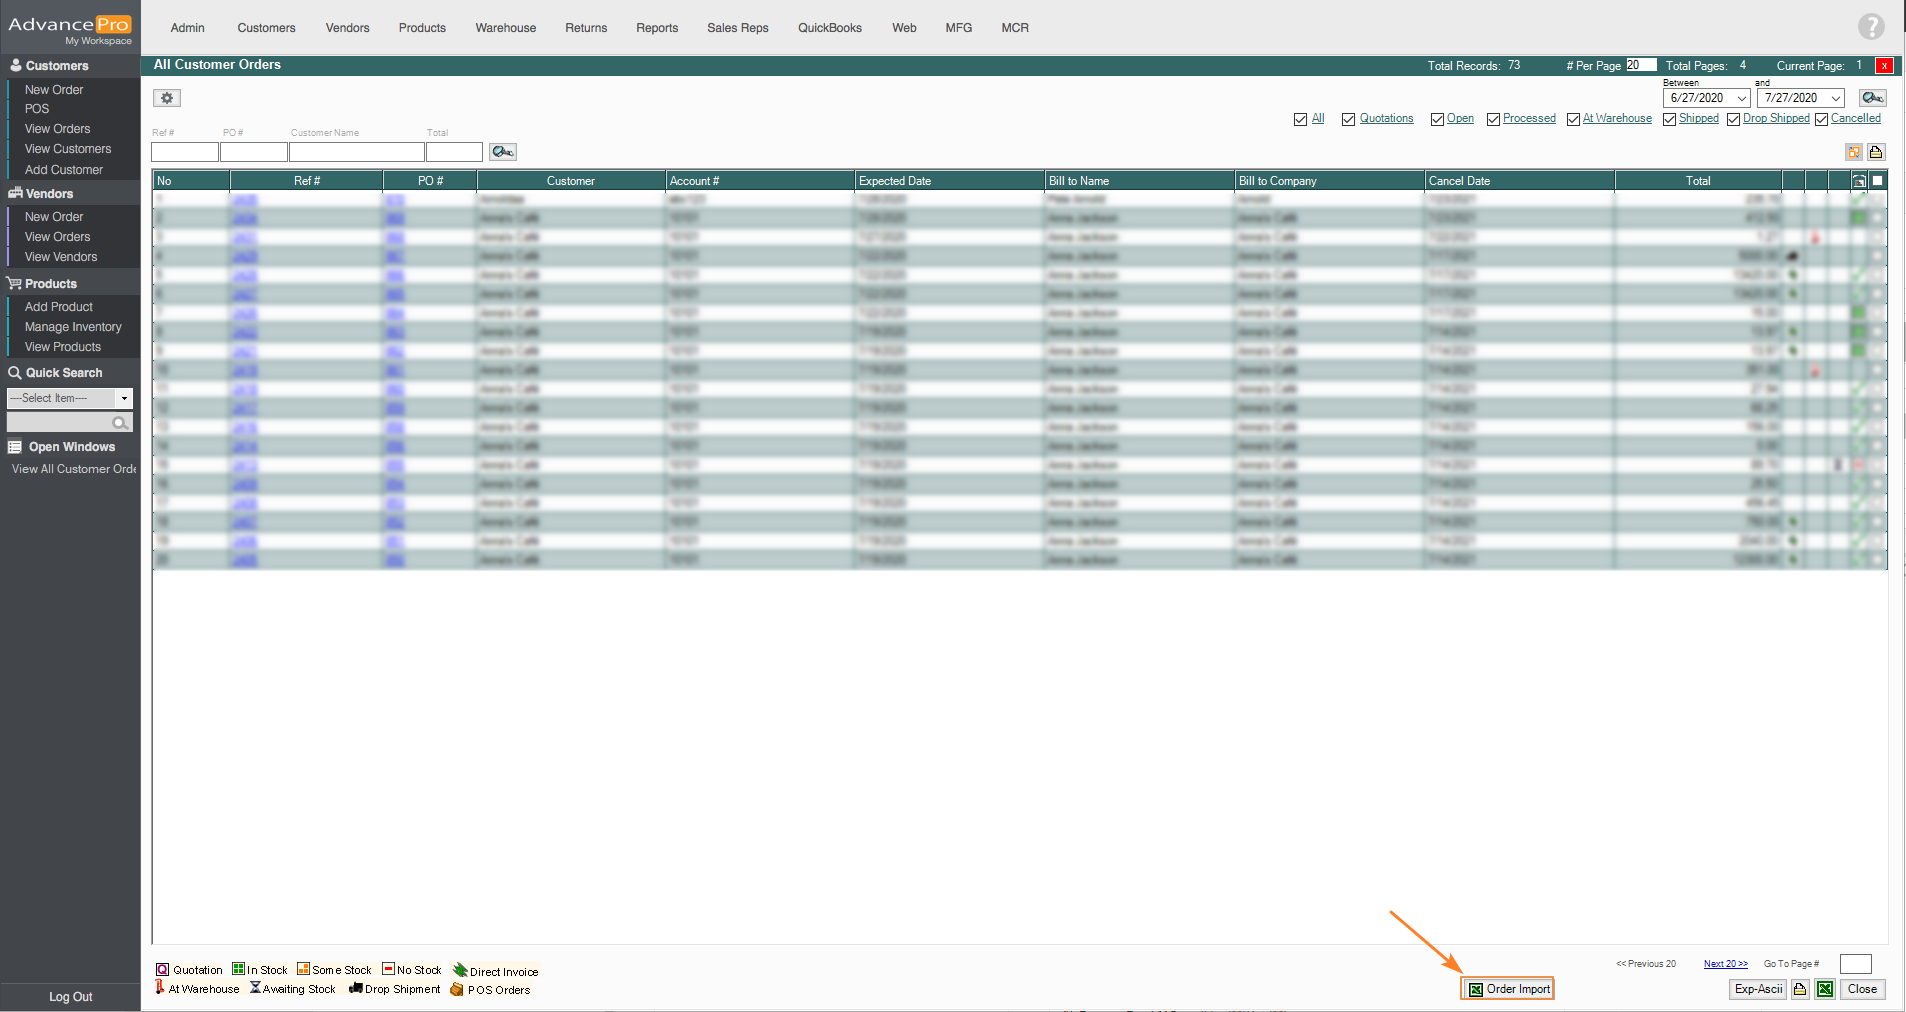
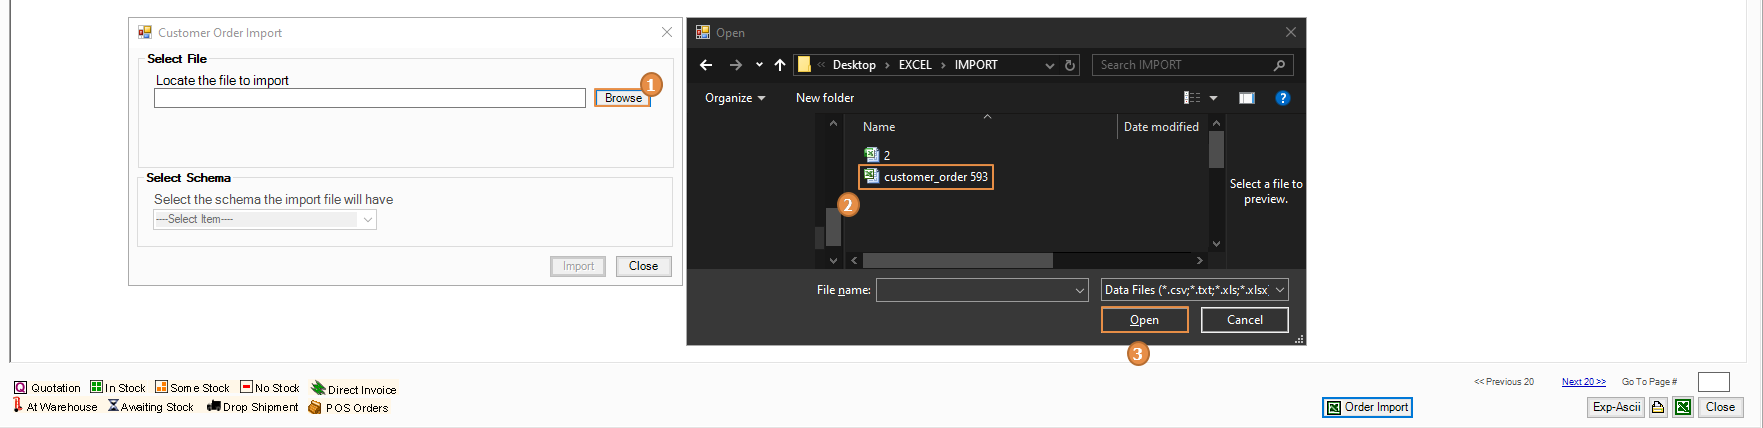
7. You may also access Order Import by going into Customers > View All Orders and right under the Orders grid you'll see an Order import button
8. In this window, click on browse, locate, select your file and click on open
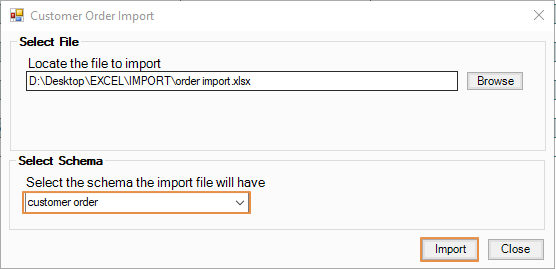
9. Next, select the schema and click on import.
10. You will be then shown this preview of the orders that will be imported to AP, just click on continue.
