1. Place a customer order for an assembly item. Note: The stock is insufficient.

2. Check the "Create Work Order" Option for this line item
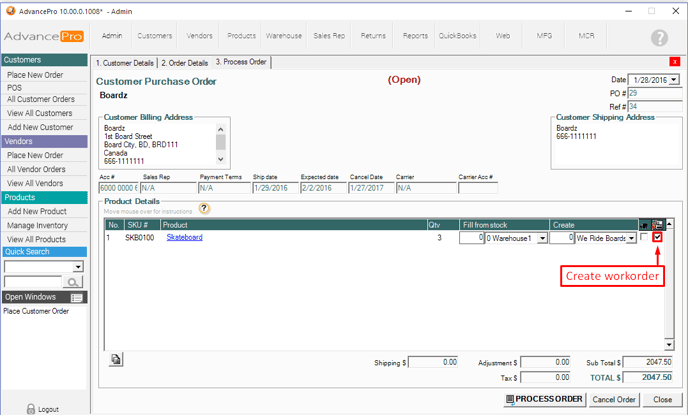
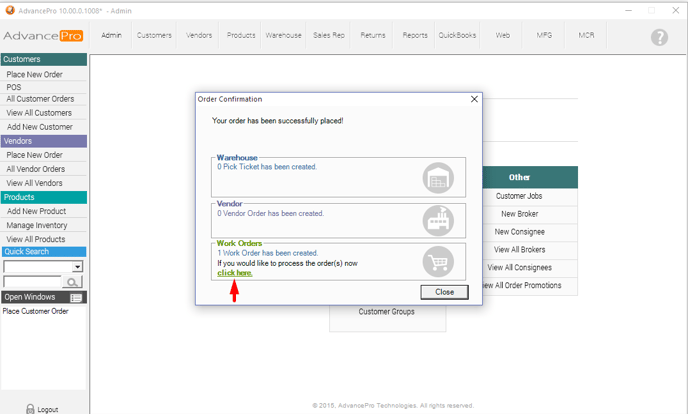
3. Work order generated
4. Process the order with the Direct Order option unchecked.
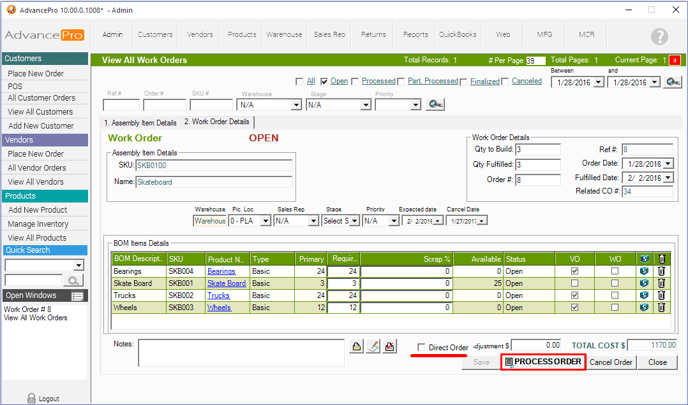
5. A Vendor order will be automatically generated.
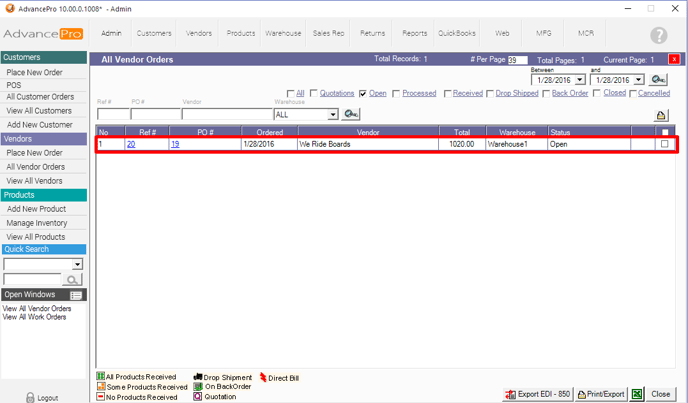
6. Place the vendor order to receive in Warehouse
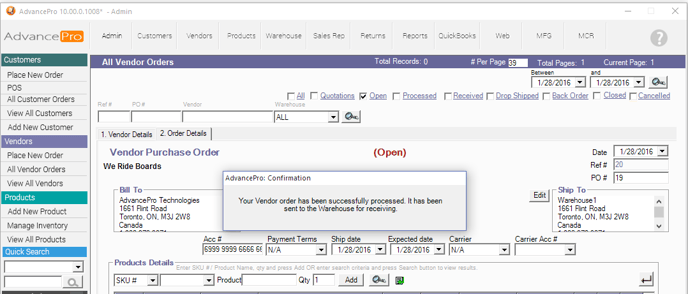
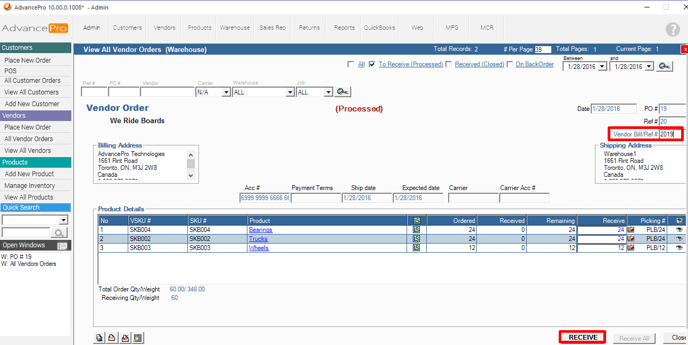
7. Receive the Vendor Order at the warehouse
8. Go back to MFG switchboard and click View All Work Orders
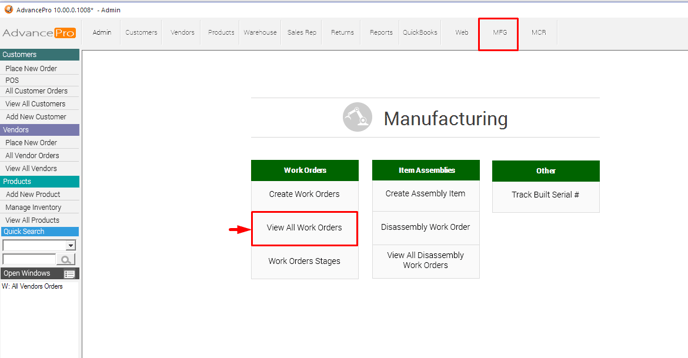
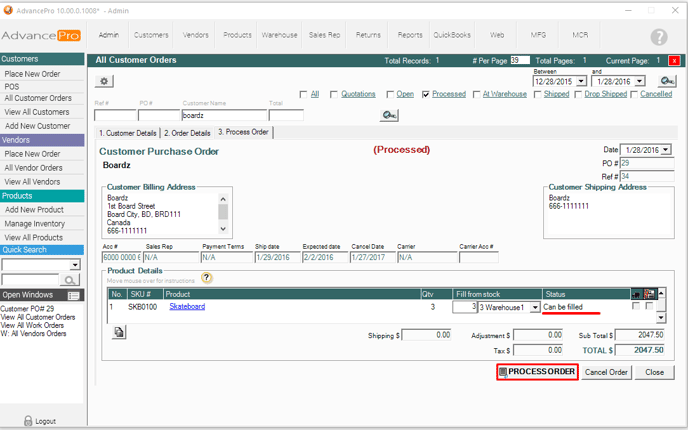
9. Now that the items are all "can be filled" status, you can PROCESS the order
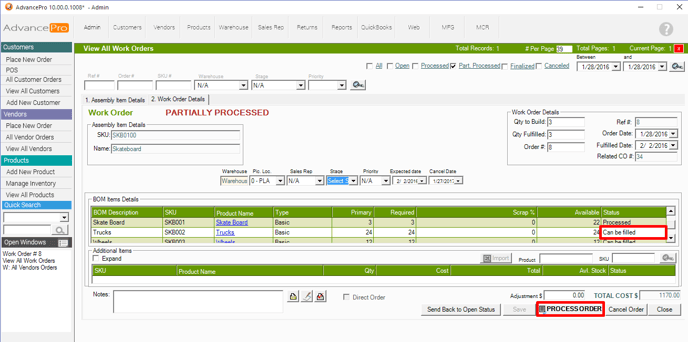
10. The PROCESS ORDER option will be greyed out.
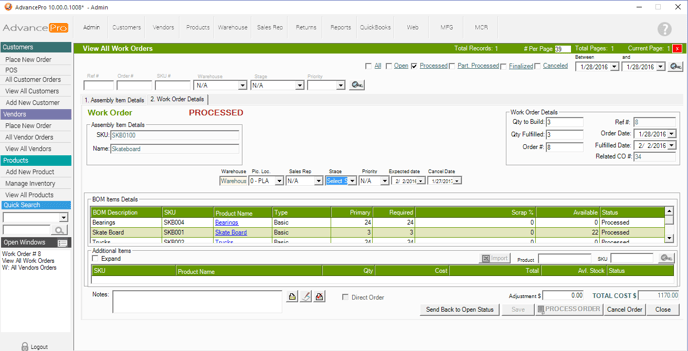
11. Notice that the Customer Order product indicators are Awaiting Stock, and No Stock. Legend is seen below.
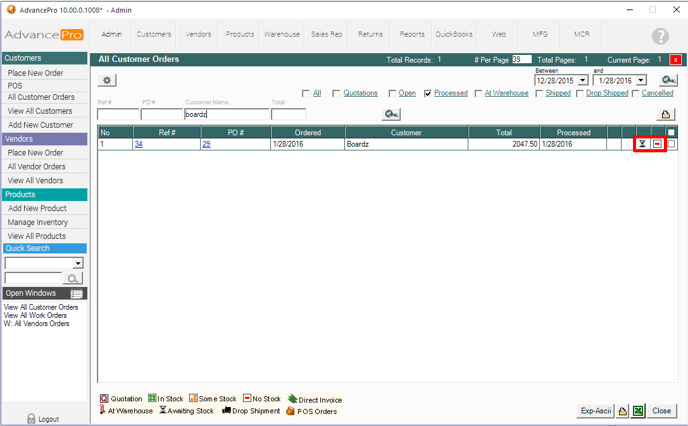
LEGEND:

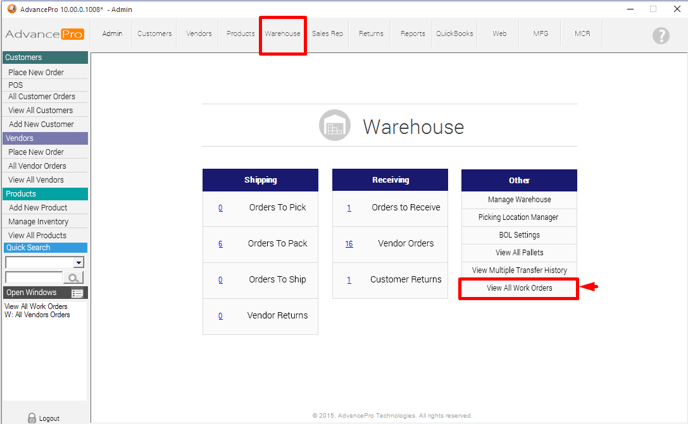
12. Go to Warehouse and click View All Work Orders
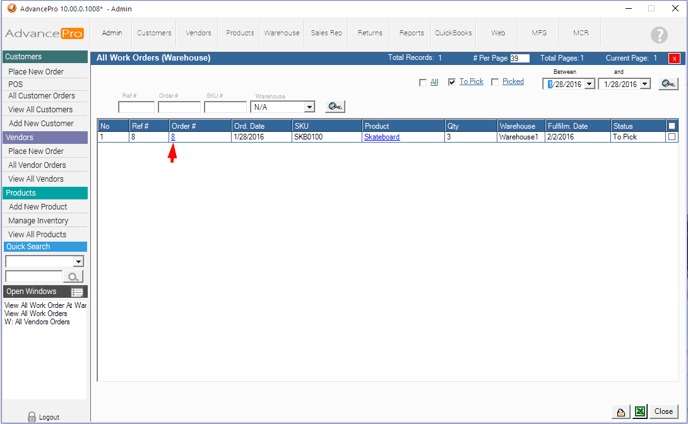
13. Click on the Order number
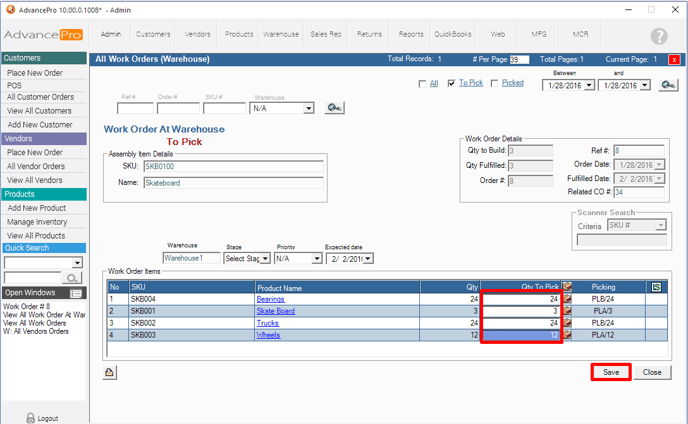
14. Enter the products to PICK and hit Save
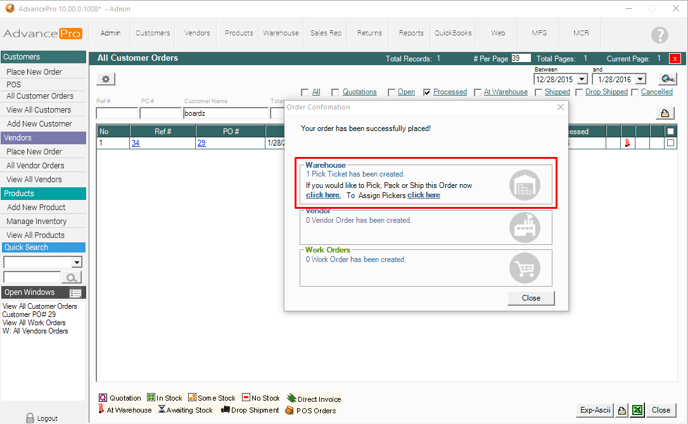
15. After saving and completing the picking stage it will prompt a message saying it is successful
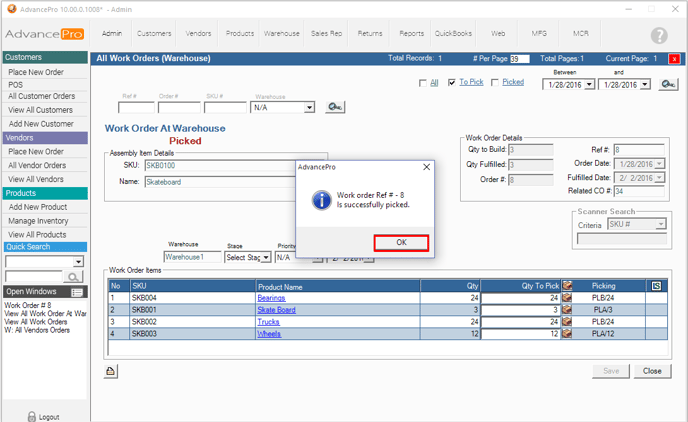
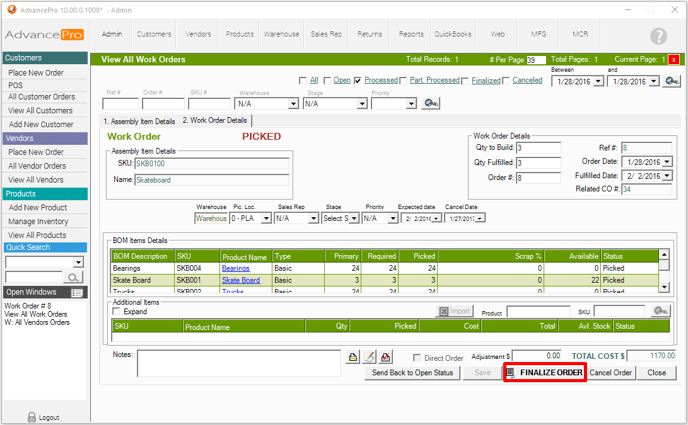
16. The work order will now have a PICKED Status, and you may FINALIZE the order when ready. This will bring the stock to inventory; deduct the materials (BOM) and increasing the Final Assembly Item.
17. You will be prompted by a Lot and Serial Number window. You need to assign the Manufacturing Serial numbers as well since this is an assembly items with raw materials
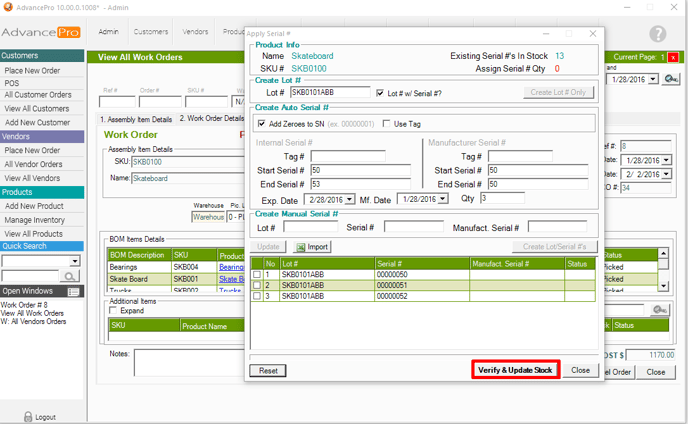
18. After entering lot and serial number information, you will be prompted that the Work Order has been finalized.

19. Product status on the order becomes green (In Stock)
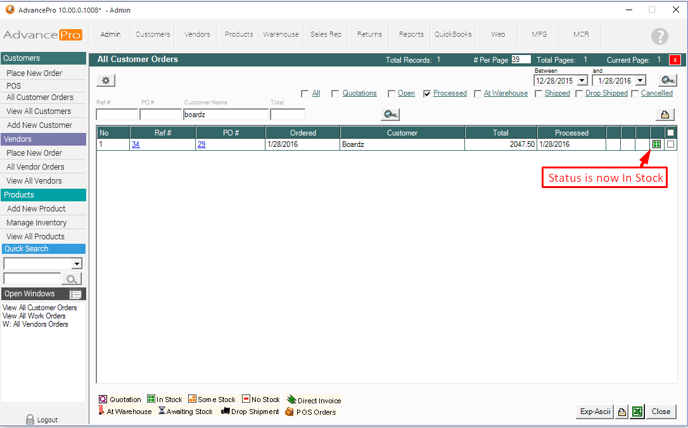
20. It will now be processed until Shipment.