How to use packout feature
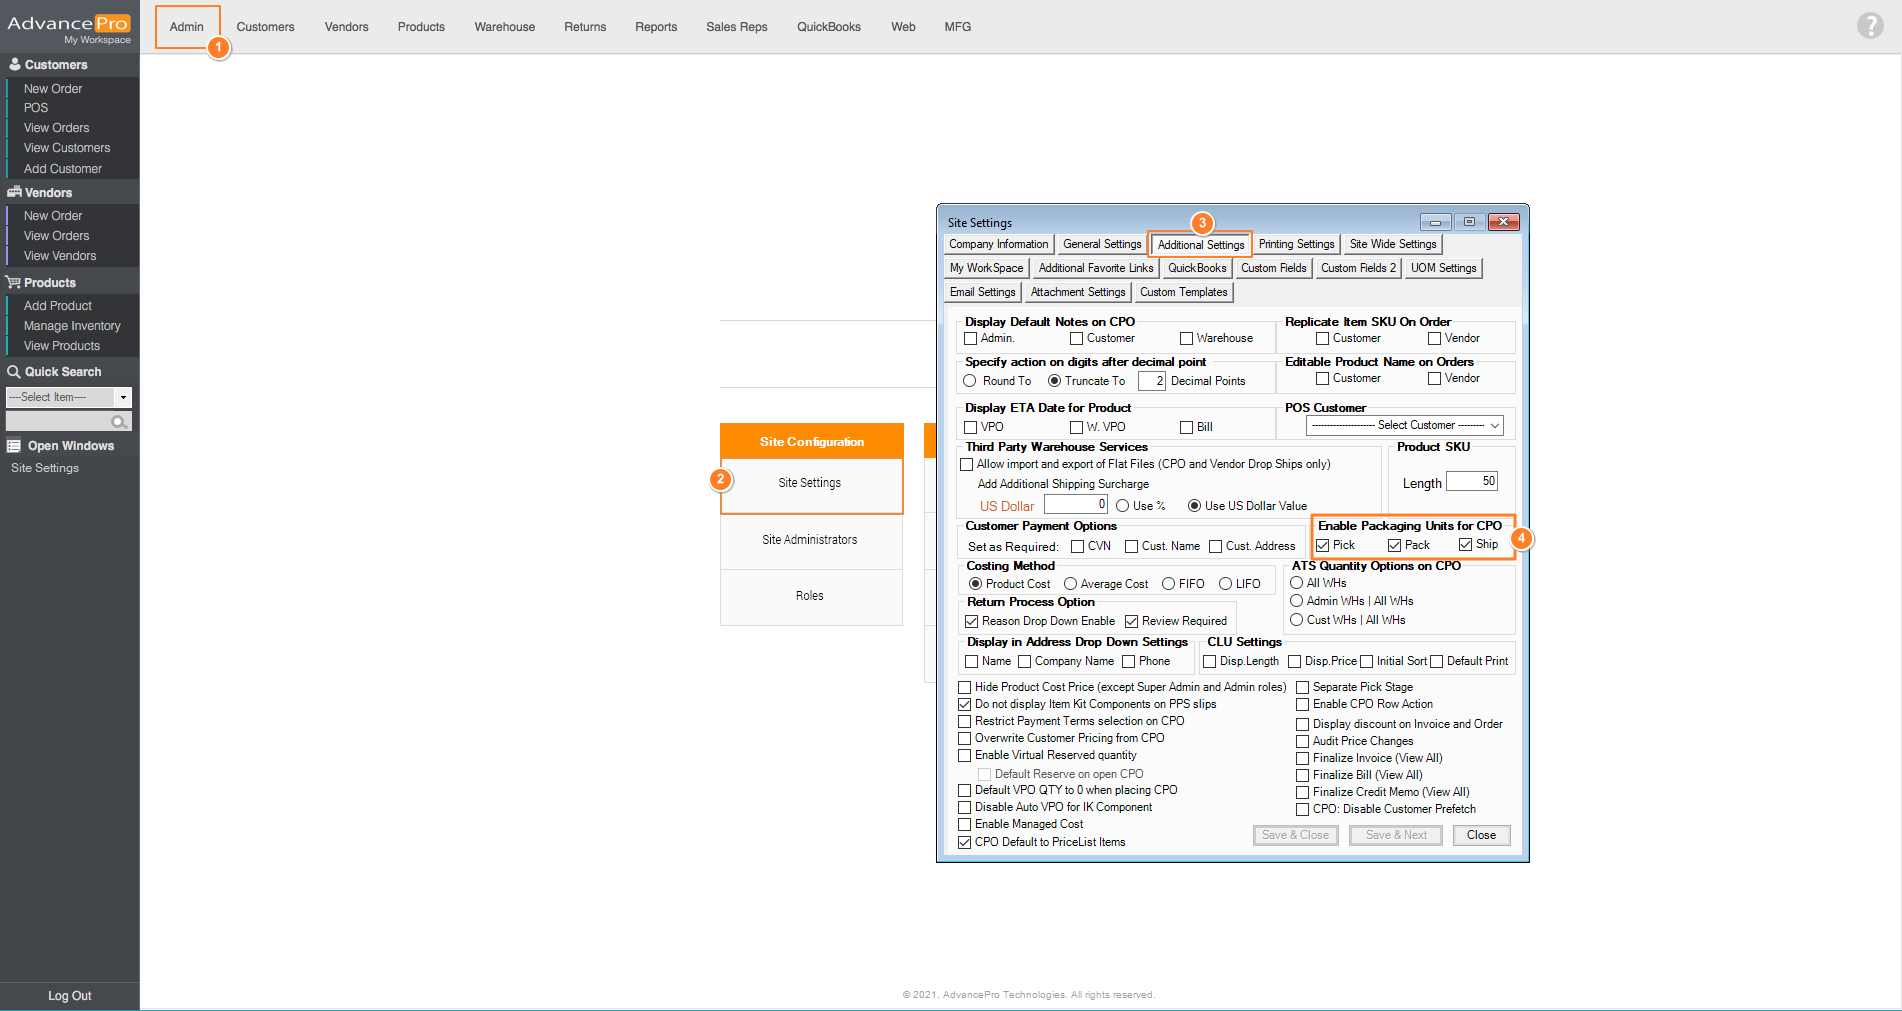
- Enable Packaging Units for CPO Admin > Site Settings > Additional Setting Tab > Check boxes on PPS > Click Save & Close
- Click the Packaging Units button and enter information into the Name, Notes (optional) fields and Product drop-down selection. Click Save to create a unit. You may continue to add/update/delete units as needed and click Close when finished.
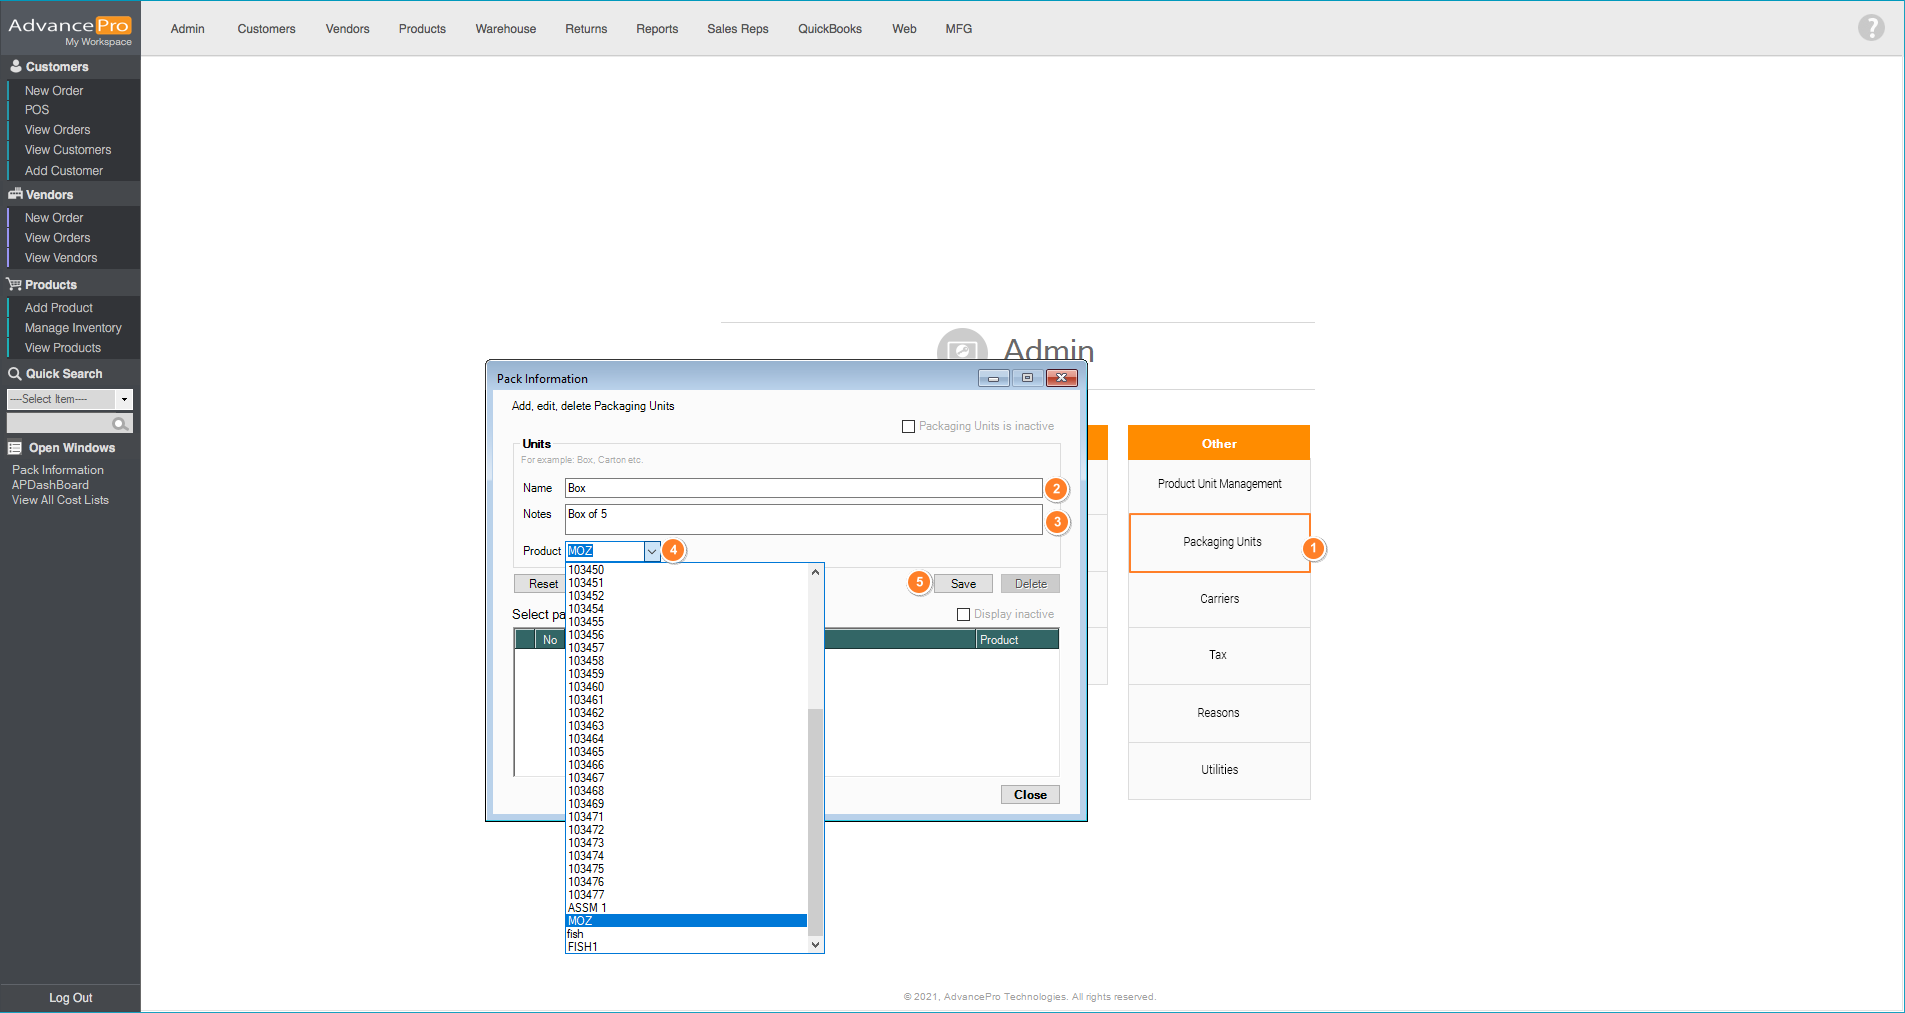
Note: The Inventory of the selected SKU will also be the inventory of the selected packaging unit.
- Once all of the necessary configurations have been setup, let us now try to process an order to the warehouse and use the packout feature. So once you open the warehouse order, there will be Packout button and Packaging drop-down selector
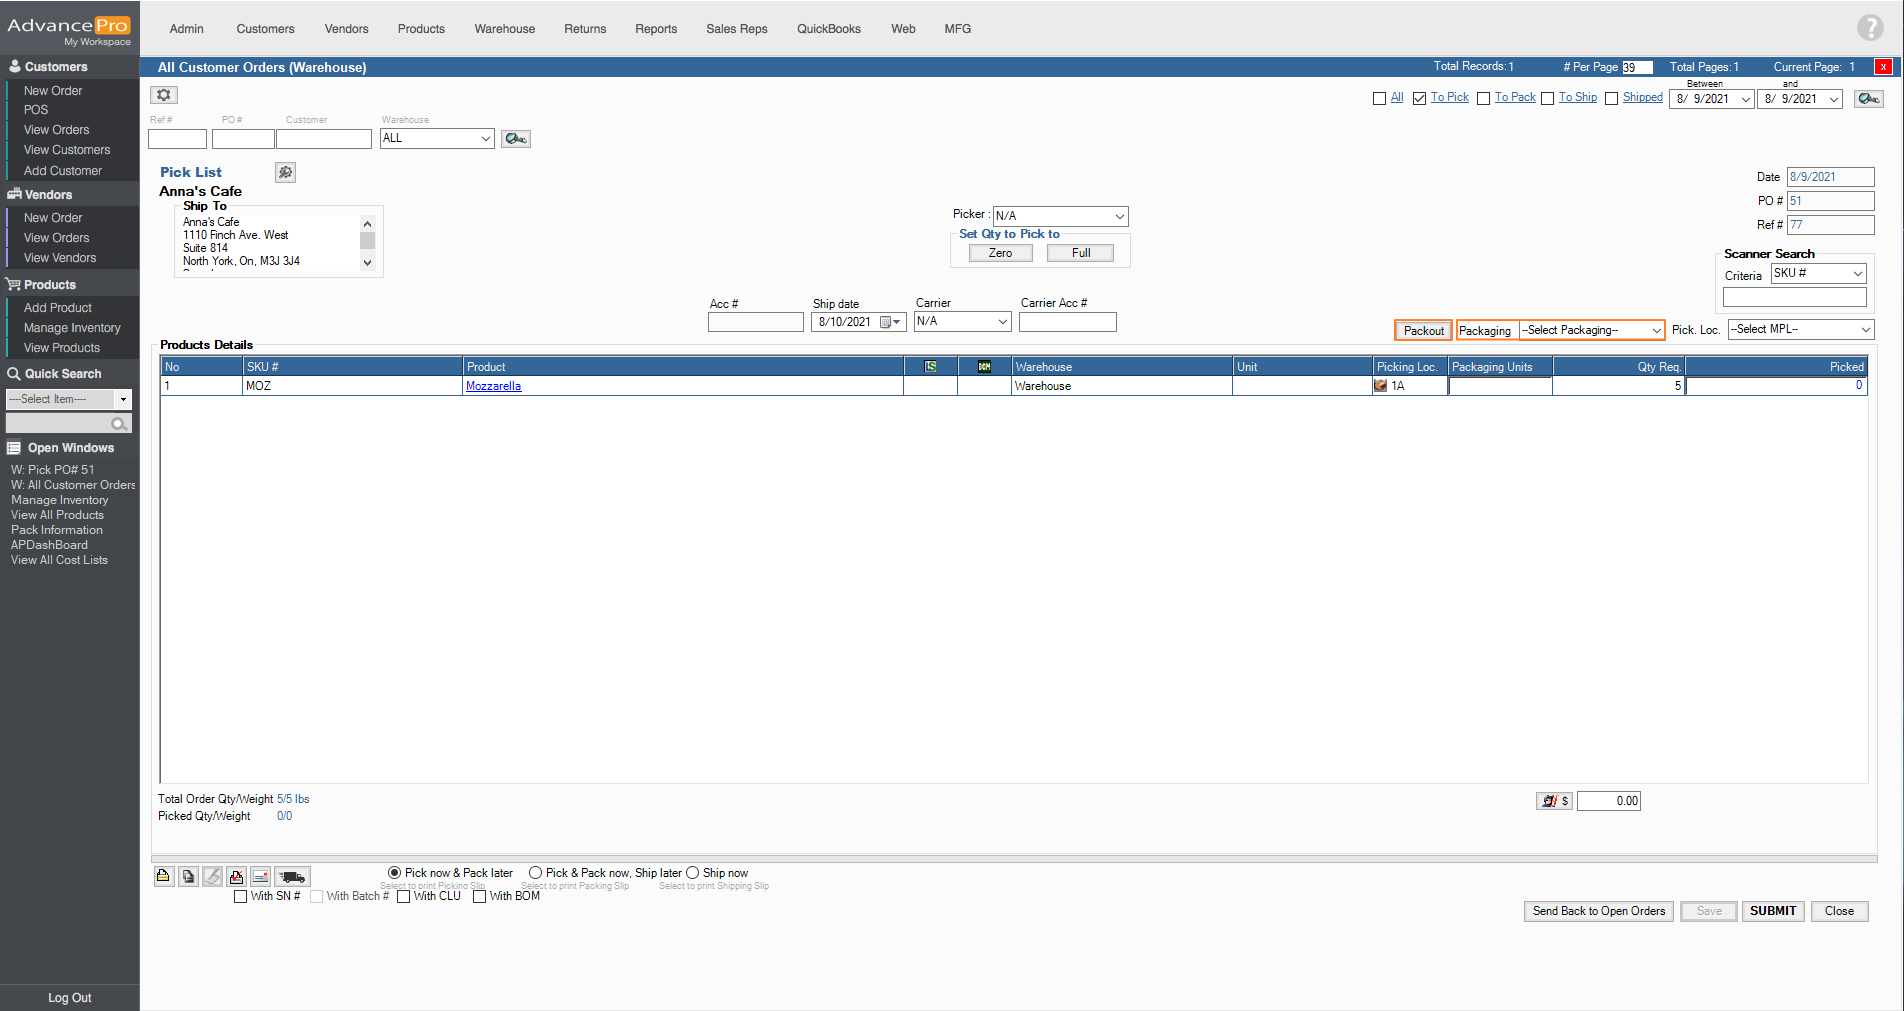
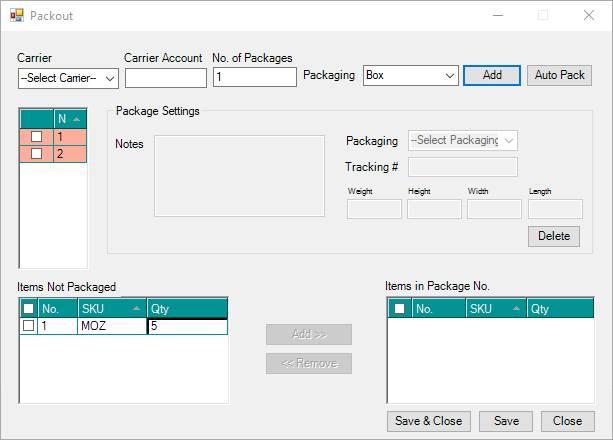
- You can manually select the packaging unit on the drop-down or you can click on Packout button to open the Packout window. Now let's add the packages needed for this order
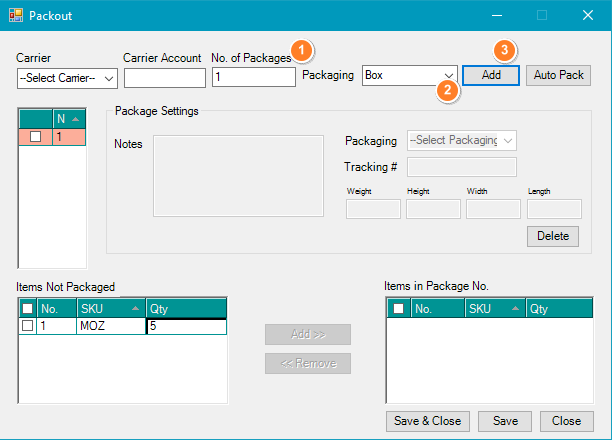
- Let's create another packaging by doing the same thing. The background color of the grid is Peach, it's an indicator that the boxes are still empty.
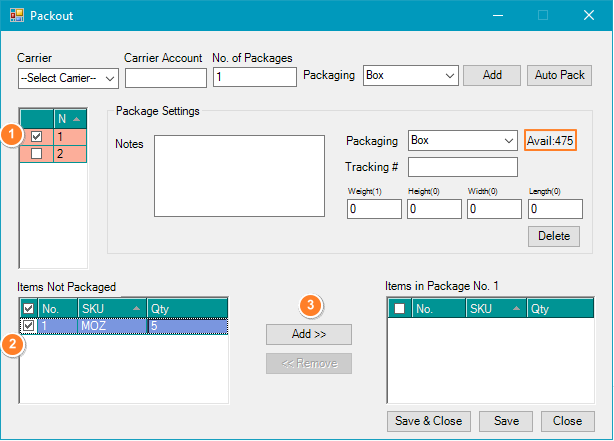
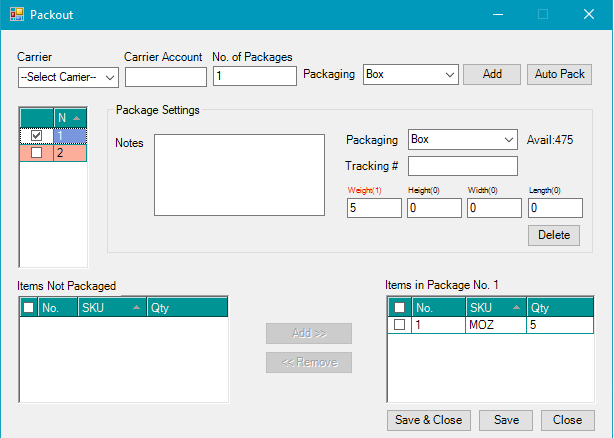
- Now let's fill the box up. Click on the tick box of Box#1, the item that you want to package, and click 'Add'. Beside the Packaging drop-down you'll see the inventory of the packaging unit, this is also the available inventory stock of the actual item.
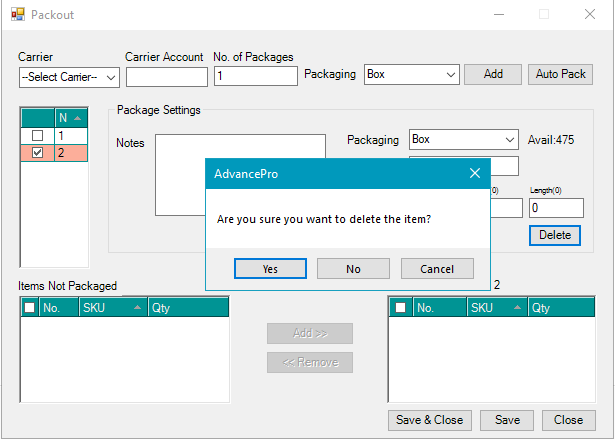
- Before saving the packed items, you still have an empty box. You can tick the empty box and click delete
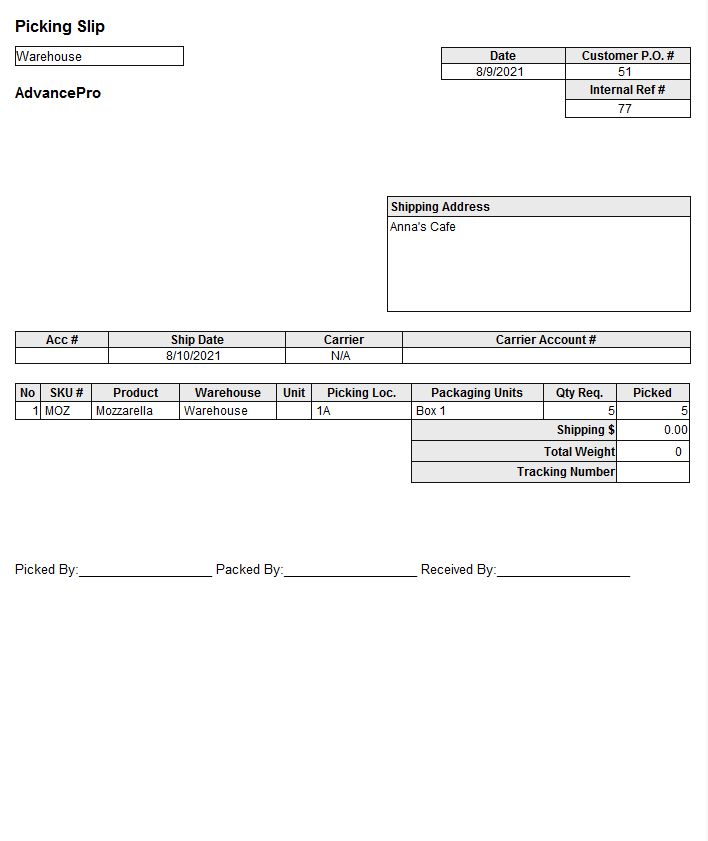
- Click 'Save & Close'. Packaging units can be seen in smartprint only
Here's a quick guide to use the packout feature
