
Creating Item Kits
Mandatory Fields
• Product Name
• Internal SKU
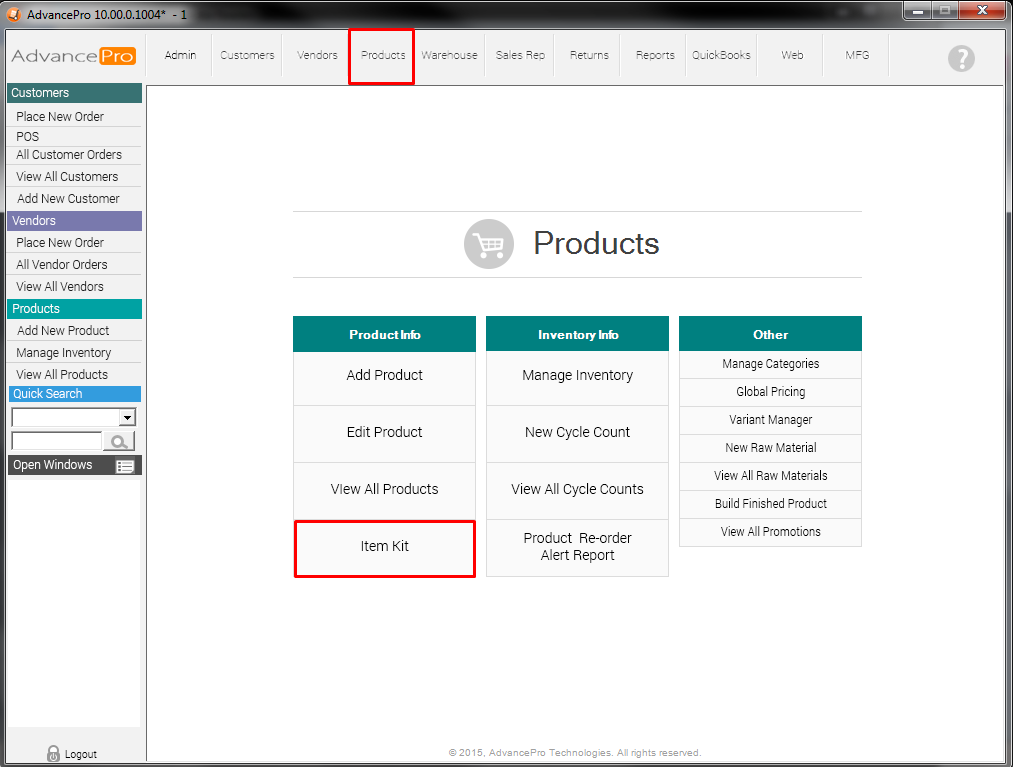
1. From the Products Switchboard, click Item Kit. Alternately, you can:
• Click CTRL + ALT + I + K on your keyboard.
2. The Item Kit form will open. Enter the item kit name.
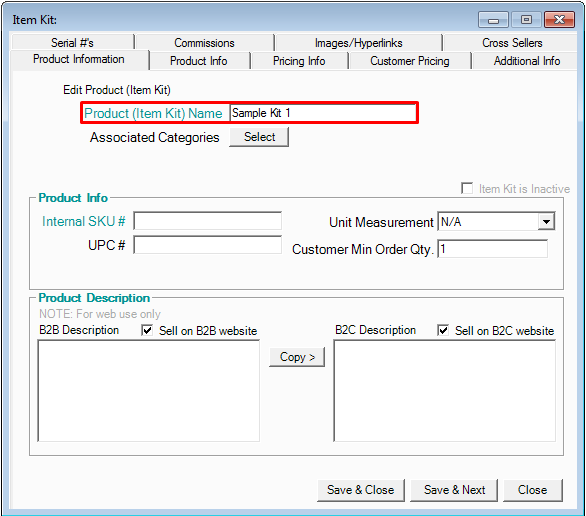
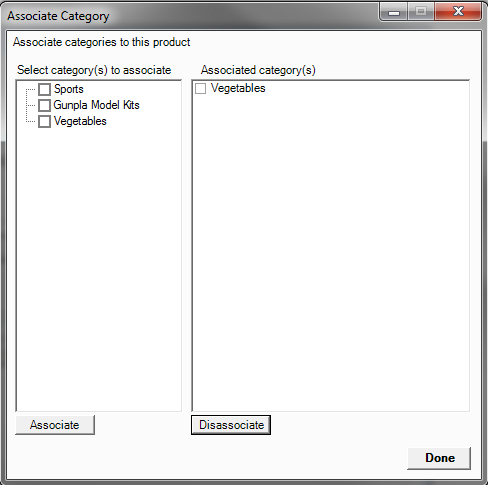
3. If you wish to associate this product to categories, click the Select button. The Associate Category
window will open. Select the categories for the product on the left and click Associate. Click Done when
finished.
Note: You must have created the category first. You can associate the product to more than one category.
4. Enter any other information as necessary, including:
• UPC #
• Set the appropriate unit of measure in which you will sell the kit.
• The customer minimum order quantity
5. If you wish to create an item kit but activate it later, or if you wish to temporarily make it unavailable,
click the Item Kit is Inactive checkbox.
6. Use the checkboxes at the bottom of this tab to indicate whether you are selling this item kit on your B2B
or B2C website. Web Services must be enabled.
• If you are, you may want to create a description for the kit in the bottom boxes. You can copy the
description from one to the other if necessary.
7. Click Save & Next. (You can click Save & Close at this point, but your item kit contains no products.)
Attachments (HOW TO CREATE ITEM KITS.pdf)