How to attach documents on CPO and VPO.
First, Setup the path location to pull up the documents.
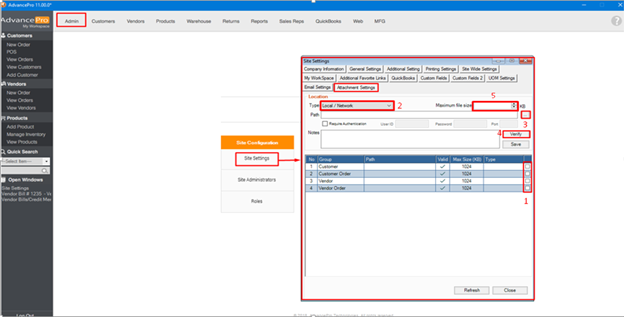
Go to Site Settings à Attachment Settings
- Select the group from the Group List
- Select the type of the Location
- Browse / type the location path
- Enter the Use Id, Password and port (if required)
- You may also set the maximum file size
6. Click ‘Verify’ button
- Attach file in customer invoice (Pending).
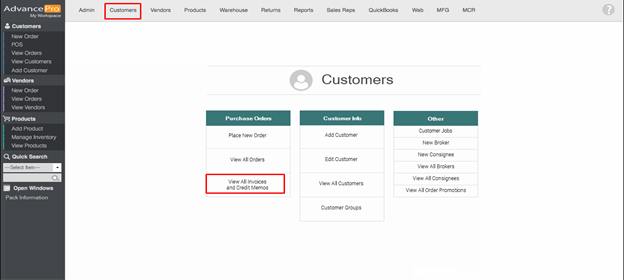
Go to Customer > View All Invoices and Credit Memos.
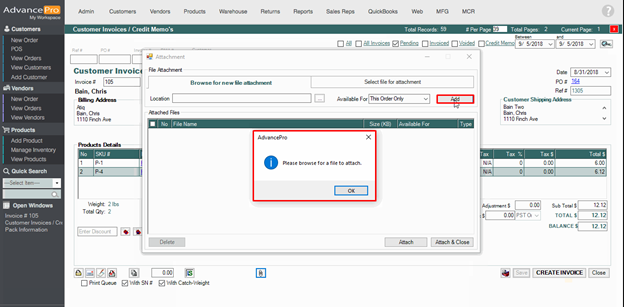
Select a PO# and note that you are on a pending status window and then click the attachment icon.
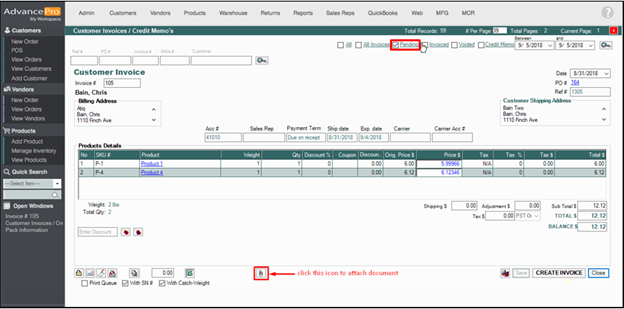
An alert message will pop up when you click the Add button without selecting any file.
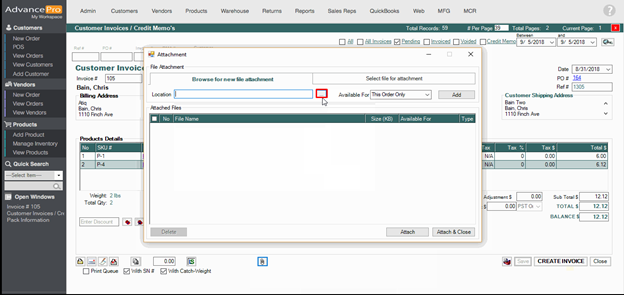
You can attach multiple files by clicking the three dots icon as highlighted on the figure below.
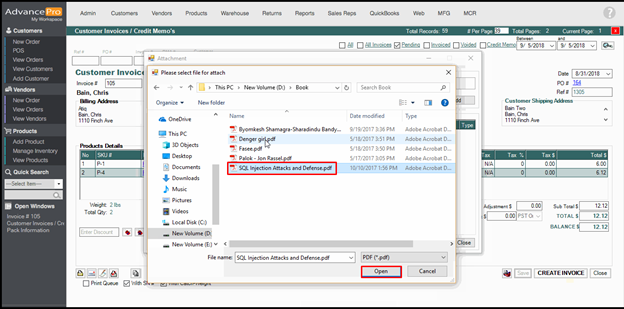
Select the files you’ll need by selecting the file and click open or double click the file itself.
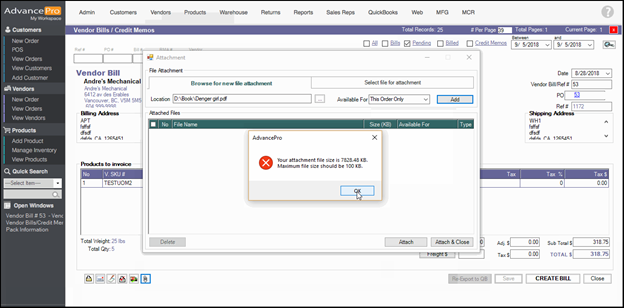
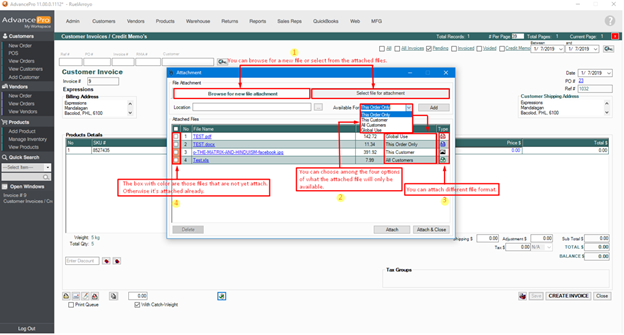
- You have an options to browse a new file or select file for attachment.
- You can set the availability or restriction of each attachment as follows: This Order Only, this Customer, All Customer, and Global Use.
- You can attach multiple files with different formats like PDF, MS Word, JPG and Excel.
- There’s an indicator whether the file already attached or not.
You will see this message once you attached the file successfully.
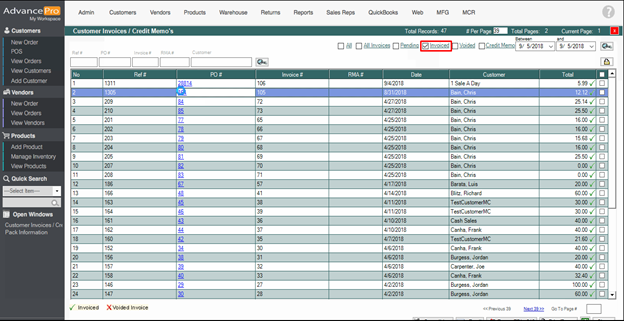
- Attached file in customer invoice (Invoiced)
Go to Customer > View All Invoices and Credit Memos.

Click the Invoiced on top and select the PO# and do the same steps as shown in number 1.
- Attached document in Vendor Bill (Pending)
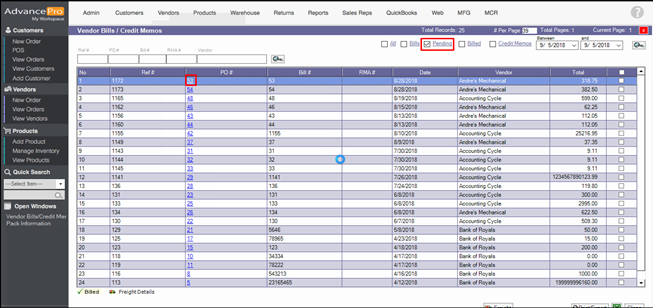
Go to Vendor > View All Invoices and Credit Memos.
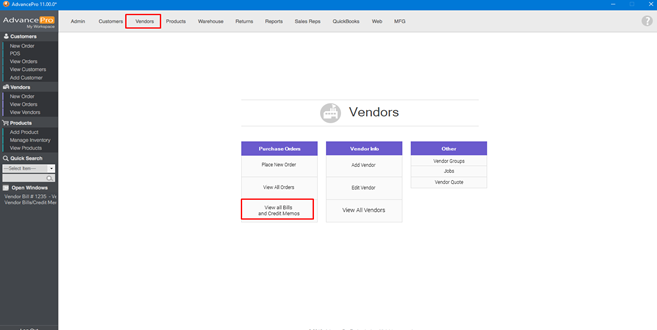
Click the Pending on top and select the PO# and do the same steps as shown in number 1.
An alert message displays if the size exceed the maximum file size.