How to assign selected SKUs to a different warehouse
AdvancePro has added the ability to assign selected SKUs to different warehouses without the need to process a transfer
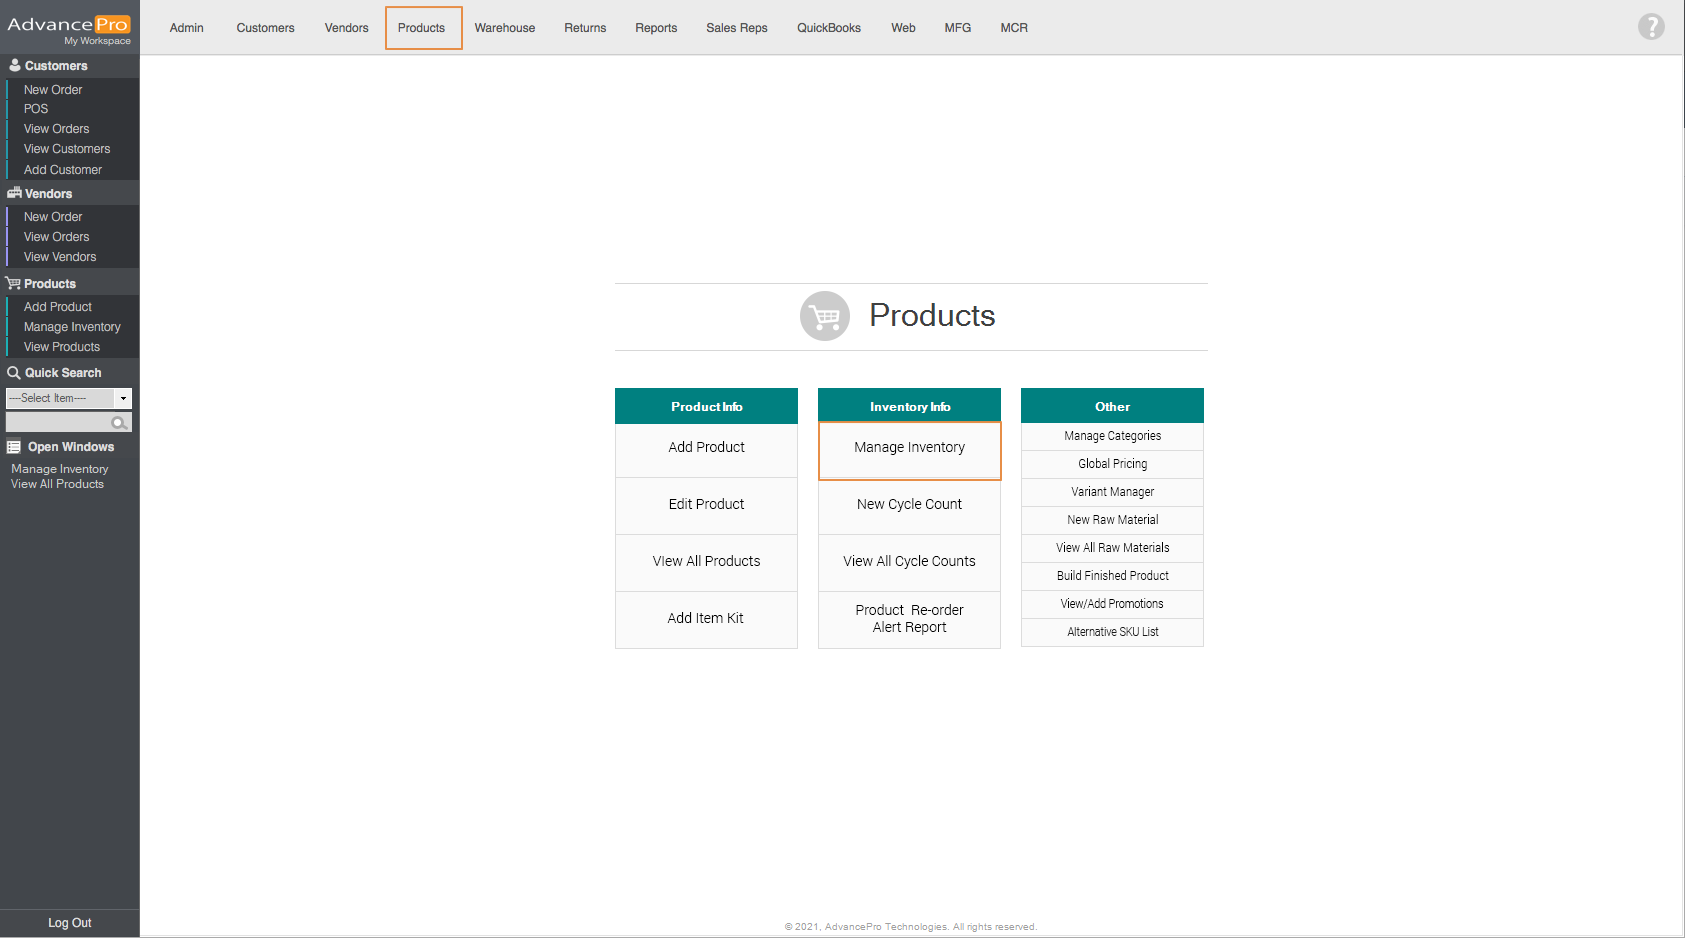
- To assign products to a different warehouse, you need to go to the Products switchboard and click on Manage Inventory
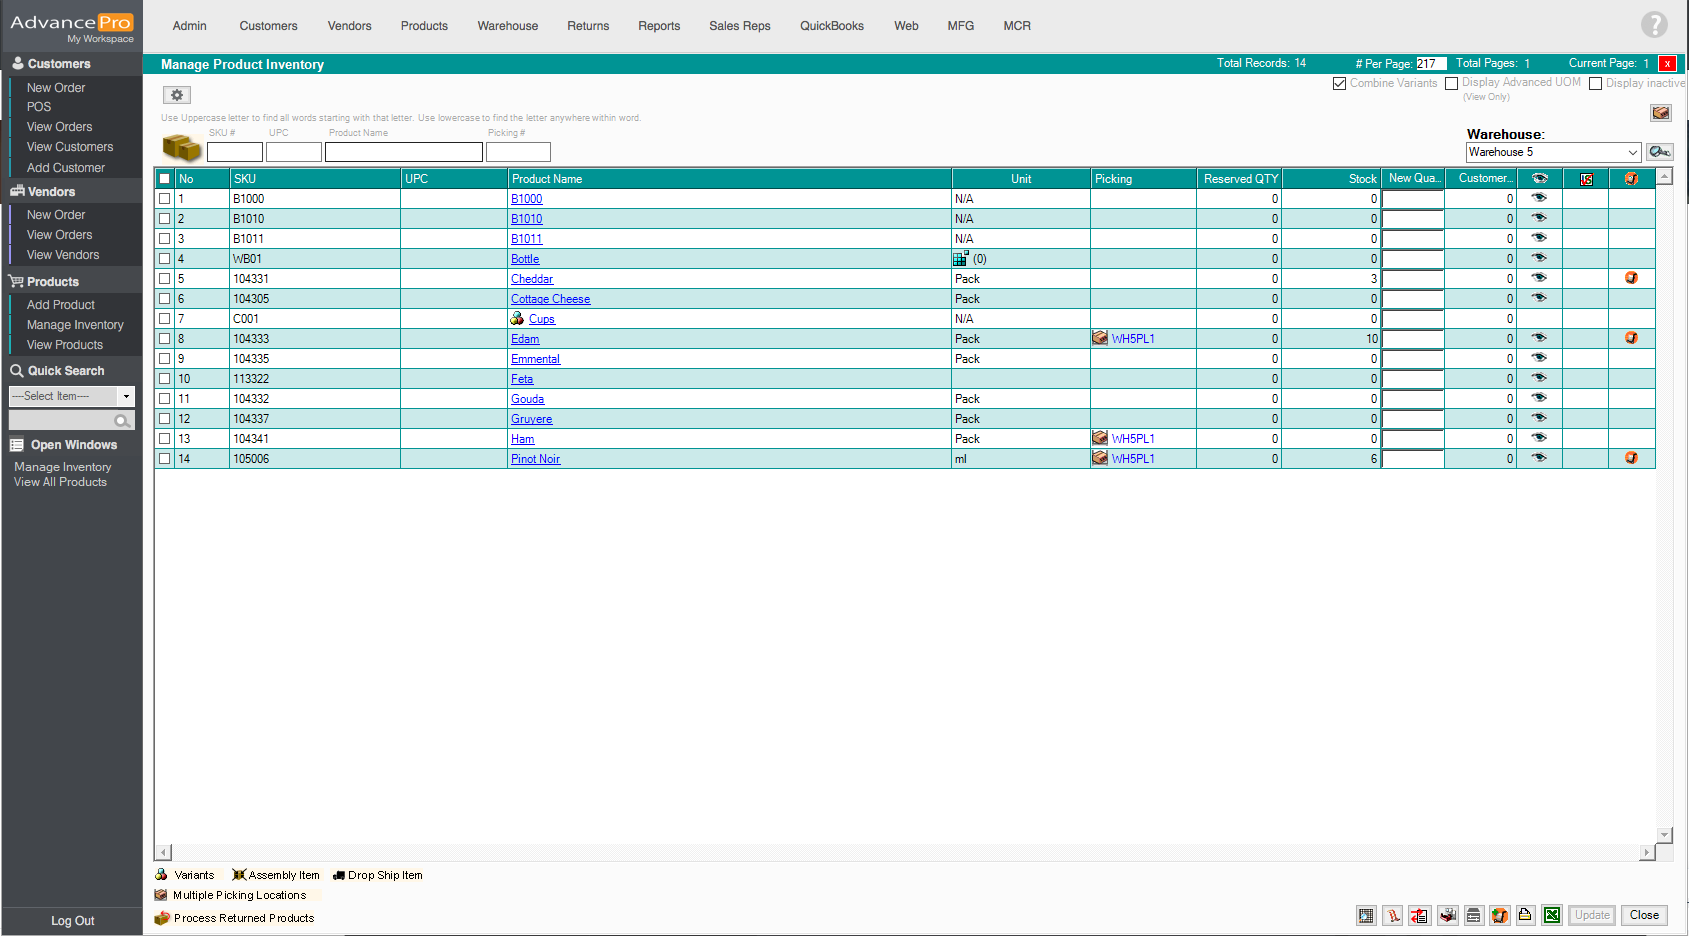
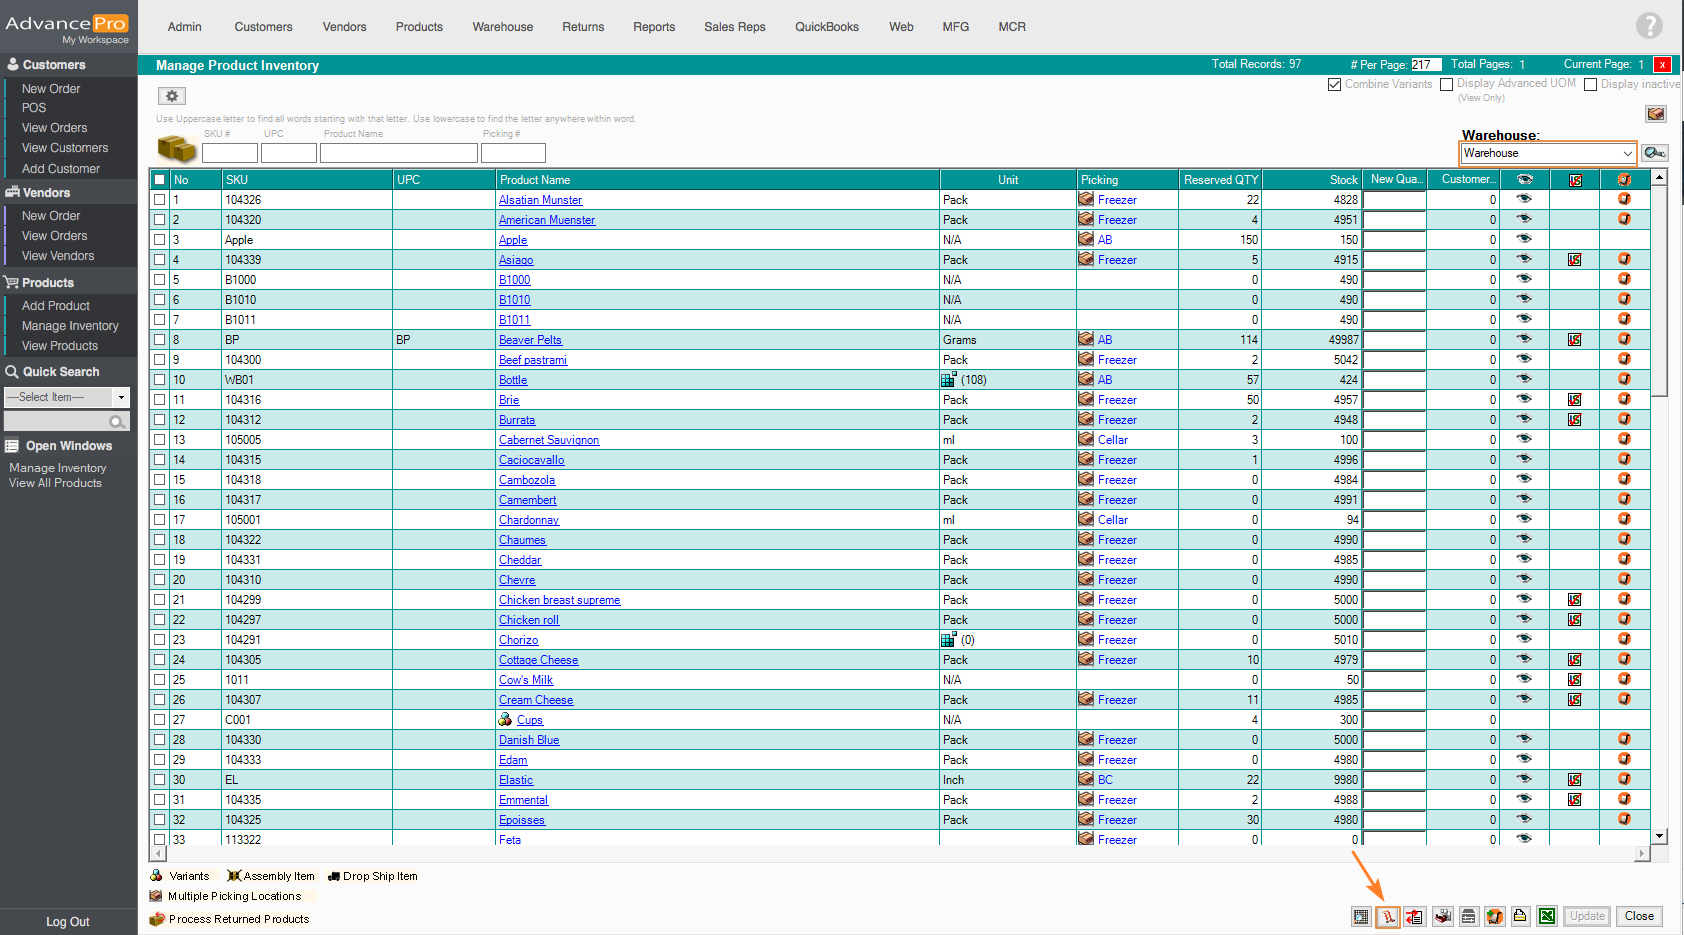
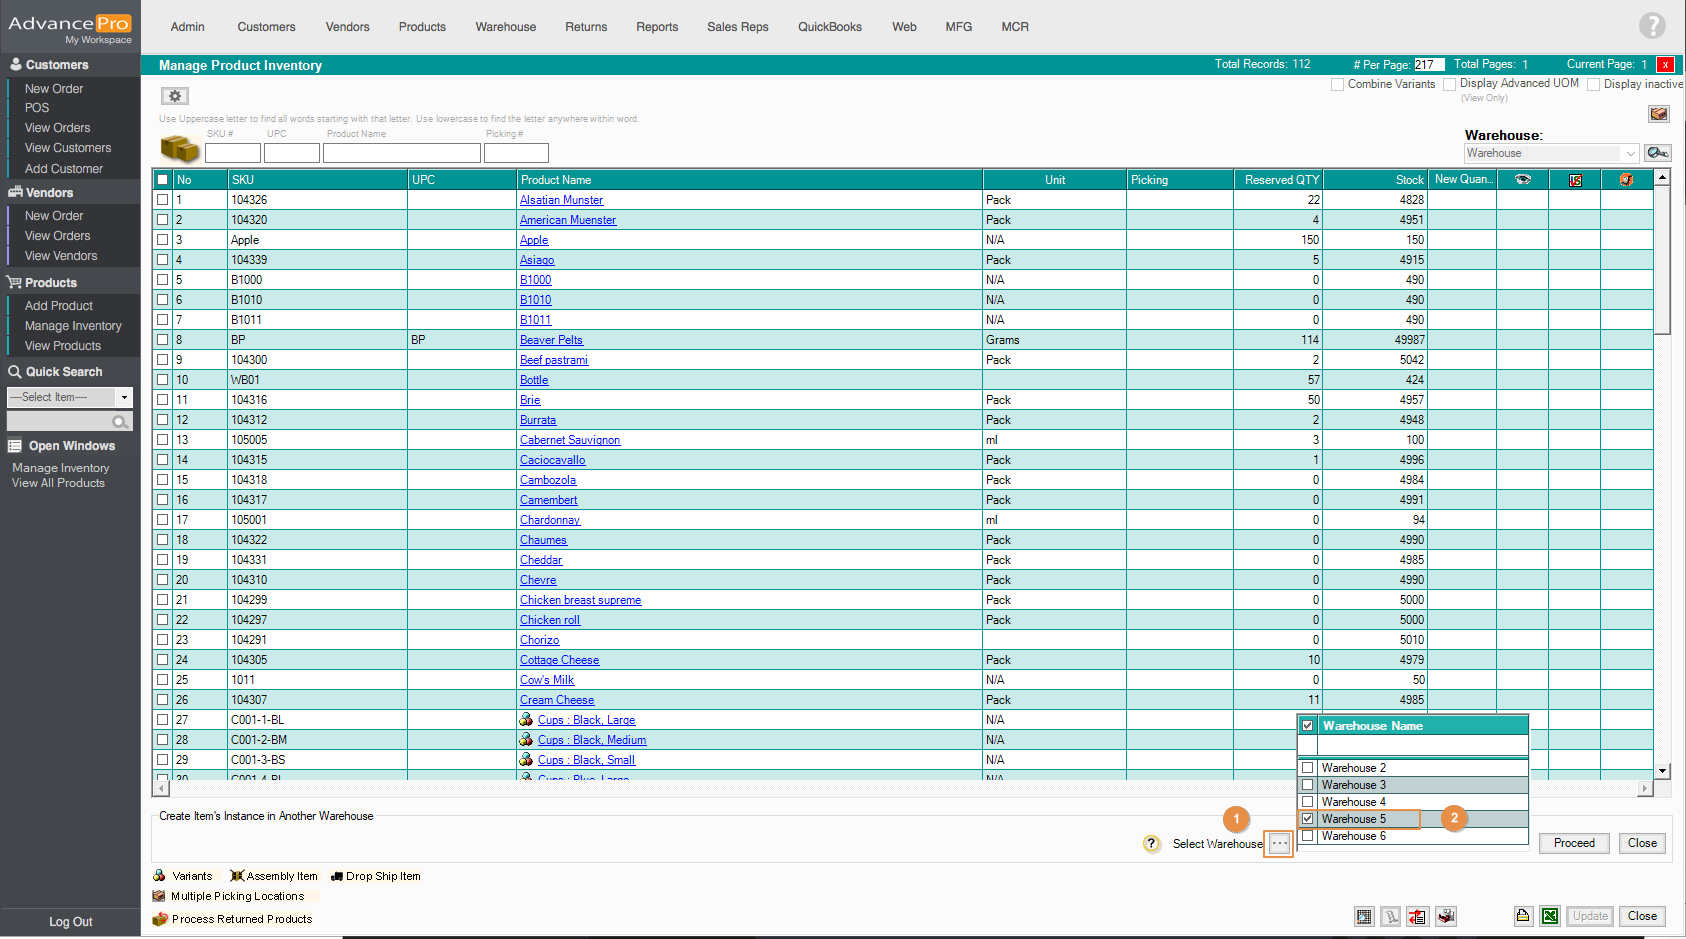
- After which, select the warehouse where the product exists. In this example, I will choose my main warehouse, "Warehouse". Next, click on Create product instance button found on the bottom right section of the screen
- It will show you additional options:
- Select Warehouse - where you can select the warehouses you want the product to be copied or assigned.
- Custom selection - this option lets you select specific products to be assigned to the warehouse you've selected.
- All Missing SKU's - when this option is selected, it will copy all of the missing SKUs from the main to the selected warehouse
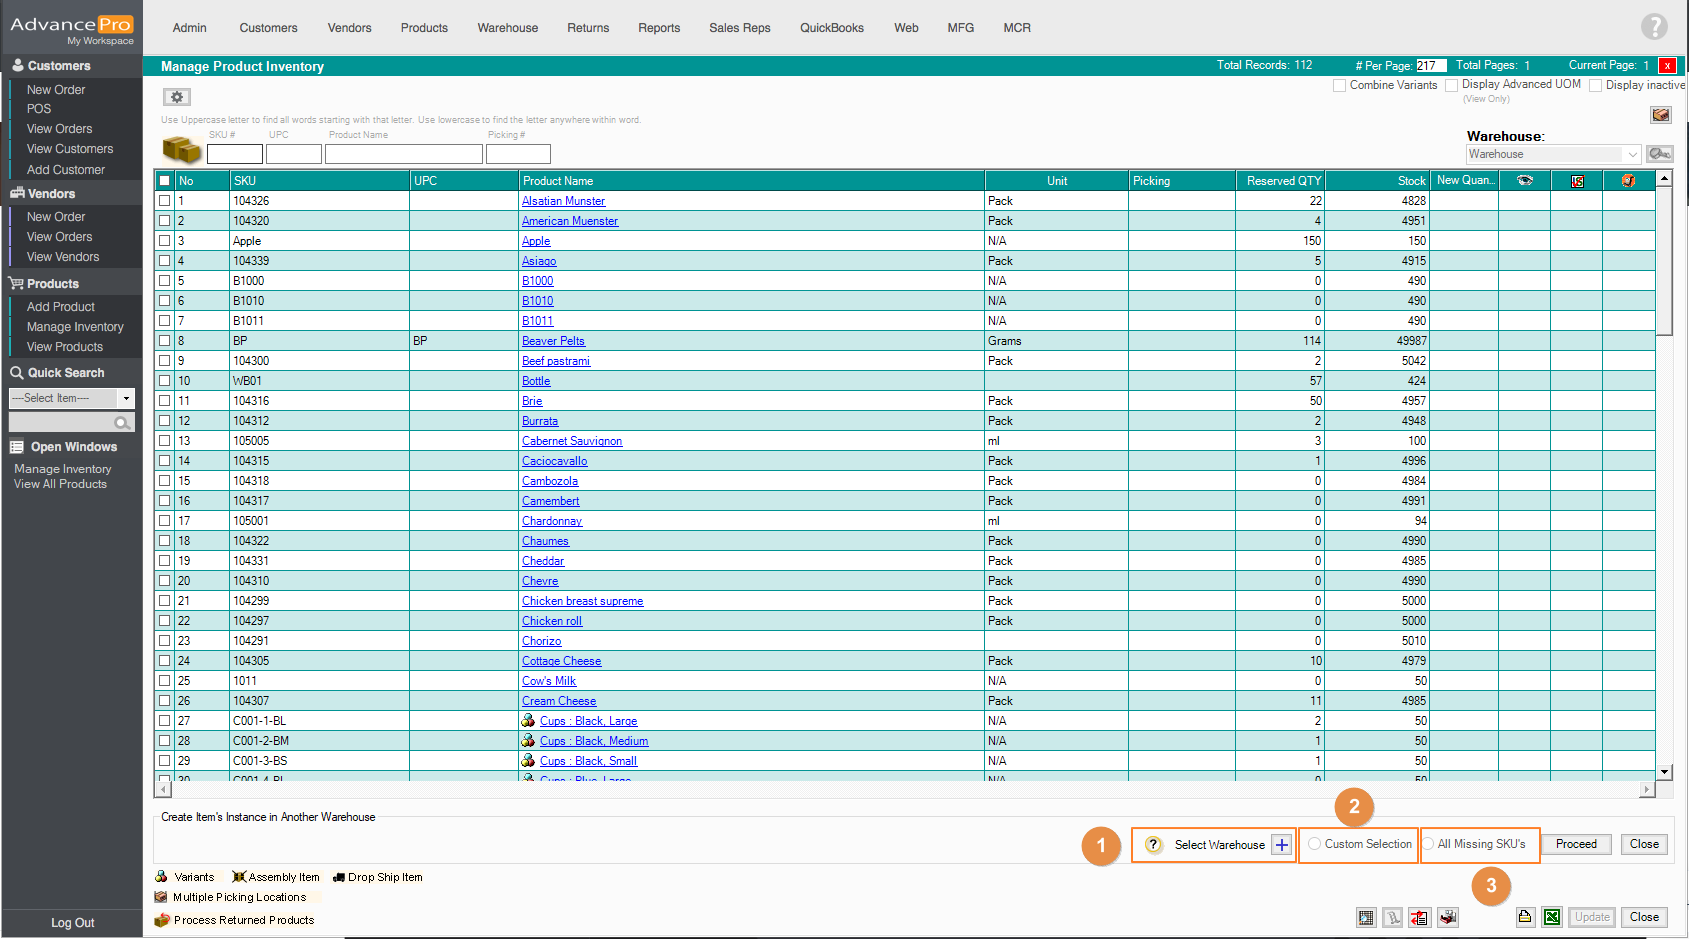
- Click on the + icon to show all of your warehouses. We also added a filter search in case you have many warehouses.
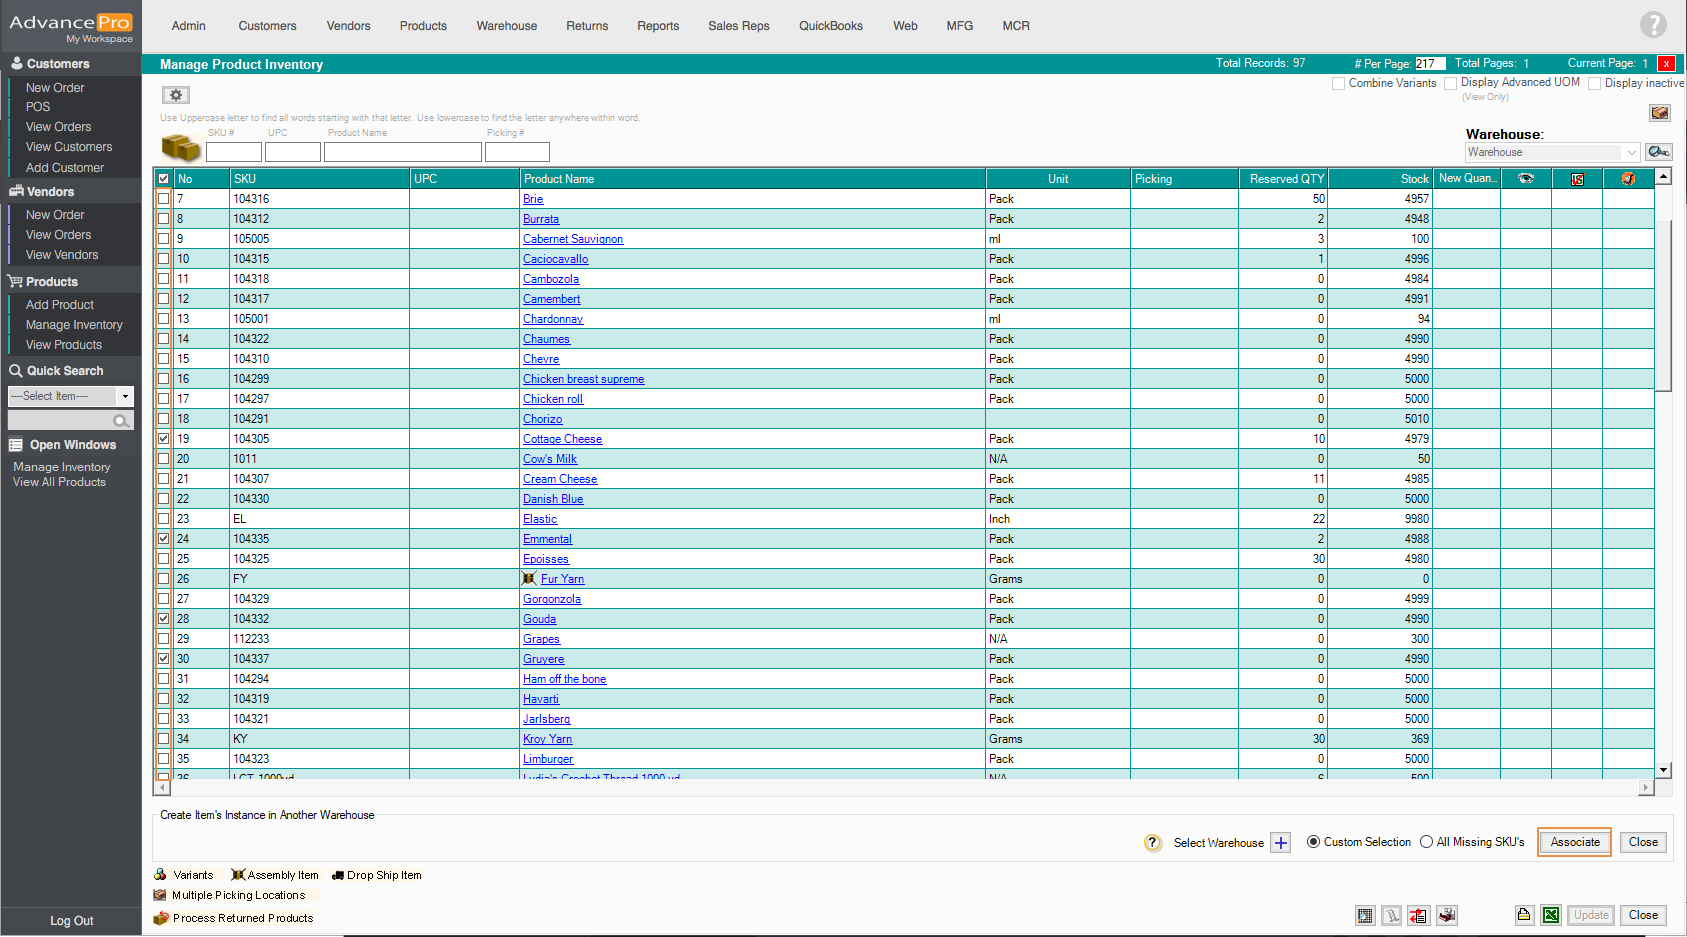
- Select Custom Selection and then click on Proceed. Now it's time to associate the products to the warehouse that you've selected. Select the SKUs and click on Associate
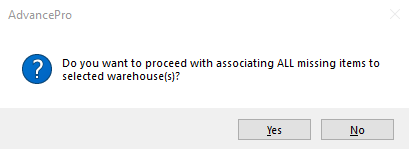
- A prompt message will be shown, just click on Yes
- All products selected were assigned.