
Creating Customer Groups
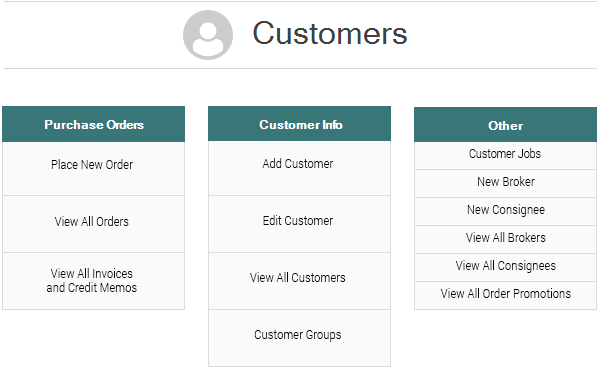
- Click on Customers>Customer Groups
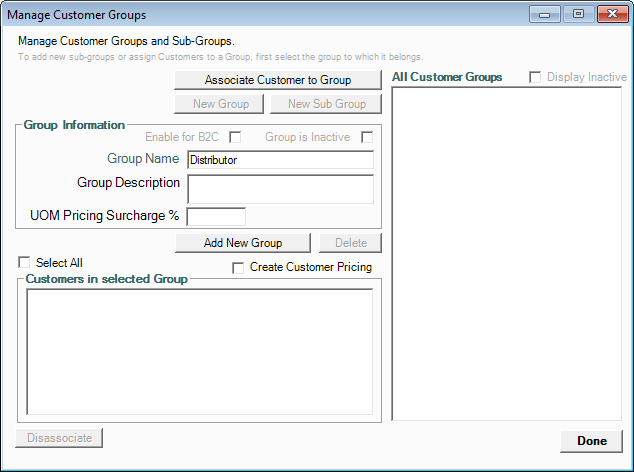
- Type in the name of the group you would like to create and click "Add New Group"
- Select the group you would like to populate and then click "Associate Customer to Group"
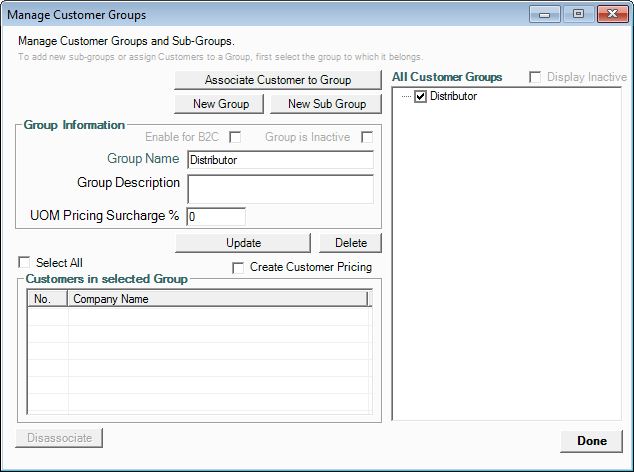
- Select customers to be included in the group and click "Add"

Creating Product Categories
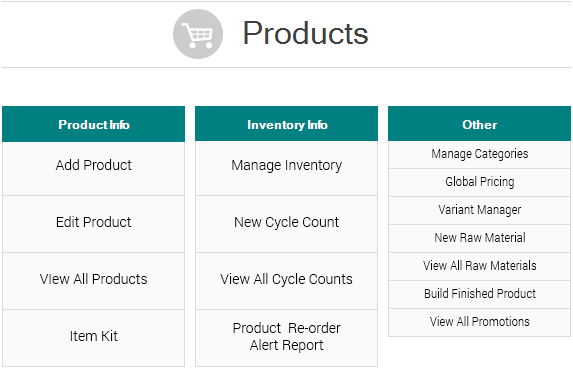
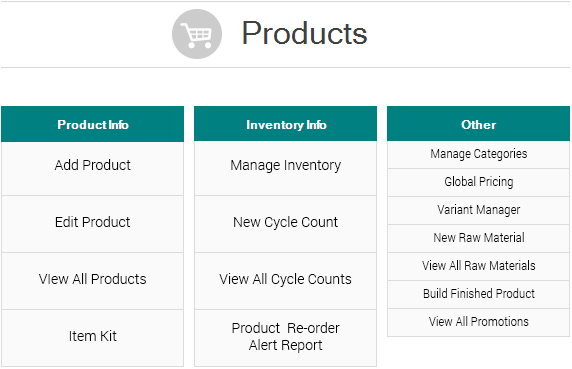
- Click on Products>Manage Categories

- Type in the name of the category you would like to create and click "Add New Category"

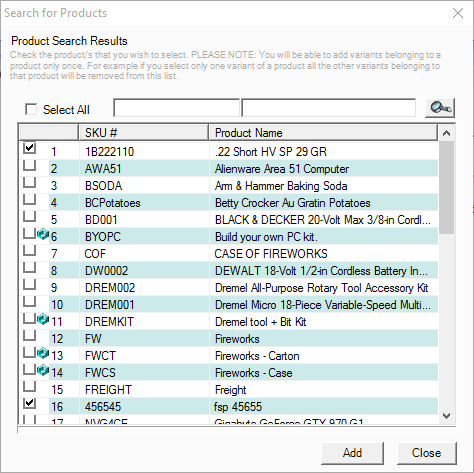
- Select the category you would like to populate and then click "Associate Product to Category"
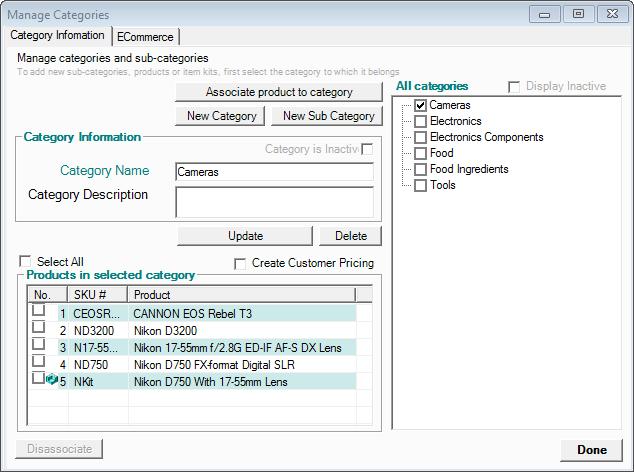
- Select products to be included in the category and click "Add"
Creating Global Pricing
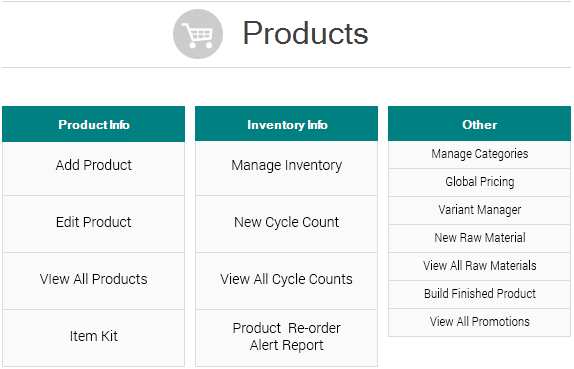
- Click on Products>Global Pricing
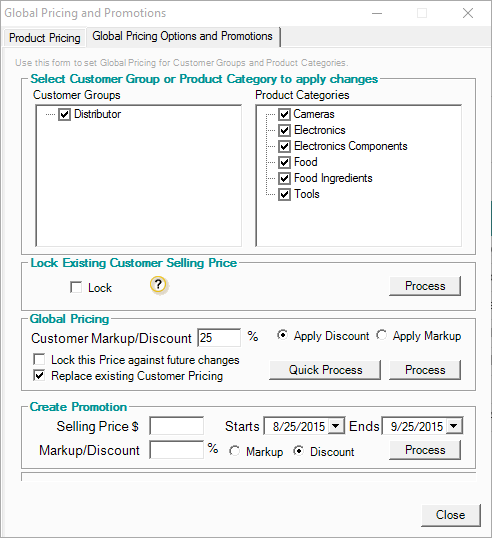
- Click the "Global Pricing Options and Promotions" tab. Now, select a group of customers and product categories. In the "Global Pricing" section, select the discount or markup option and enter the percentage discount/markup. Then, click “Quick Process” or “Process” to apply the changes.
- Quick Process applies the mark up or discount, but does not replace the customer pricing and does not lock the prices against future changes.
- Process applies the mark up or discount, locks the prices, and replaces customer pricing as necessary.

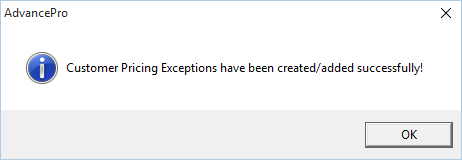
- Once you have processed the discount/markup, you will receive a notification indicating the pricing has been successfully created
Reviewing Pricing
- Click on Products>View All Products
- Click the edit button at the far right for the product you would like to review

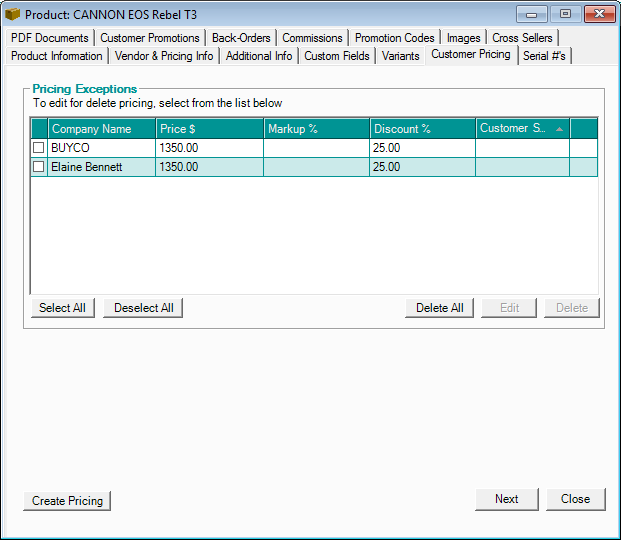
- Click on the "Customer Pricing" tab. Here you can see all the special pricing rules that you have setup.
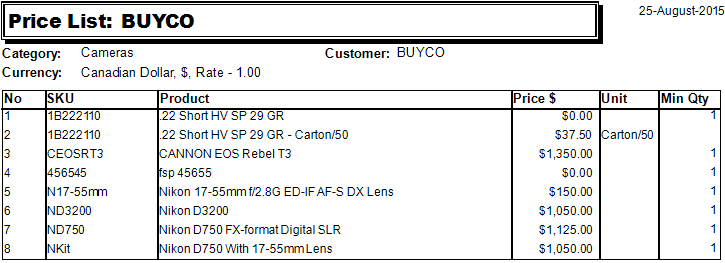
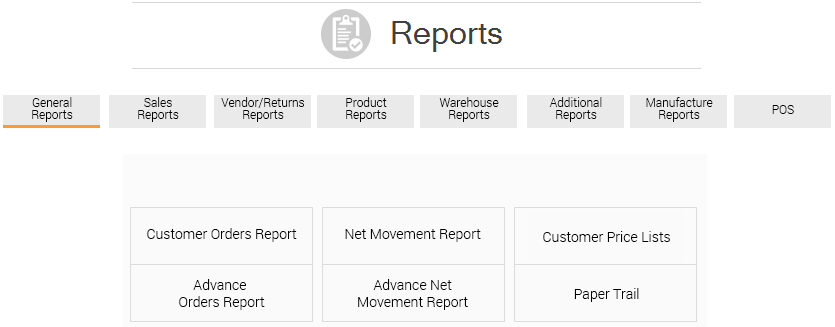
- You can view customer price lists by clicking Reports>General Reports>Customer Price Lists

- Select your criteria for the report and click "Print/Export"

- Click on Customers>Customer Groups

- Type in the name of the group you would like to create and click "Add New Group"

- Select the group you would like to populate and then click "Associate Customer to Group"

- Select customers to be included in the group and click "Add"

Creating Product Categories
- Click on Products>Manage Categories
- Type in the name of the category you would like to create and click "Add New Category"

- Select the category you would like to populate and then click "Associate Product to Category"

- Select products to be included in the category and click "Add"

Creating Global Pricing
- Click on Products>Global Pricing

- Click the "Global Pricing Options and Promotions" tab. Now, select a group of customers and product categories. In the "Global Pricing" section, select the discount or markup option and enter the percentage discount/markup. Then, click “Quick Process” or “Process” to apply the changes.
- Quick Process applies the mark up or discount, but does not replace the customer pricing and does not lock the prices against future changes.
- Process applies the mark up or discount, locks the prices, and replaces customer pricing as necessary.
- Once you have processed the discount/markup, you will receive a notification indicating the pricing has been successfully created

Reviewing Pricing
- Click on Products>View All Products

- Click the edit button at the far right for the product you would like to review

- Click on the "Customer Pricing" tab. Here you can see all the special pricing rules that you have setup.

- You can view customer price lists by clicking Reports>General Reports>Customer Price Lists
- Select your criteria for the report and click "Print/Export"

