AdvancePro has added a new feature that will enable users to create their own templates. This new customization allows more flexibility for Customer Orders, Customer Invoices, Credit Memos, Warehouse Slips, and Quotations.
Note: This new feature is available on version 11.21.14 and up
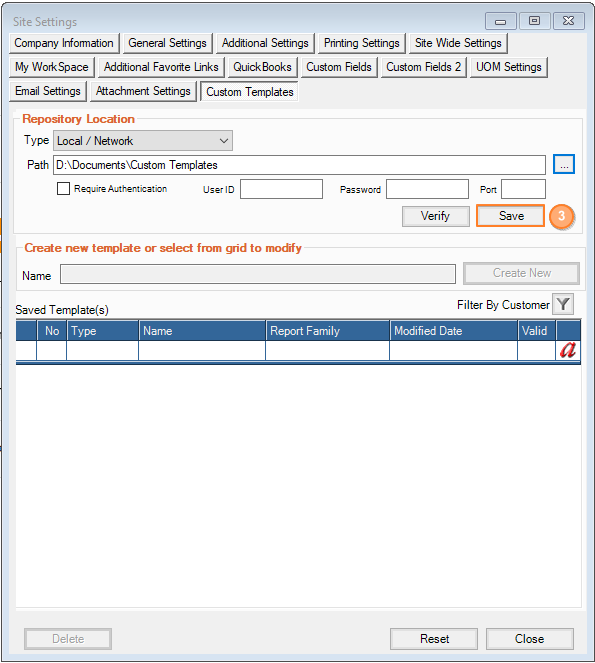
- Go to Admin switchboard and click on Site settings > custom templates.
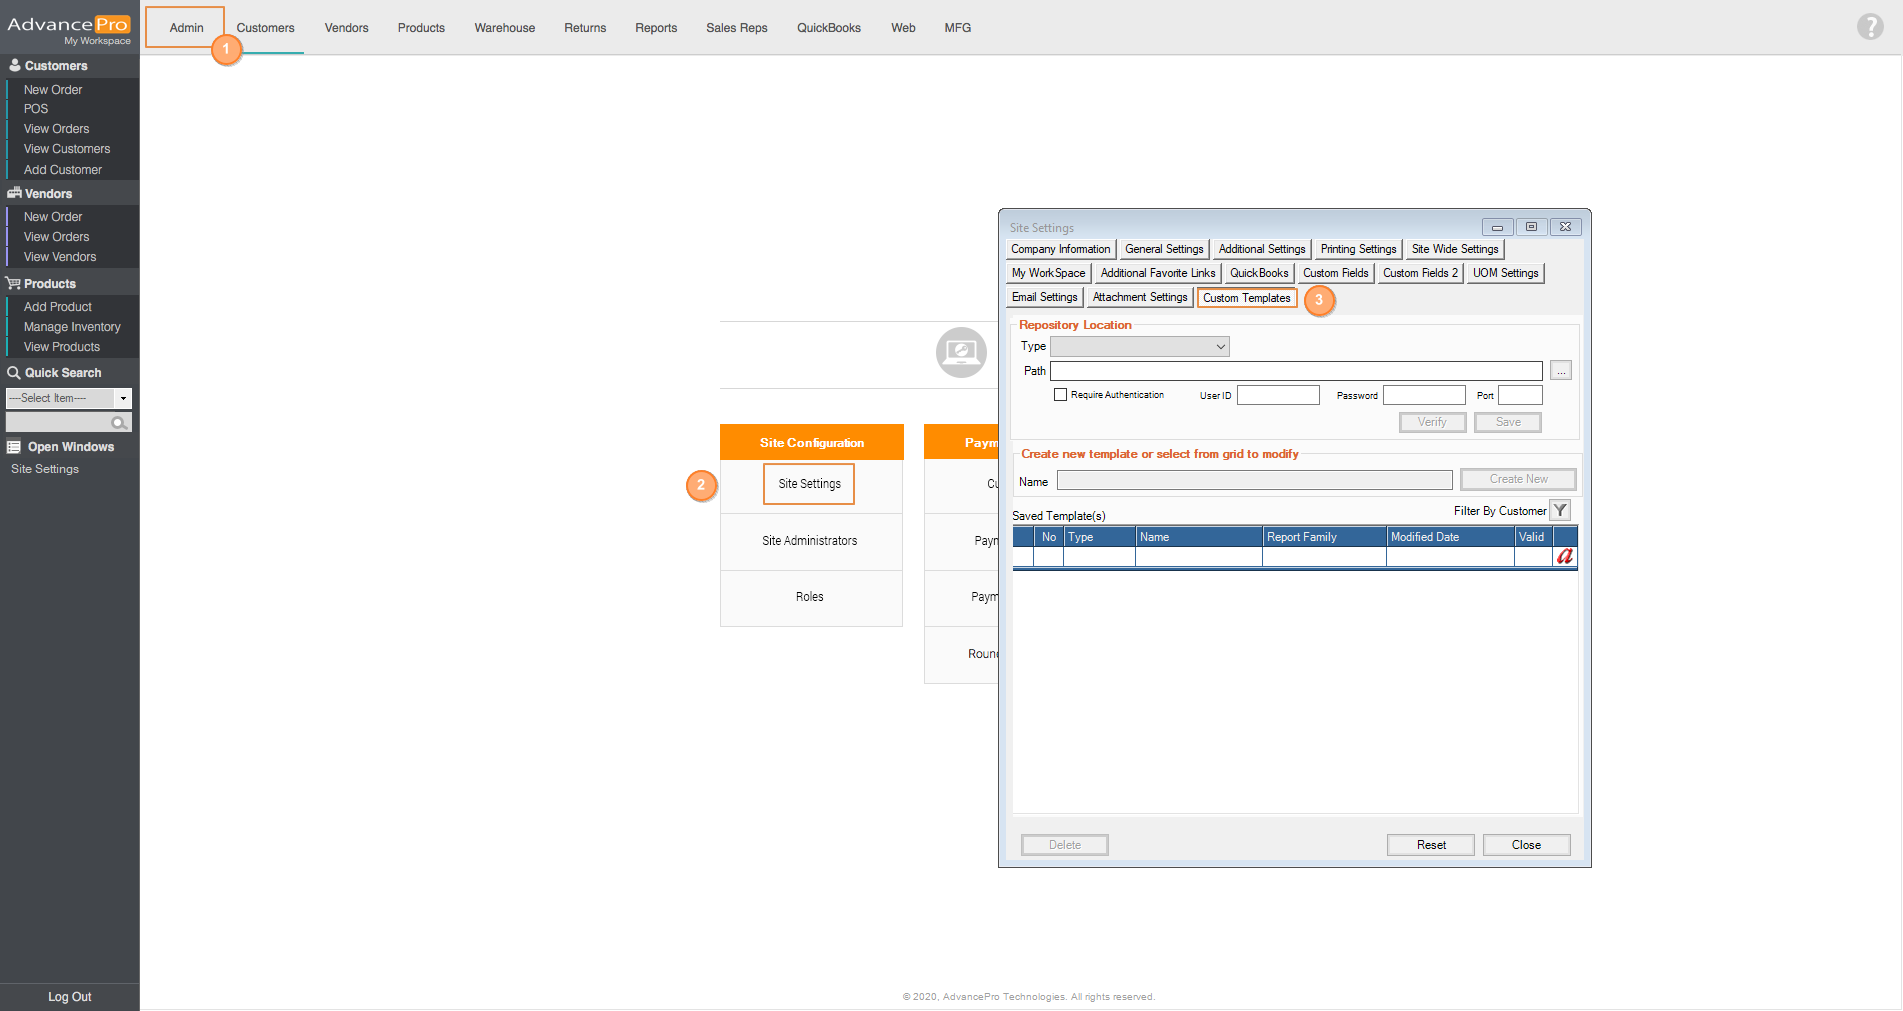
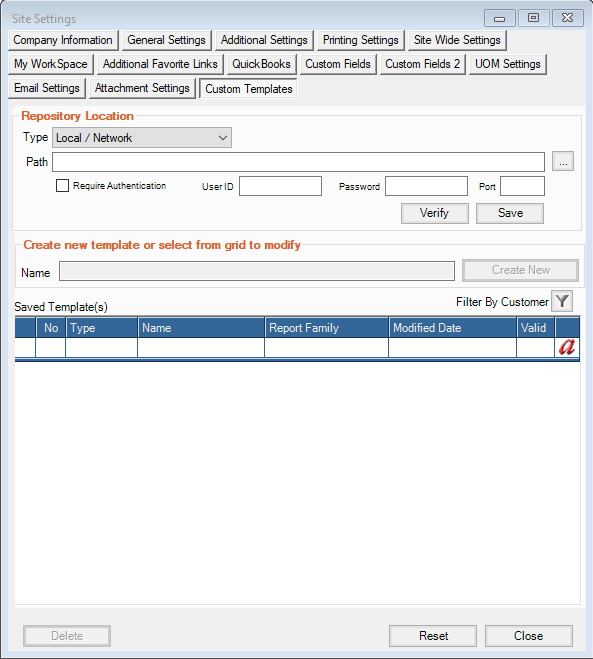
- To create templates, you need to set up the repository location first. Select the type of Location, you can select either of the 2 options: Local/Network or FTP server, in this example we'll choose Local/Network.
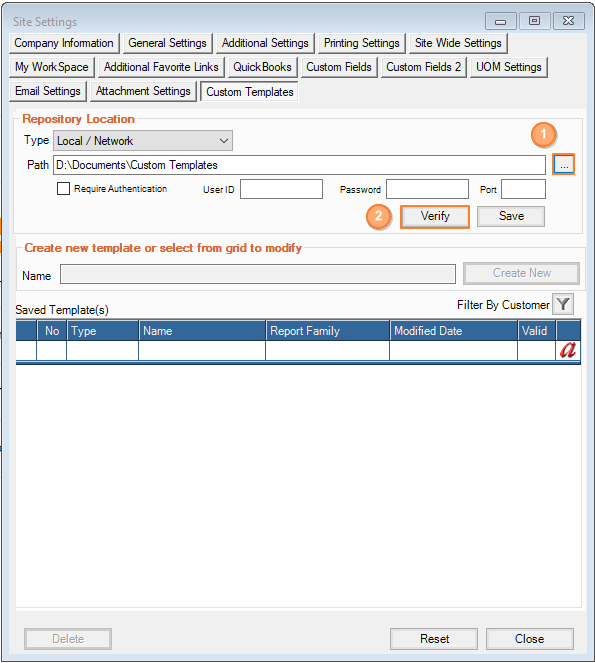
- Next, click on the browse icon to choose the path where you want your templates to be saved. After choosing the path, click on Verify and then the save button.
- Click on the Create New button and a new window will pop-up. This is where you can choose existing AdvancePro Templates.
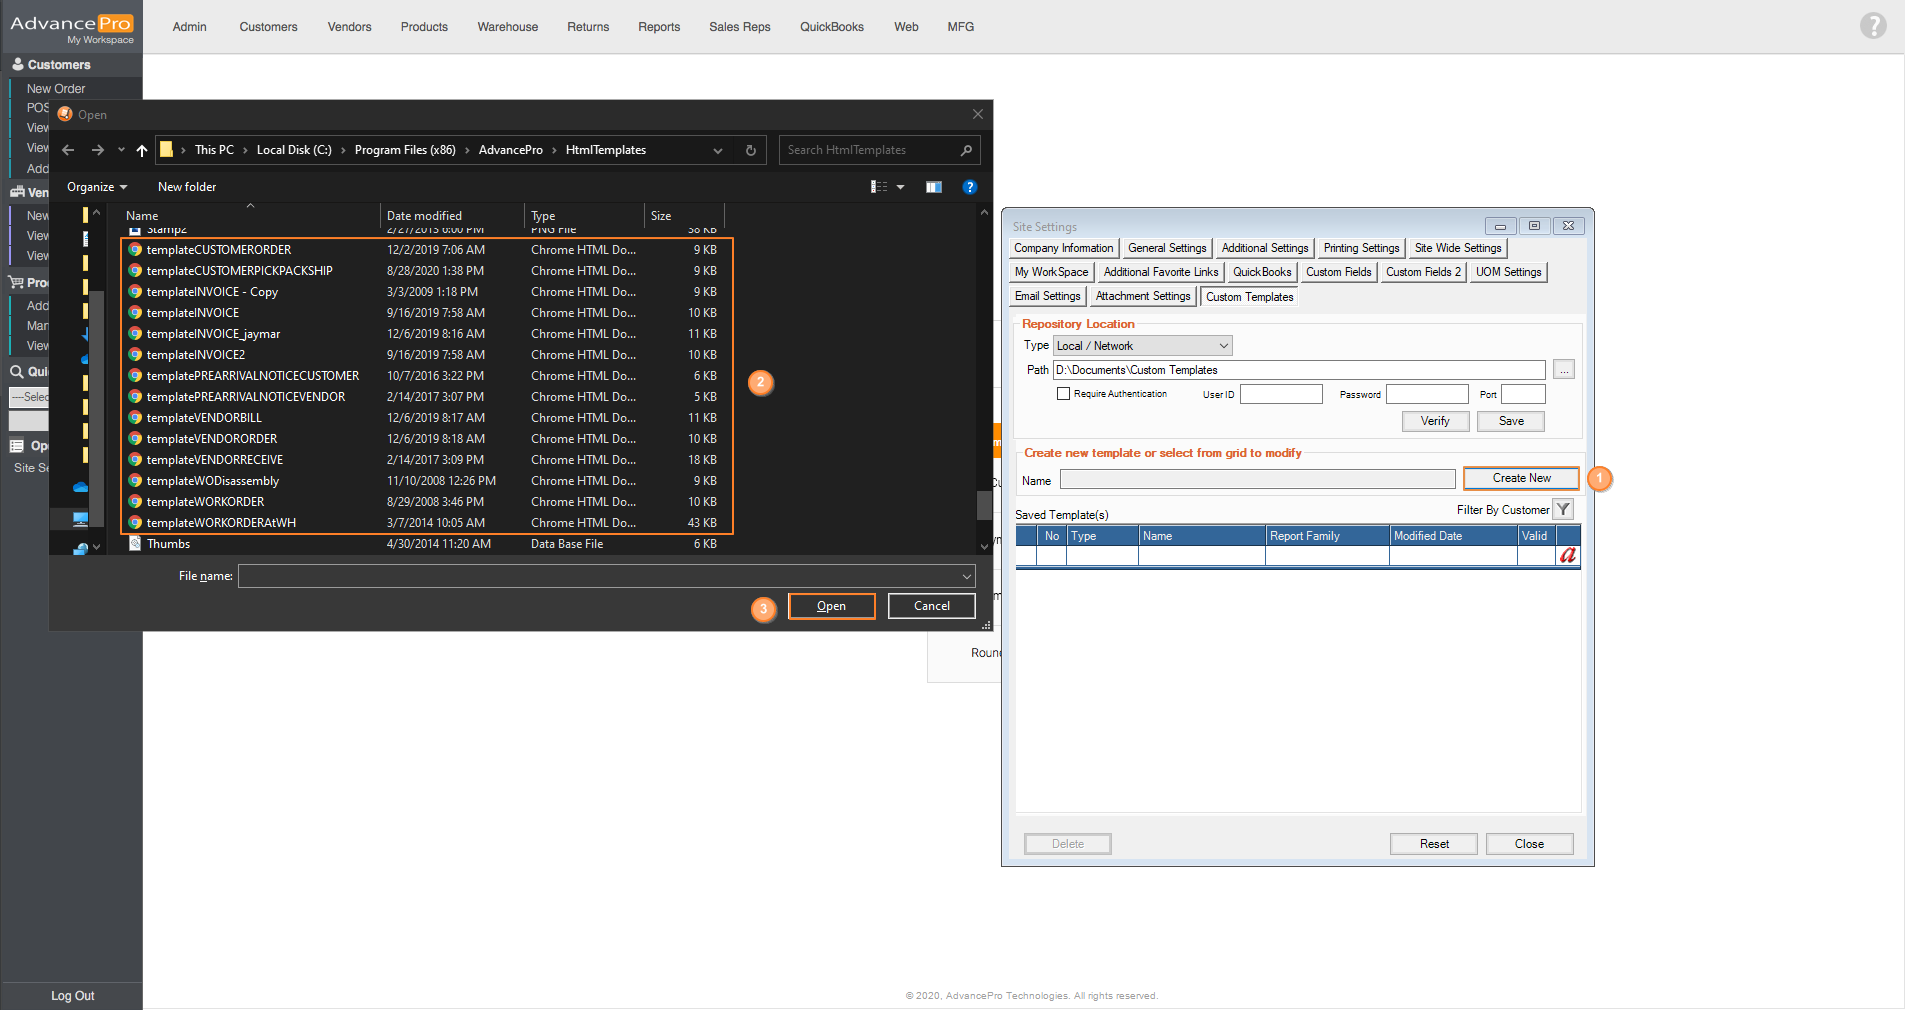
- Once you have selected a template, you can now add the tokens. But first, you must select a Report Type, and then you must provide a Template name. You can also select a report family but it is optional.
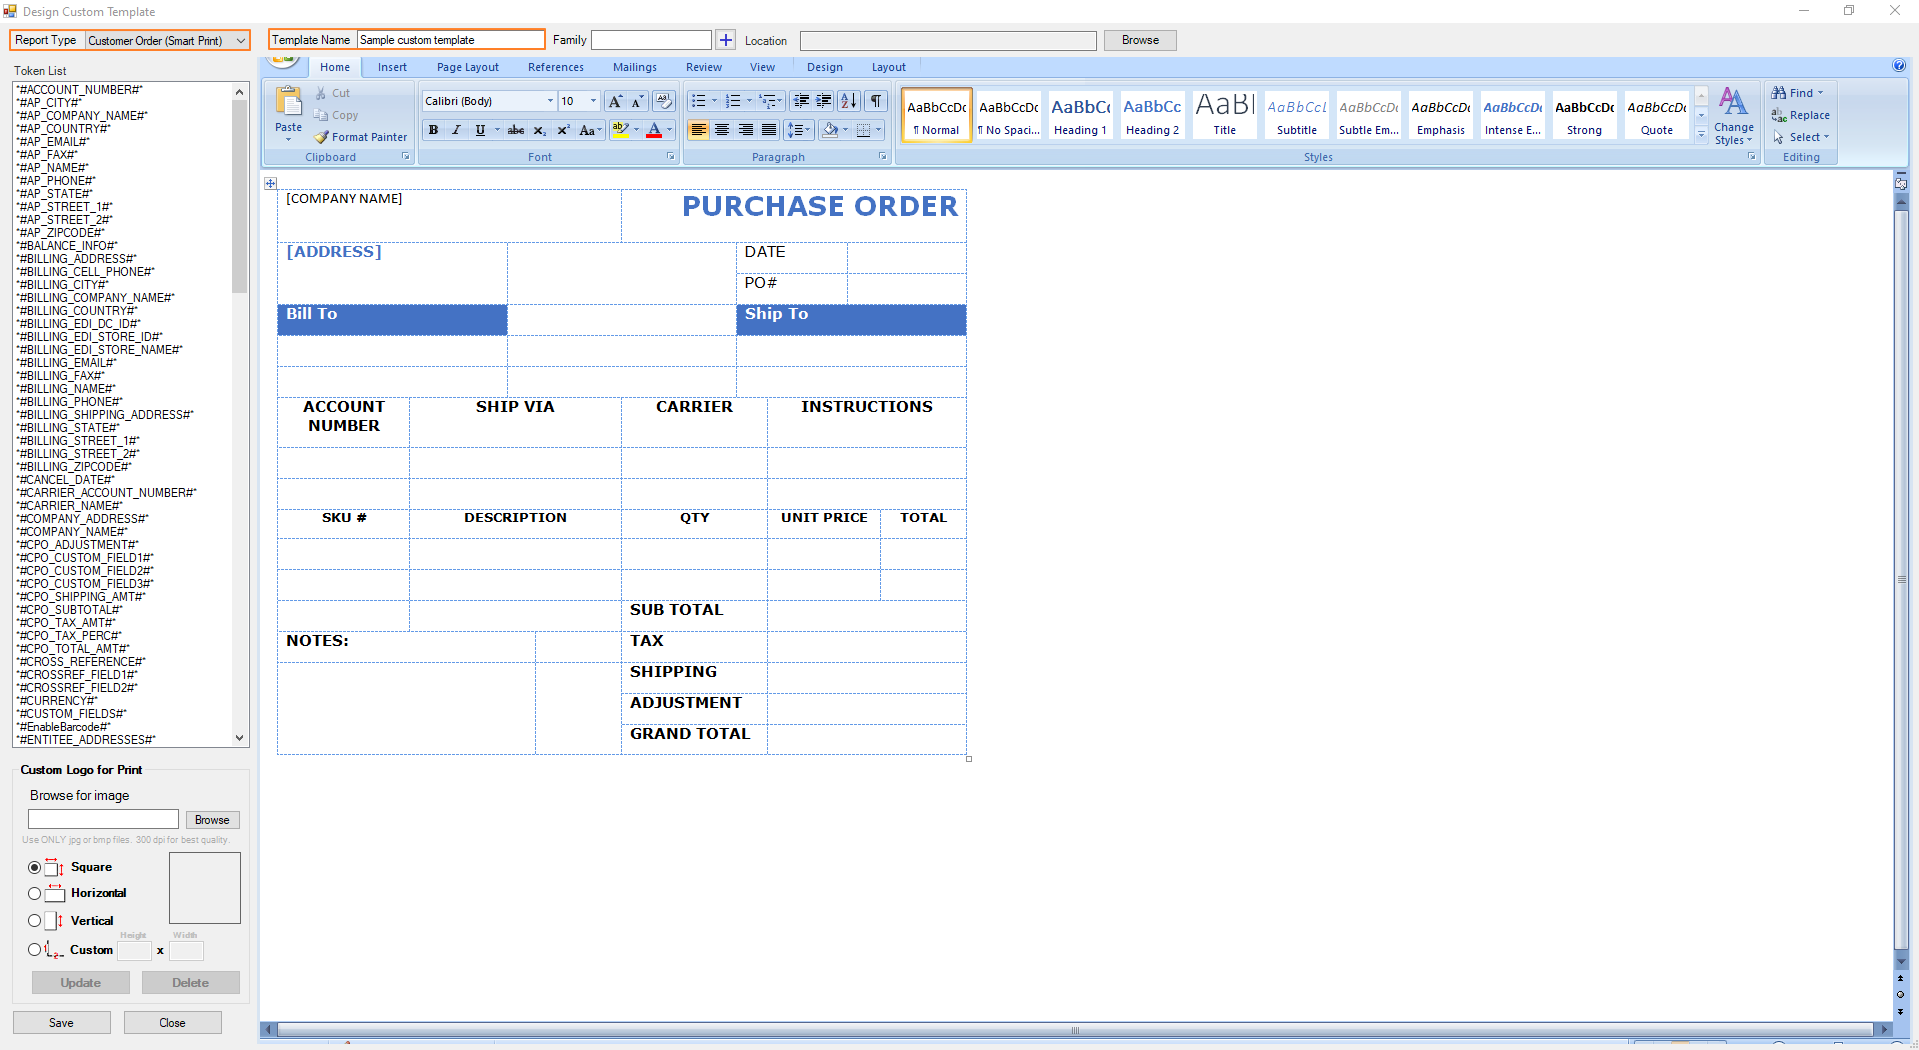
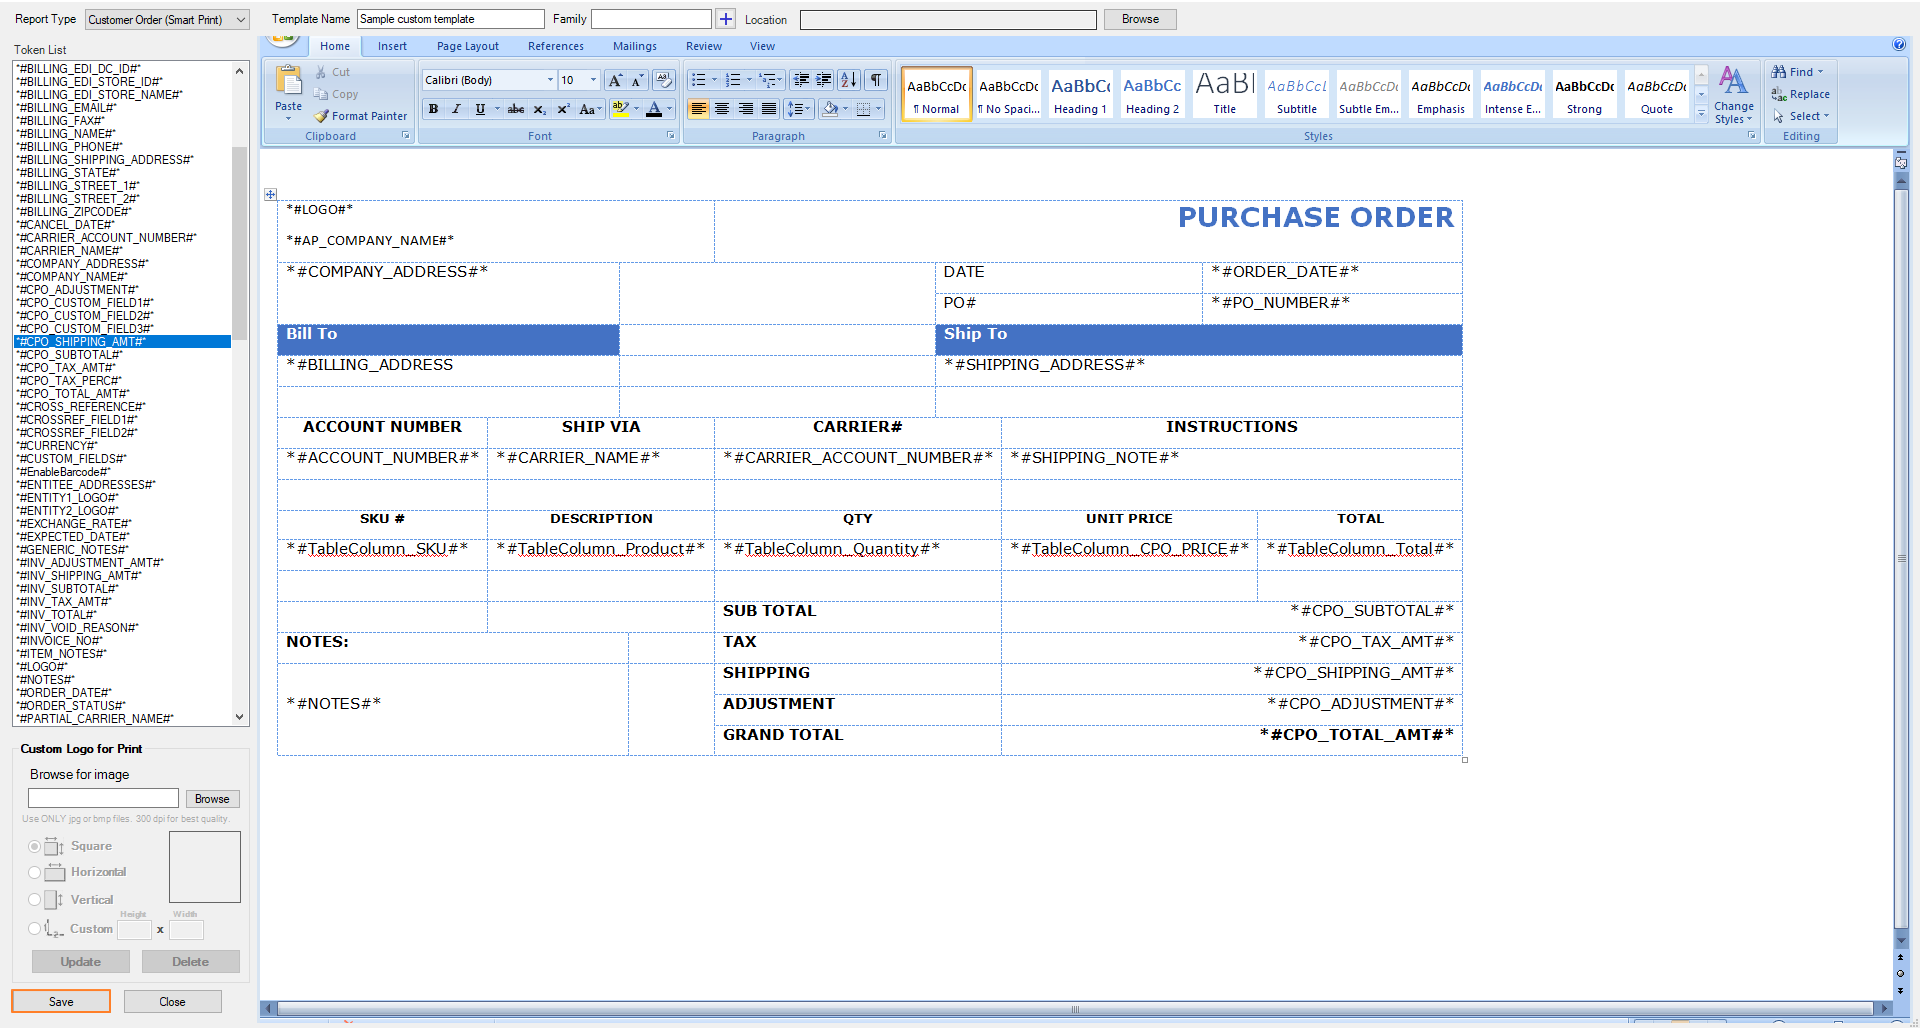
- Now, it's time to add the tokens. Tokens are found on the left-hand side of the screen. You can click on the token and drag it to the template. Notice that I've added grid lines/cells, it is for the alignment of the tokens when the template is used in AdvancePro. After finalizing the template, you can now click on Save.
- We also have the option to add a customer's signature from our APMobile app by including the token in the custom template that we're making.
- Click on
 icon to assign this to a customer and then click on save.
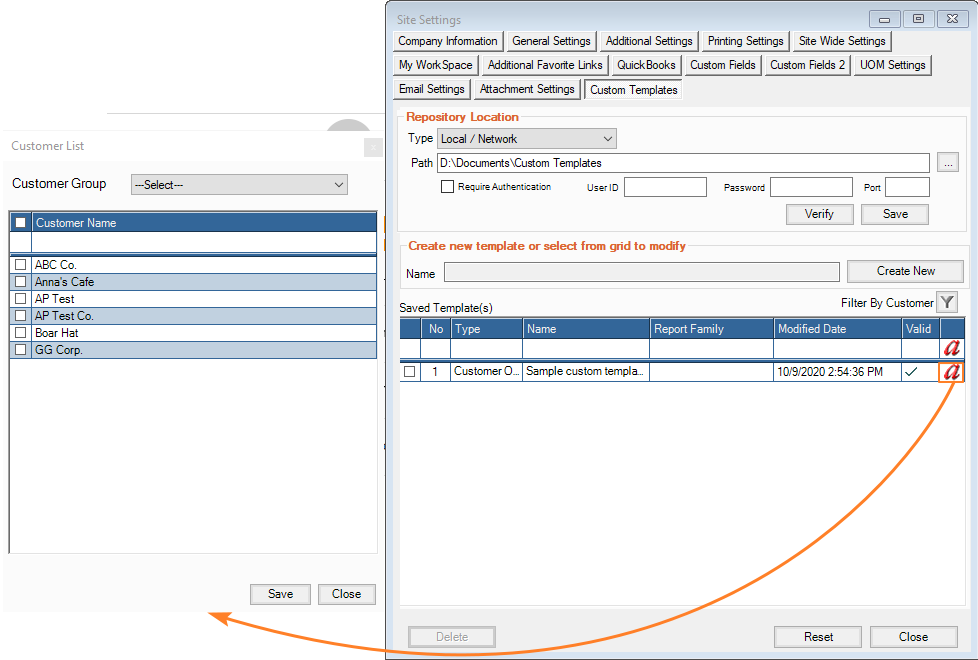
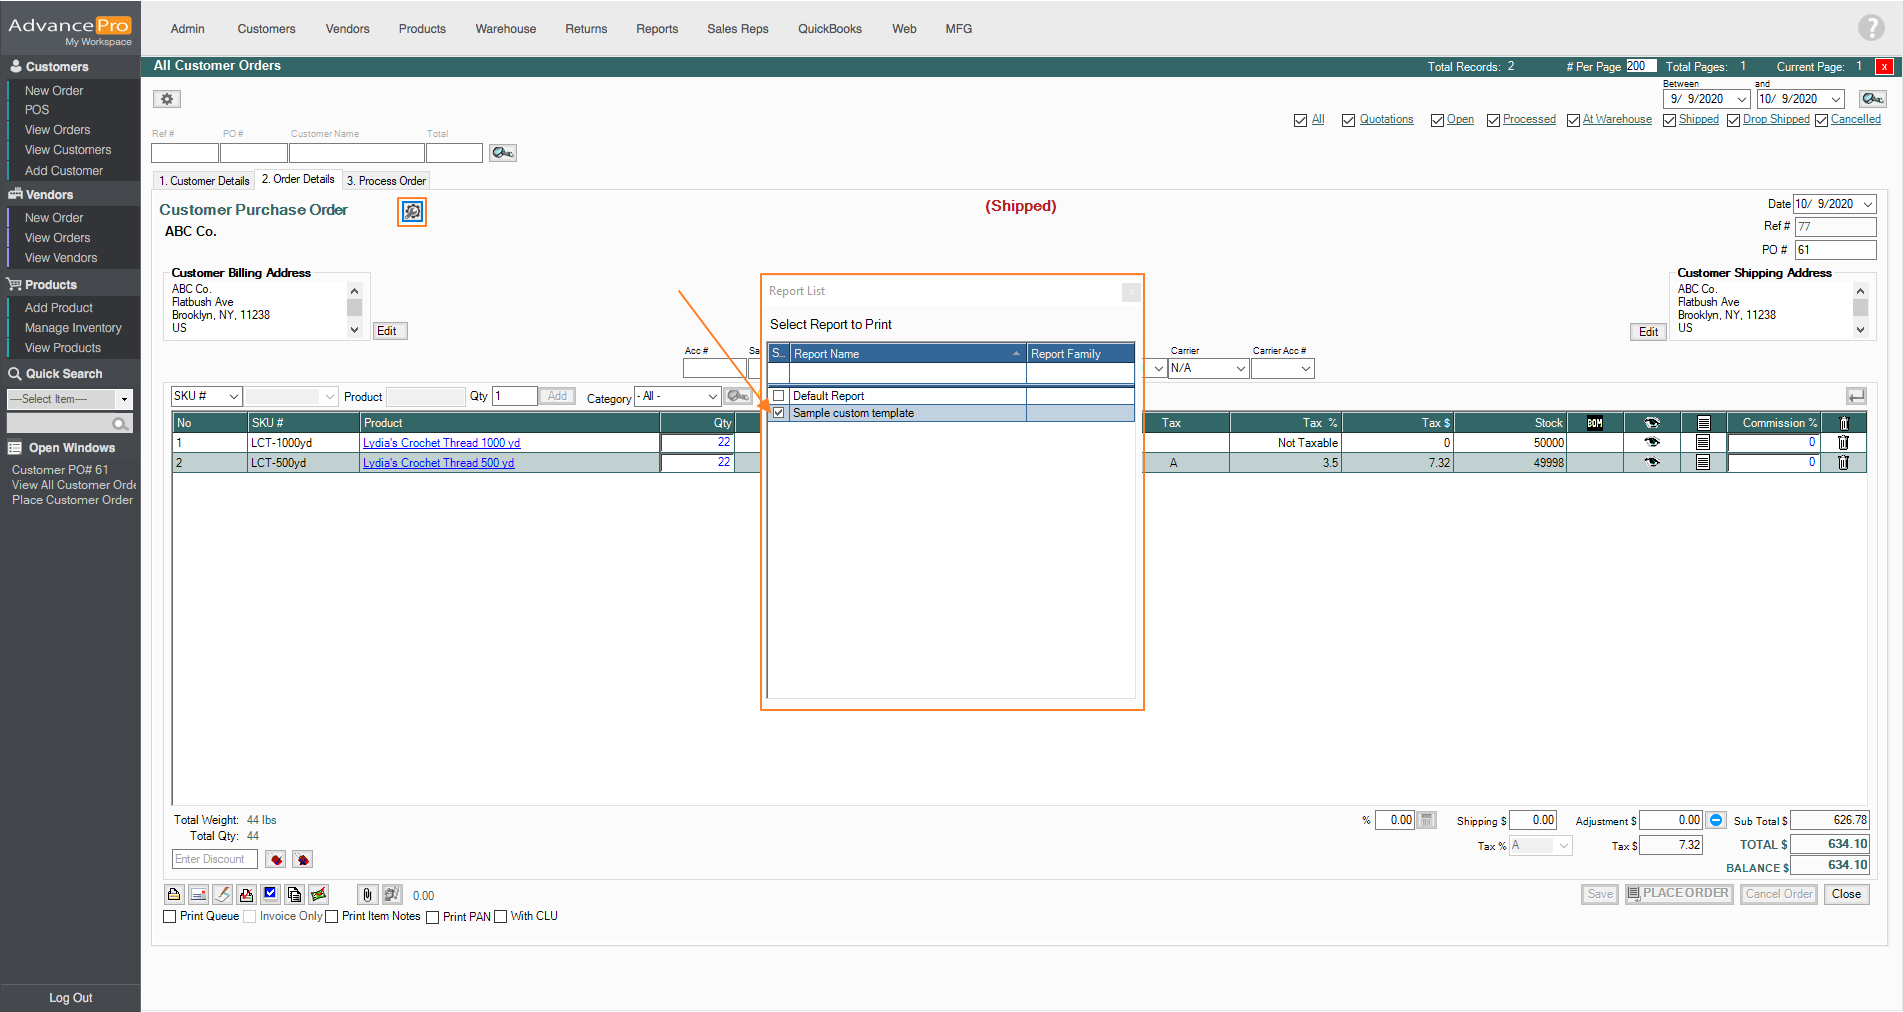
- To view the custom template that you've created, you can search for an order associated with that customer. On the upper-left, you'll see a wrench icon, click on that and select the template you want to print.
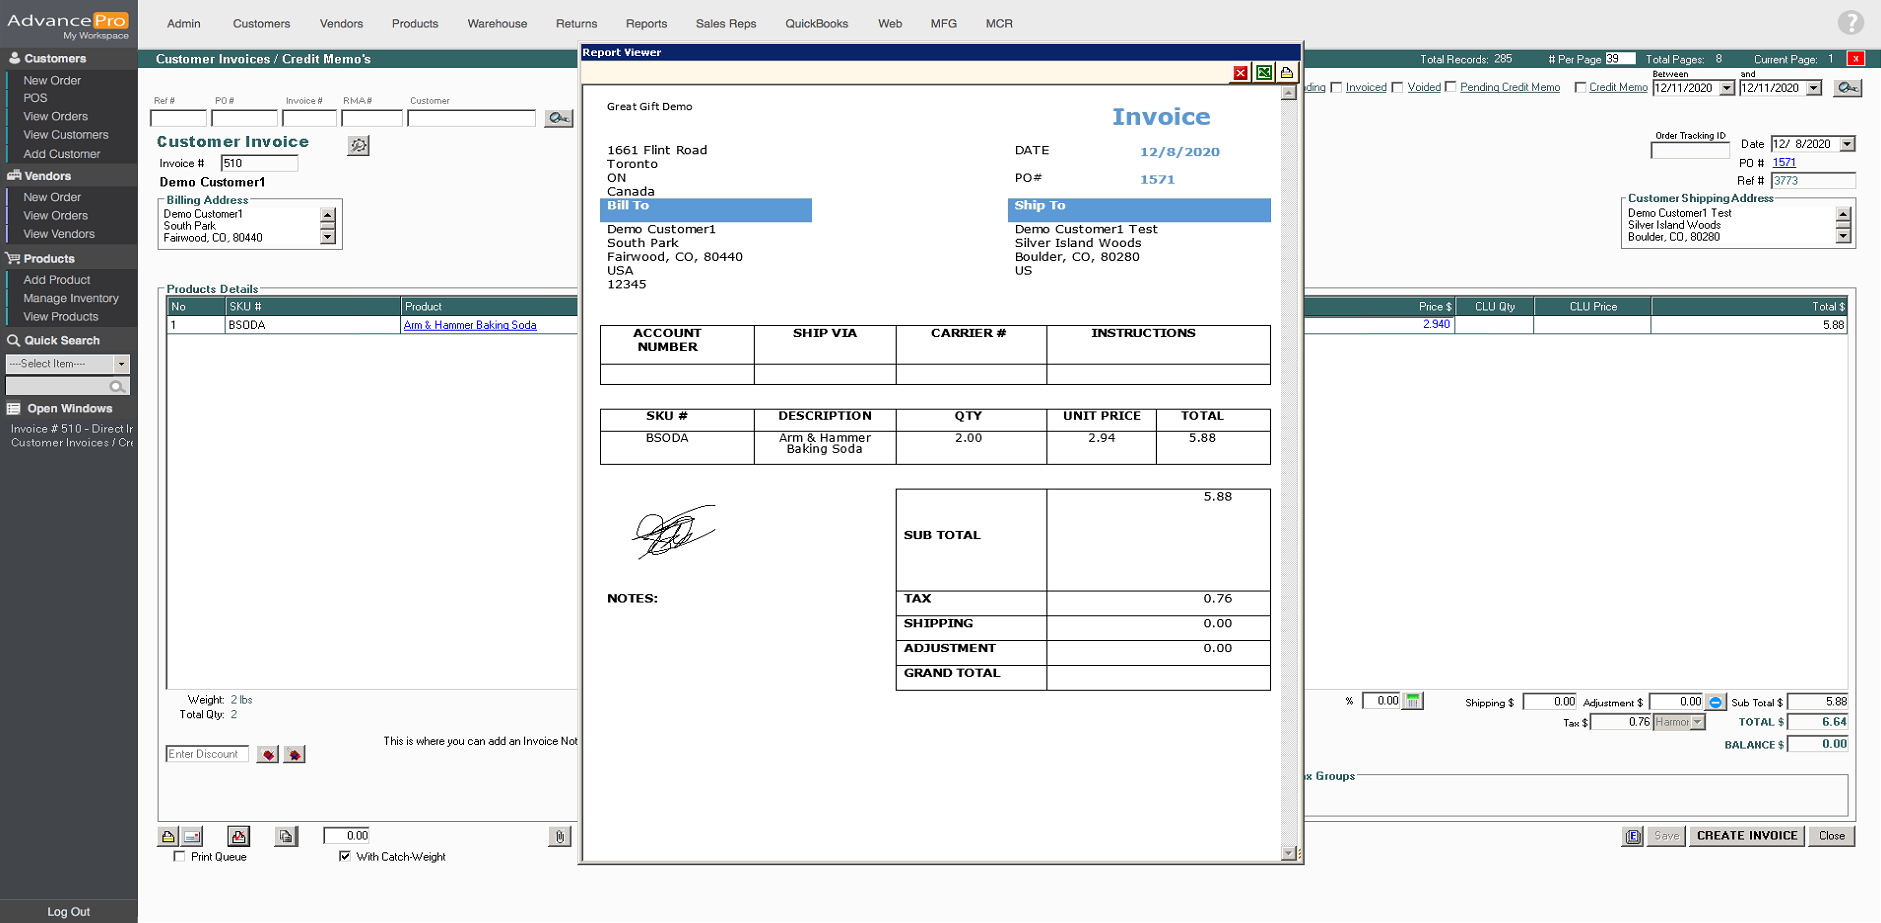
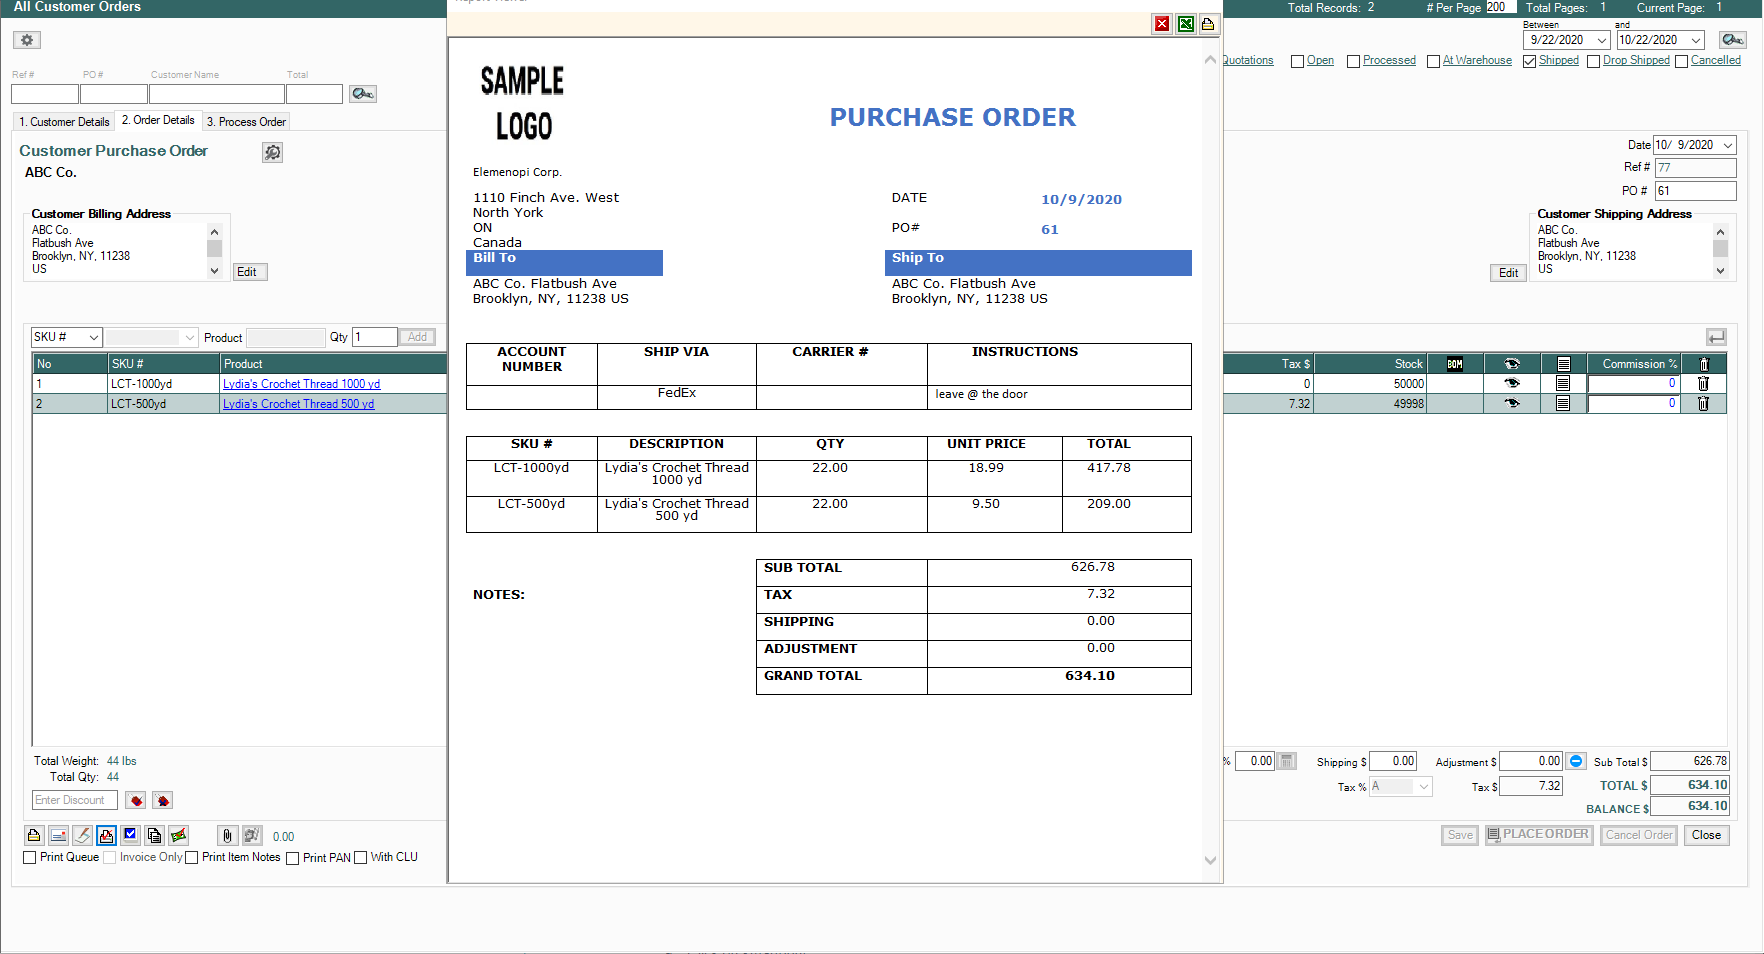
- Here is the custom template that we made.
- Here's an example that has a customer signature